This easy-to-make avalanche slime recipe is more about the process and is a big hit with kids! The cool effect happens when you combine white glue slime and clear glue slime and have a little bit of patience! Everyone needs to try making homemade slime at least once, and this is it!
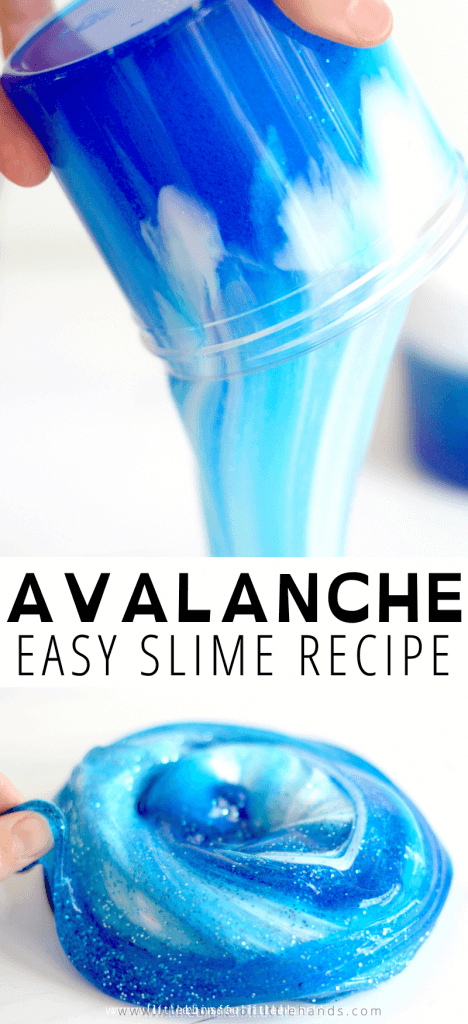
Avalanche Slime Recipe
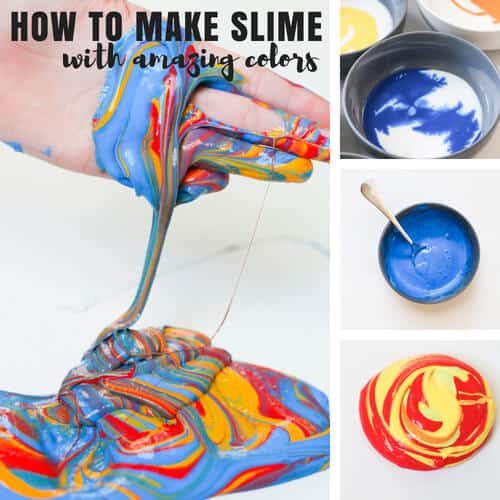
💡 For this special effect, you will need at least two batches of slime: one batch with white glue and one with clear glue in a bright color. You can combine several bright colors in the container before adding the white slime to the top.
Supplies:
- 1/2 cup Clear or White PVA School Glue
- 1 tablespoon Saline Solution (must contain boric acid and sodium borate)
- 1/2 cup of Water
- 1/4-1/2 tsp Baking Soda
- Food coloring
- Glitter
Instructions:
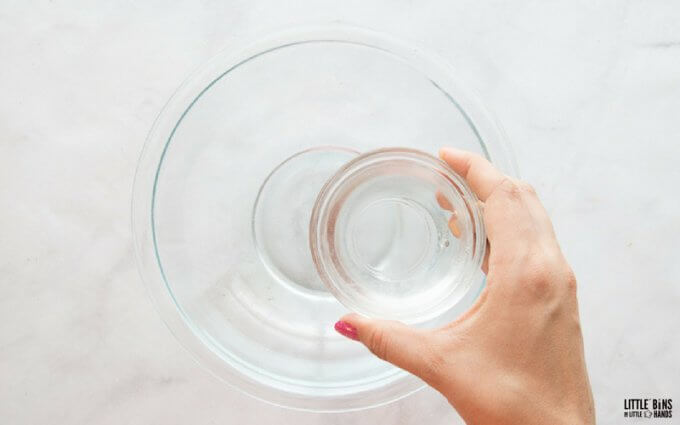
STEP 1: In a bowl mix 1/2 cup water and 1/2 cup of glue well to combine completely.
STEP 2: Now’s the time to add color and glitter if using! Mix the color into the glue and water mixture.
STEP 3: Stir in 1/4- 1/2 tsp baking soda.
💡 What does baking soda do? Baking soda helps to firm and form the slime. You can play around with how much you add but we prefer between 1/4 and 1/2 tsp per batch. I get asked all the time why do you need baking soda for slime. Baking soda helps to improve the firmness of the slime. You can experiment with your own ratios!
STEP 4: Mix in 1 tbsp saline solution and stir until slime forms and pulls away from sides of the bowl. This is exactly how much you will need with the Target Sensitive Eyes brand, but other brands may differ slightly!
💡 If your slime still feels too sticky, you may need a few more drops of saline solution. Squirt a few drops of the solution onto your hands and kneading your slime longer. You can always add but you can’t take away. Saline solution is preferred over contact solution.
STEP 5: Start kneading your slime! It will appear stringy at first but just work it around with your hands and you will notice the consistency changes. You can also put it in a clean container and set it aside for 3 minutes, and you will also notice the change in consistency!
💡 SLIME TIP: We always recommend kneading your slime well after mixing. Kneading the slime really helps to improve its consistency.
You can also knead the slime in the bowl before you pick it up. This slime is stretchy but can be stickier. However, keep in mind that adding more activator (saline solution) reduces the stickiness and eventually creates a stiffer slime.
STEP 6: Repeat the steps to make a batch of white glue slime.
STEP 7: To create your avalanche effect, push your clear glue slime completely into the container before adding the white glue slime on top!

How Long Does It Take For The Avalanche Effect?
Be prepared! I figured I would let you know before you dive into the recipe that the effect is not immediate!
You have to have a bit of patience when it comes to avalanche slime! If your patience is short, go for a smaller container. Plan to wait a good 24 hours to see the changes. Now if you are making a huge avalanche slime bowl, you may need to wait several days. Be sure to plan ahead so no one is disappointed when they don’t see it happening immediately.
Also keep in mind, once you pour out the slime from the container the colors will mix, but it will be a lot of fun from start to finish!

Looking for iceberg slime? Change the white glue slime out on top for white fluffy slime. Smooth out the fluffy slime and let it harden on top before squishing it into the clear glue slime. Kids love the feeling of the squish of this satisfying slime!

How To Store Slime
Slime lasts quite a while! I get a lot of questions regarding how I store my slime. We use reusable containers made of plastic or glass. Make sure to keep your slime clean, and it will last for several weeks.
Where do I buy saline solution?
We buy our saline solution at the grocery store, but it’s also available on Amazon, Walmart, Target, and even at your pharmacy.
Now, if you don’t want to use saline solution, you can test out one of our other basic recipes using liquid starch or borax powder. We have tested all these recipes with equal success!

Helpful Slime Making Resources
These are the best resources to look through before, during, and after making your awesome foil slime!
- Slime Activator List
- What is slime?
- What You Need To Make Slime
- Amazing Benefits Of Playing With Slime
- Best Slime Ideas
- How To Make Slime Less Sticky
- How To Get Slime Out Of Clothes And Hair
More Fun Slime Recipes To Try
If your kids love playing with slime, why not try more favorite slime ideas…
- Magnetic Slime
- Cloud Slime
- Color Changing Slime
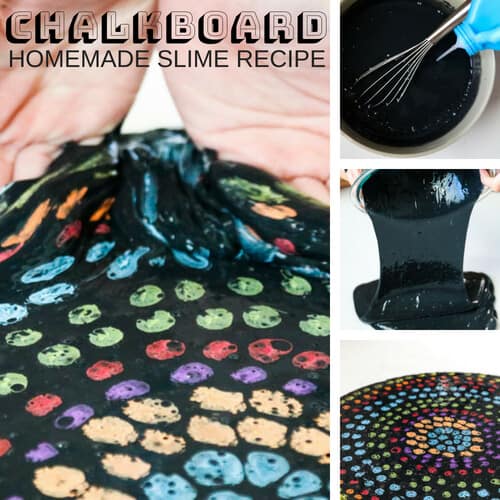
- Chalkboard Slime
- Glow in the Dark Slime
- Paint Slime
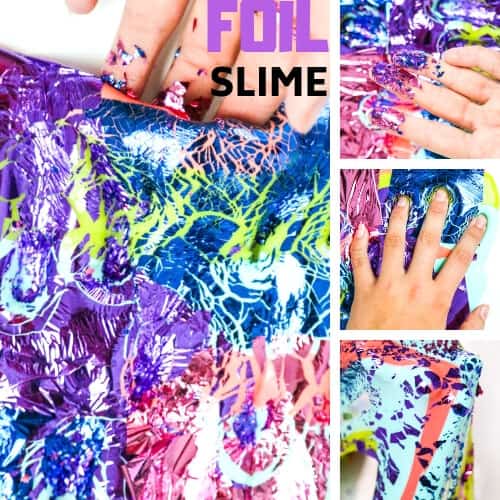
- Foil Slime
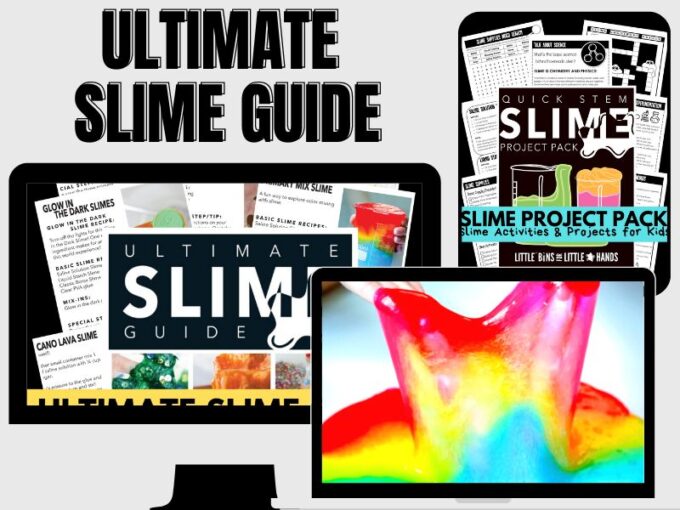
Grab the Ultimate Slime Recipe Bundle
All the best homemade slime recipes in one place with plenty of fantastic extras!
What’s Included:
- The Ultimate Slime Guide contains all the specialty recipes you or your kids want to make! You’ll find all the best tips, tricks, hints, and slime-y info in almost 100 pages!
- The Ultimate Slime Holiday Guide covers all the best holidays and seasons with special themes and slime-y projects!
- The Ultimate Borax-FREE and Taste-Safe Slime Guide shows you how to make all the best borax-free, taste-safe, and non-toxic slimes kids love, such as marshmallow slime. These recipes do not use chemical activators such as saline solution, liquid starch, or borax powder, making them truly borax-free.
- The Ultimate Slime Coloring Book is an easy-to-print coloring book kids will love! Color and design your favorite slimes!
- The Slime Starter Guide is a fact-filled information guide with everything you need to know to make the best slime ever!
- Slime Science Project Pack helps you turn slime-making into a science lesson!