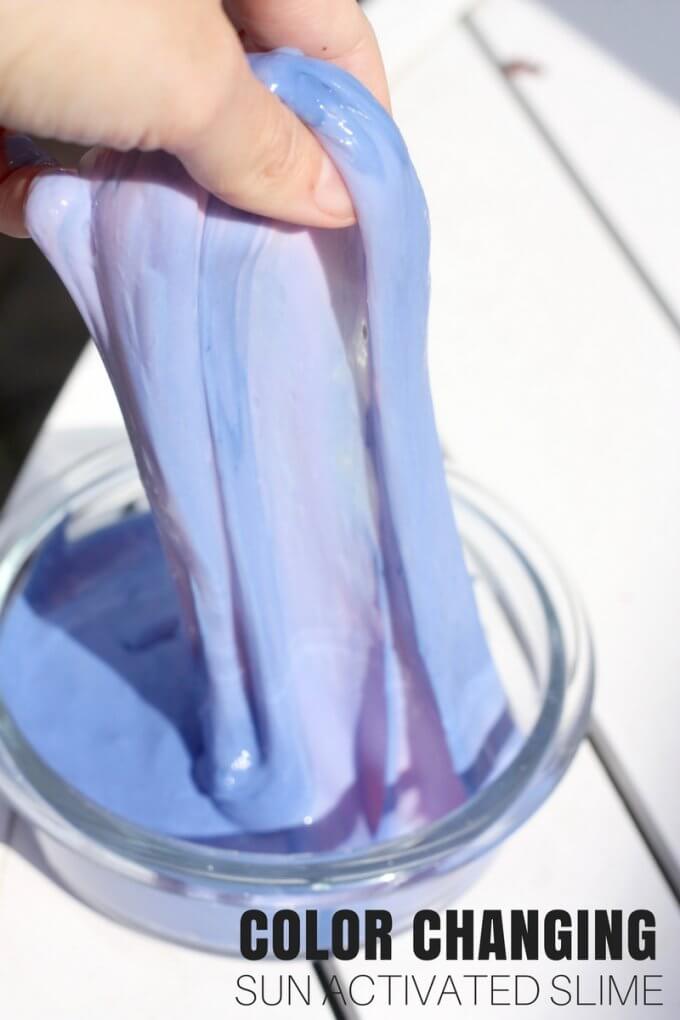
If you love making homemade slime and dabbling in science then you will love this color changing slime recipe. We already know what great fun slime is to make, but did you know you can also play around with adding different science activities too? Check out how to make this easy sun activated color changing slime with one special ingredient! Isn’t science cool?
Make Slime For Summer Activities
Talk about awesome summer science or year-round science if you live somewhere tropical! Recently we made a similar UV color changing slime with sun activated beads that we had a blast with.
Then I saw sun activated pigment powder, and knew we had to try it! Even my husband had to get his hands on this one!
We used our super simple saline solution slime recipe with the addition of the one special ingredient, photochromic powder! This turns the slime from pink to purple in the presence of ultraviolet rays. Wait for a bright sunny day for an amazing transformation!
Watch the saline solution slime video and find the directions for making your color changing slime below. Of course check out more outdoor activities for summer science!
This color changing slime recipe will surely be a hit this summer with the kids! Great for your summer science camp, you can make several batches and send each kid home with his or her own ultraviolet ray indicator slime!
We also have plenty of great science experiments if you need more ideas to add to your day!
Basic Slime Recipes
Our easy, “how to make” slime recipes show you how to master slime in 5 minutes or less! We have spent years tinkering with our favorite basic slime recipes to make sure you can make the BEST slime every time!
We believe slime shouldn’t be disappointing or frustrating! That’s why we want to take the guesswork out of making slime!
- Discover the best slime ingredients and get the right slime supplies the first time!
- Make easy slime recipes that really work!
- Achieve awesome slimy consistency the kids’ love!
Which Slime Recipe To Use?
We have several basic slime recipes that can all be used for this color changing slime recipe. You decide which one works best for you depending on what slime activator you want to use. This allows for some flexibility depending on where you live in the world! Not everyone has access to the same ingredients!
Each of the basic slime recipes below have the full step by step photos, directions, and even videos to help you along the way!
In the recipe below, we used our number one saline solution slime recipe. This is our #1 most viewed slime recipe, and we love it. Awesome stretchy slime in no time is my motto!
Helpful Slime Making Resources To Get Your Started
These are the best resources to look through before, during, and after making your awesome color changing slime! We talk more about slime science below too.
- Slime Activator List
- What is slime?
- What You Need To Make Slime
- Amazing Benefits Of Playing With Slime
- Best Slime Ideas
- How To Make Slime Less Sticky
- How To Get Slime Out Of Clothes And Hair
A Bit Of Slime Science
We always like to include a bit of homemade slime science around here! Slime is an excellent chemistry demonstration and kids love it too! Mixtures, substances, polymers, cross-linking, states of matter, elasticity, and viscosity are just a few of the science concepts that can be explored with homemade slime!
What’s slime science all about? The borate ions in the slime activators (sodium borate, borax powder, or boric acid) mix with the PVA (polyvinyl acetate) glue and forms this cool stretchy substance. This is called cross-linking!
The glue is a polymer and is made up of long, repeating, and identical strands or molecules. These molecules with flow past one another keeping the glue in a liquid state. Until…
You add the borate ions to the mixture, and it then starts to connect these long strands together. They begin to tangle and mix until the substance is less like the liquid you started with and thicker and rubbery like slime! Slime is a polymer.
Picture the difference between wet spaghetti and leftover spaghetti the next day. As the slime forms, the tangled molecule strands are much like the clump of spaghetti!
Is slime a liquid or solid?
We call it a Non-Newtonian fluid because it’s a little bit of both! Experiment with making the slime more or less viscous with varying amounts of foam beads. Can you change the density?
Did you know that slime aligns with the Next Generation Science Standards (NGSS)?
It does and you can use slime making to explore states of matter and its interactions. Find out more below…
Get your FREE printable slime recipe cards!
Color Changing Slime Recipe
You can also try this color chaining slime recipe with liquid starch or borax . If you are in the UK or Canada, you will want to stick with the saline solution slime recipe (contact solution slime recipe).
Ultraviolet slime with sun activated beads is a fun alternative!
Supplies:
- 1/2 Cup of White Washable PVA School Glue
- 1/2 Cup of Water
- 1/2 tsp of Baking Soda
- 1 tbsp of Saline Solution
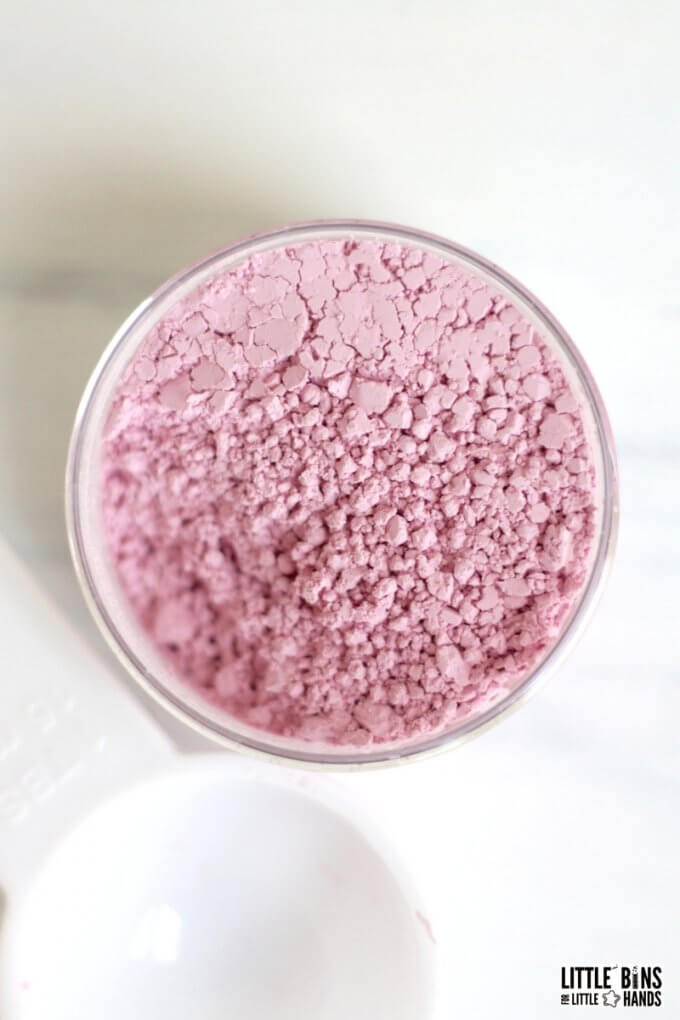
- 1 tbsp of Photo Chromic Pigment Powder (as shown below)
Instructions:
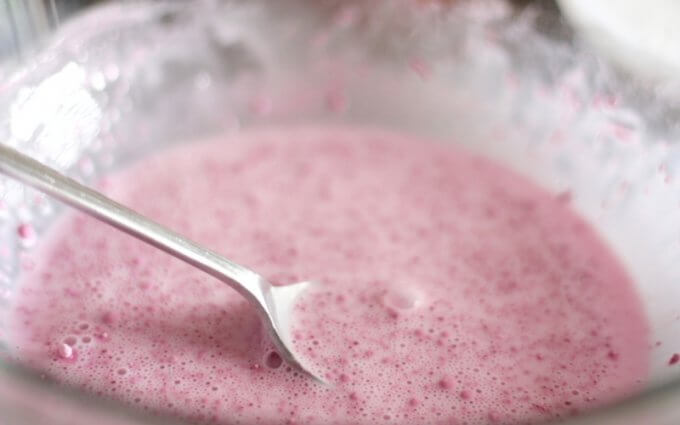
STEP 1: In a bowl mix 1/2 cup water and 1/2 cup of glue well to combine completely.
STEP 2: Stir in 1/4- 1/2 tsp baking soda.
You can play around with how much you add but we prefer between 1/4 and 1/2 tsp per batch. I get asked all the time why do you need baking soda for slime. Baking soda helps to improve the firmness of the slime. You can experiment with your own ratios!
STEP 3: Once you have mixed your glue, water, and baking soda, you will mix in 1 tbsp of the pigment powder.
Please note that when working with pigments like this, you need to measure and mix carefully and slowly so as to not spread it all around your work area. It will take an extra minute or two to fully incorporate the powder into your glue and water mixture so don’t get frustrated that it does not happen immediately upon adding it.
STEP 4: Mix in 1 tbsp saline solution and stir until slime forms and pulls away from sides of the bowl. This is exactly how much you will need with the Target Sensitive Eyes brand, but other brands may differ slightly!
If your slime still feels too sticky, you may need a few more drops of saline solution. As I mentioned above, start by squirting a few drops of the solution onto your hands and kneading your slime longer. You can always add but you can’t take away. Saline solution is preferred over contact solution.
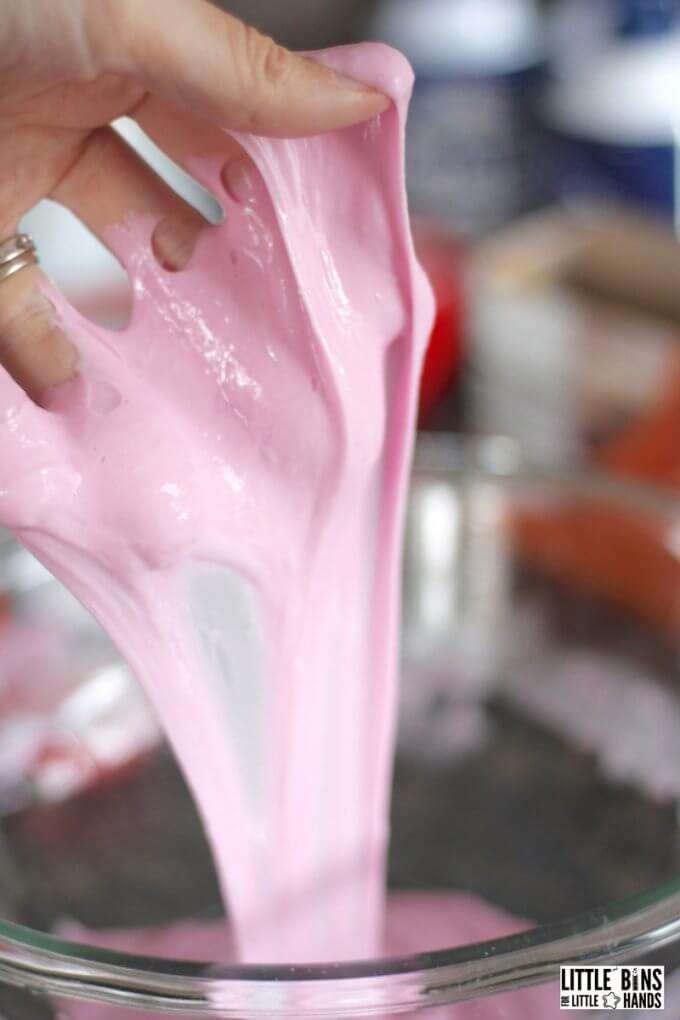
STEP 5: Start kneading your slime! It will appear stringy at first but just work it around with your hands and you will notice the consistency changes. You can also put it in a clean container and set it aside for 3 minutes, and you will also notice the change in consistency!
You can knead the slime in the bowl before you pick it up as well. This slime is stretchy but can be stickier. However, keep in mind that although adding more activator (saline solution) reduces the stickiness, and it will eventually create a stiffer slime.
Time to take the slime outside! It would also be fun to make outside in the shade. We were super excited to watch it change color, so we didn’t want to chance a sneak preview!
After we made the slime, we headed out to the backyard. You can see that almost immediately upon stepping out our back door, our slime was already changing color!
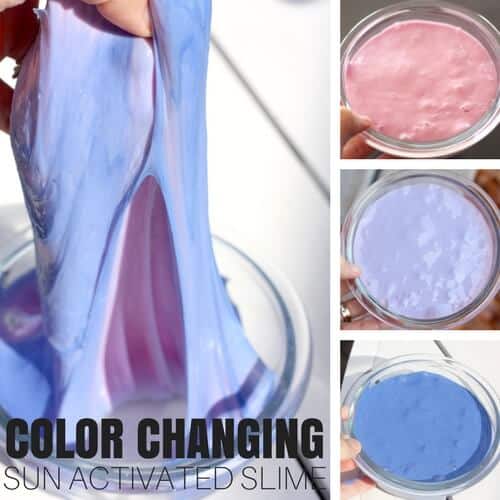
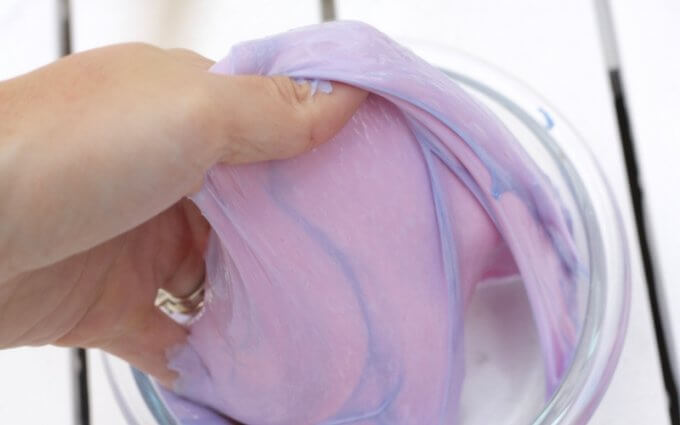
Your color changing slime recipe starts out a pretty shade of pink but just wait…
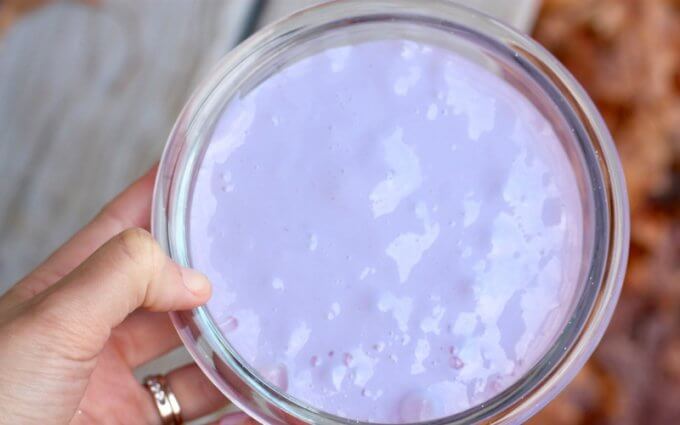
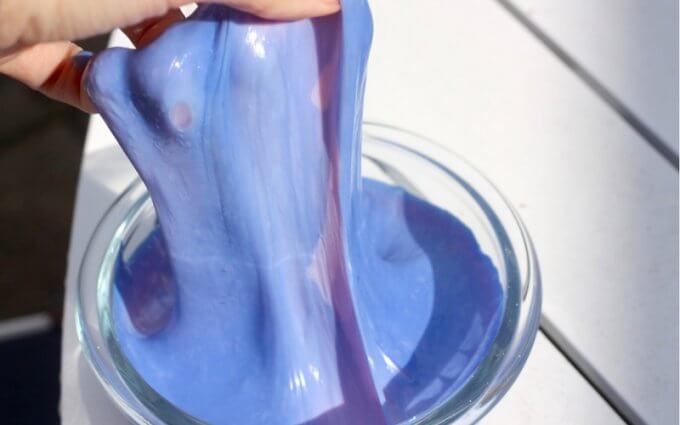
By the time we got our sun activated slime recipe out to the table, it was definitely activated and a very bright purple. The color changing happens very quickly so be prepared and don’t blink!
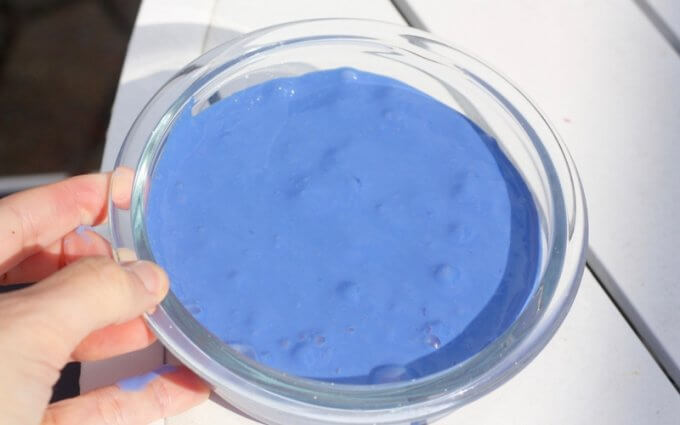
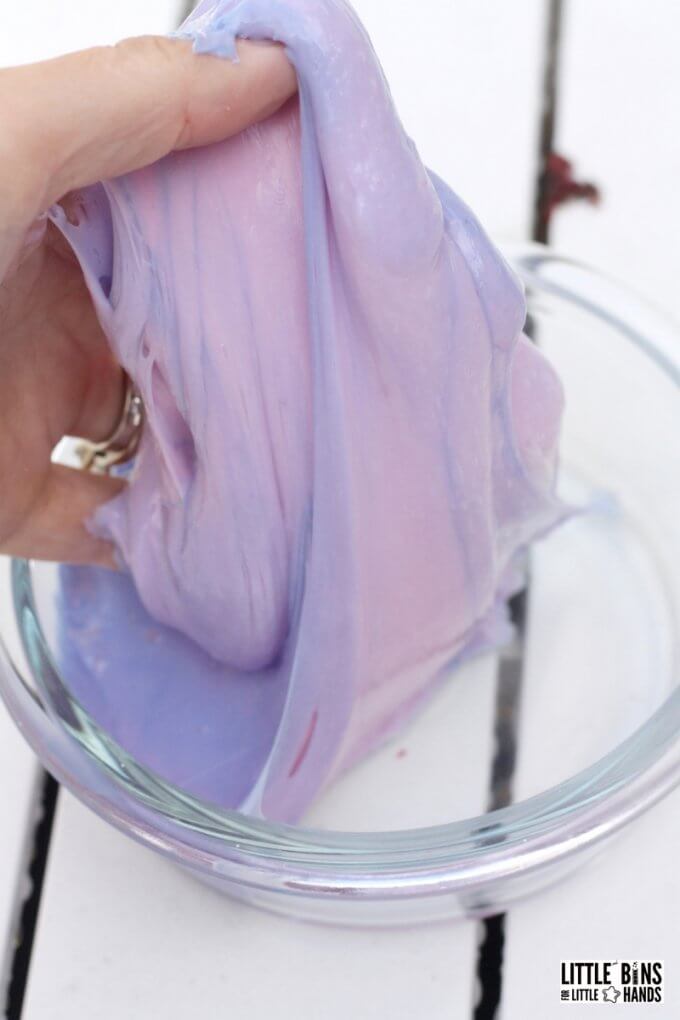
However, if you grab the slime to reveal the bottom of it, you can see that part of the slime hasn’t been exposed to the UV rays. It’s still pink! Not for long though, this slime will change immediately.
You can keep lifting the slime to reveal the non-sun activated areas on the bottom!
The Science Behind Color Changing Slime
This sun activated, ultraviolet slime needs some sunscreen! What are UV rays? UV rays or ultraviolet light are invisible rays of energy that come directly from the sun. There are 3 types of rays called A, B, and C.
UV is just beyond the violet end of visible light and has smaller wavelengths and greater energy. As with all electromagnetic spectrum radiations, UV travels at the speed of light. Learn more about the visible spectrum of light.
The beads contain small amounts of a photochromatic color changing pigment that reacts with the presence of ultraviolet rays. All you need is natural light!
I bet you can find some more cool ways to explore these UV color changing beads for ultraviolet rays awareness. Of course, simple bracelets and necklaces can alert kids when the UV rays are strong! A great reminder to make sure you have used your sunscreen.
Why not make a batch of slime with clear glue and white glue (using the same recipe) and see if there’s a difference!
More Fun Slime Recipes To Try
If your kids love playing with slime, why not try more favorite slime ideas…
- Fluffy Slime
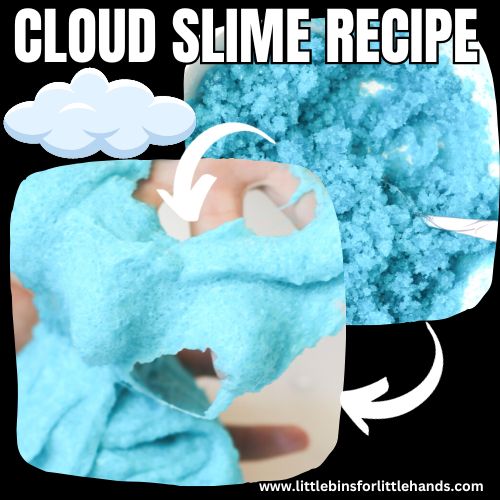
- Cloud Slime
- Clear Slime
- Glitter Slime
- Galaxy Slime
- Ultraviolet Slime
- Thermochromic Slime

Grab the Ultimate Slime Recipe Bundle
All the best homemade slime recipes in one place with plenty of fantastic extras!


With the color changing slime, does it go back to pink when you take it back inside? Will UV lights, like in a school, activate the color change before you get outside?
Yes, it will go back forth in color! It’s very cool. Indoor lights at least in our house don’t change the color, but if you put it near a window it will start. I do have a mini video of this happening on the FB page.
Can you use thermachromic powder instead so that its heat activated, thus changes color with the heat from your hands??
Yes, you can but I have not tinkered with the amount needed is all.