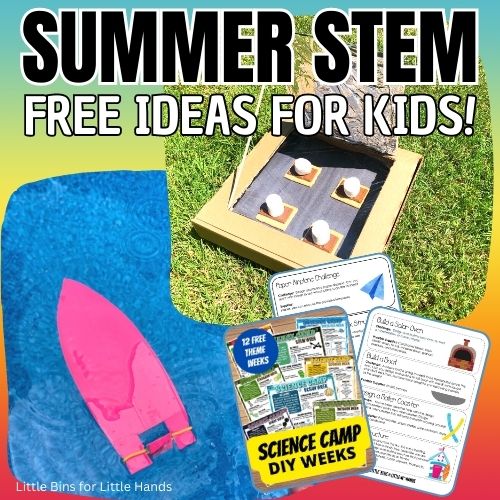
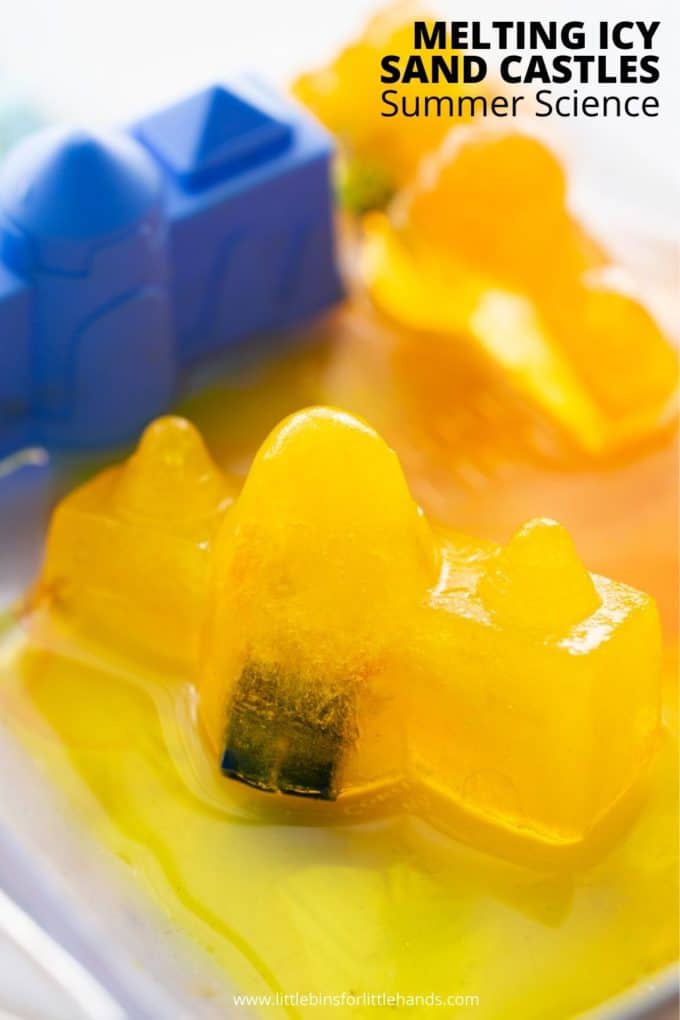
Who says sand castle toys are just for sand? Not us! We like to use them for simple science and play activities too! If you’re looking for cool (pun intended) summer activities to beat the long days of summer, this melting ice castle activity is perfect! Of course, melting ice activities don’t have to be just for the summer, enjoy them all year round with different things. This is super simple science on a budget!
ICE ACTIVITIES FOR KIDS
After our icy dinosaur eggs were such a hit, we came up with all kinds of frozen ice activities. Why do you ask? Well, it’s just so easy and uses things you already have around the house. Plus, they cover a wide age range of abilities from toddlers and preschoolers to elementary age kids!
Check out all sorts of cool ways to set up ice play activities for kids!
FROZEN CASTLE ACTIVITY
This type of frozen sensory play also makes a great scientific discovery and learning activity for young kids. Check out more hands-on and simple preschool activities. This summer theme activity below is super easy to set up and just needs time to freeze, so plan ahead!
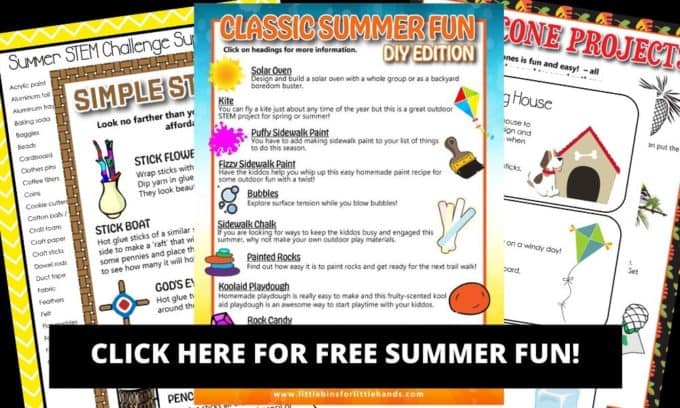
Click here for your FREE Summer activities pack!
YOU WILL NEED:
- Small Sandcastle Toys
- Bowl (to prop up filled molds)
- Mini Toys (optional like the Mini-figures)
- Bin For Melting & Warm Water
- Food Coloring
- Eye Droppers, meat basters, or squeeze bottles
ALTERNATIVE FREEZING IDEA: You can also freeze water in layers of colors as seen here.
HOW TO MAKE ICY CASTLES
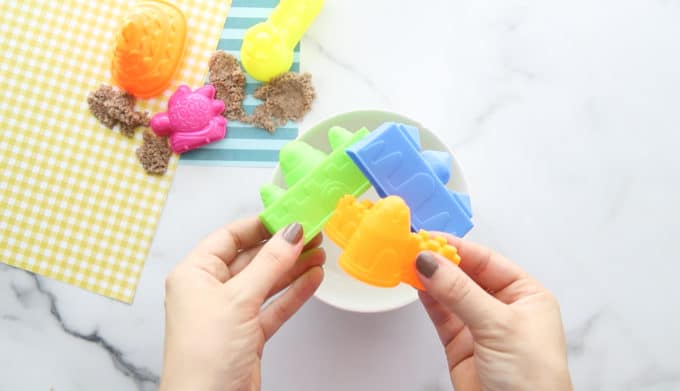
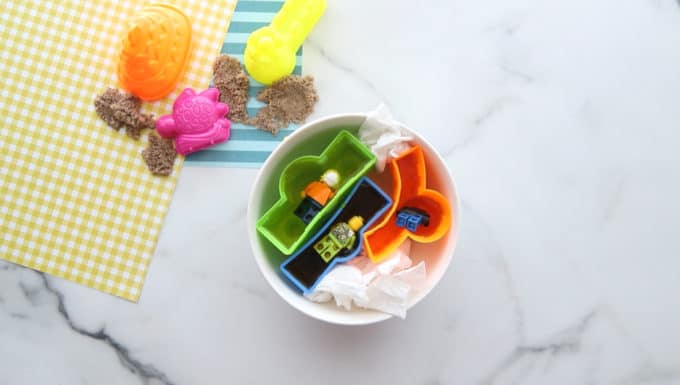
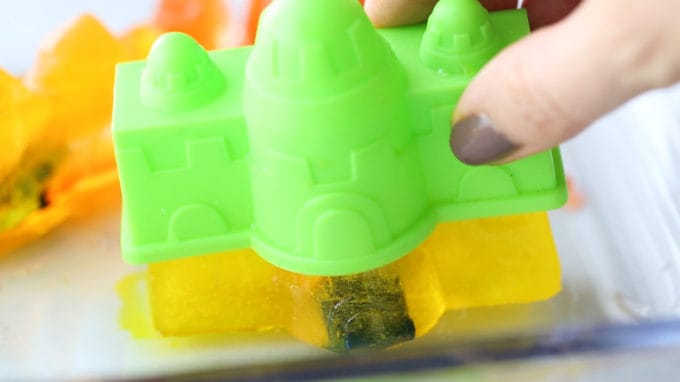
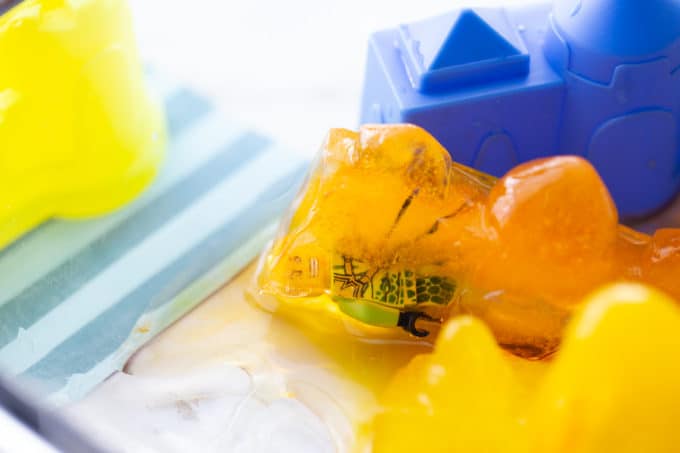
STEP 1: Arrange sandcastle toys in a bowl so that they will remain propped up when filled with water. Add a small plastic toy to each castle if desired. You can also add gems and fake gold coins and create a treasure hunt.
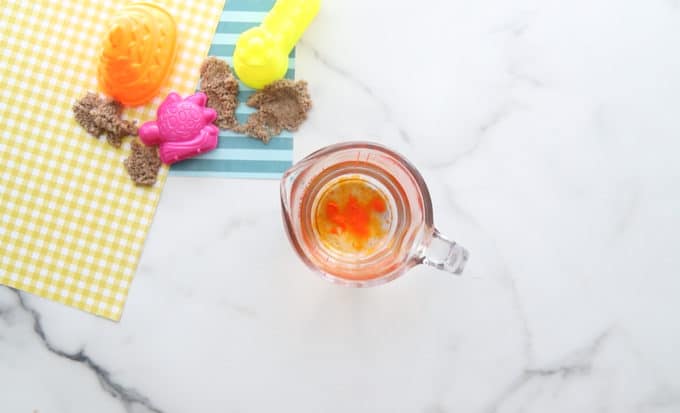
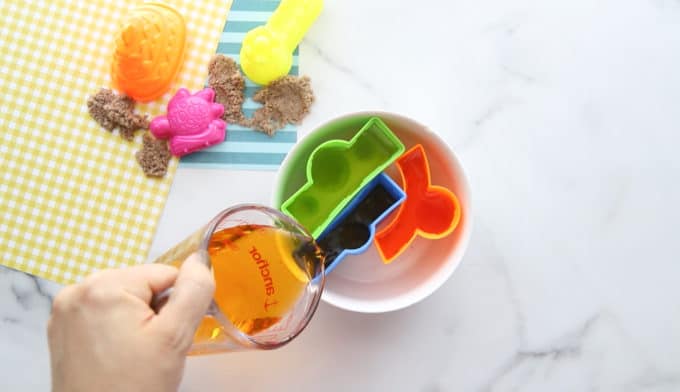
STEP 2: Mix water and food coloring in an easy to pour container.
STEP 3: Fill molds with colored water and place them in the freezer.
STEP 4: When frozen solid, remove from the freezer and slowly loosen from molds. You may need to run the molds under lukewarm water.
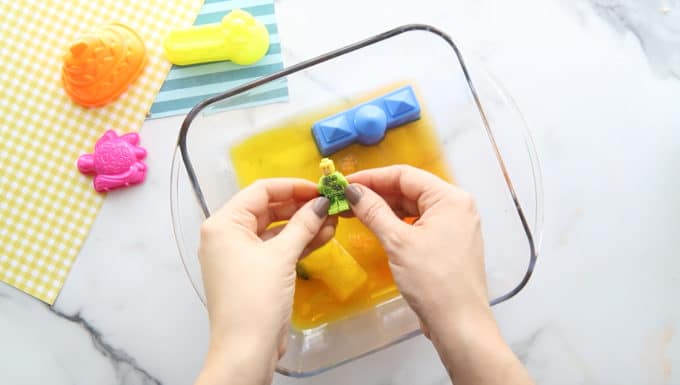
STEP 5: Add the frozen sandcastles to a bin and provide warm water and basters for melting! Make it a rescue mission and free the guys!
MELTING YOUR FROZEN CASTLES
Looking to increase fine motor skills without using a pencil? Encourage finger and hand strength, coordination, and skill with fun tools! Eye droppers are great for fine motor play and sensory play. Little fingers get quite a bit of work manipulating any of the tools for melting these frozen castles.
What else can you use to melt the castles? How about squeeze bottles, squirt bottles, or even ladles! Meat basters and powdered drink mix scoops are also fun for different ways to melt the ice.
SIMPLE SCIENCE FOR MELTING CASTLES
This isn’t just a fun preschool frozen castle activity, you also have a simple science experiment on hand! Melting ice is the science that kids love to get their hands on. Talk about solids and liquids. What are the differences?
Water is so interesting to kids because it can be all three states of matter: liquid, solid, and gas! You can use this simple solid, liquid, gas science experiment to show this further.
Does cold water melt the frozen castles any different than warm water? Get the kids really involved by asking simple questions to get them thinking and experimenting. Your frozen castles are such a simple way to show how ice melts with warm water!
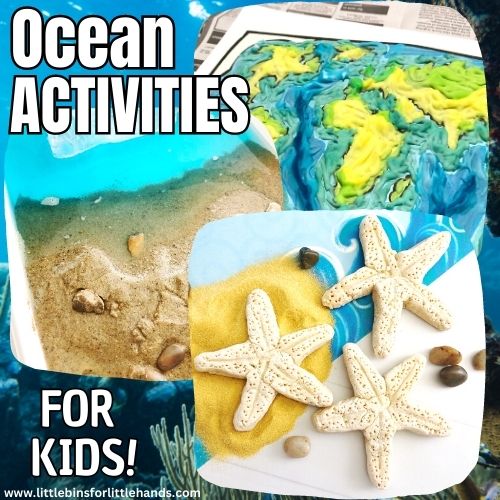
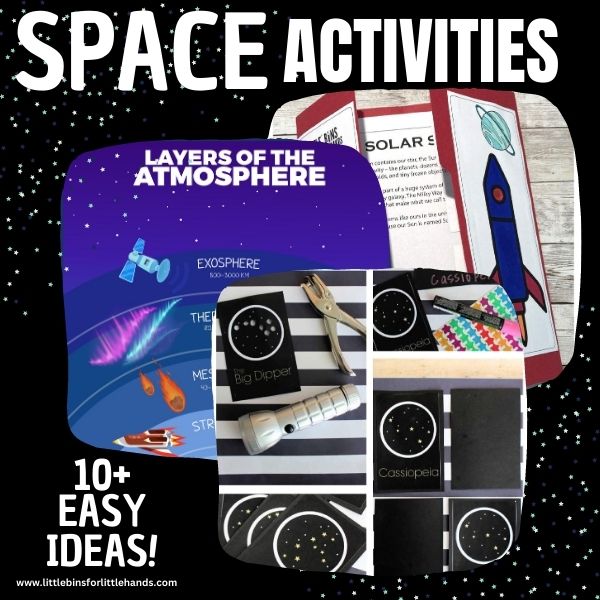
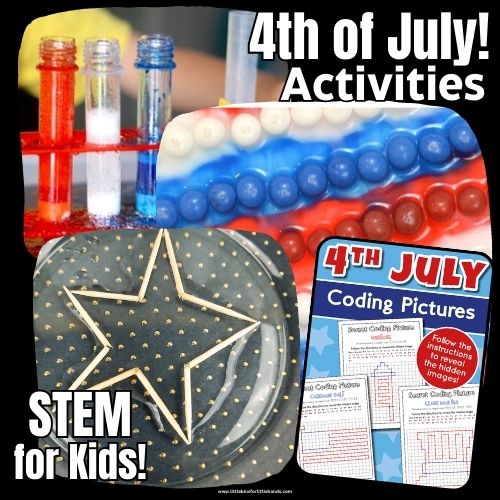
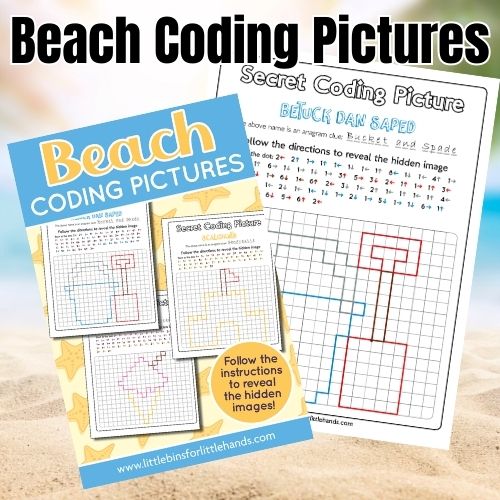
More Awesome Summer Activities For Kids
From under the sea to deep space…4th of July to backyard art, we have many summer activities and experiments you can do inside or outside!