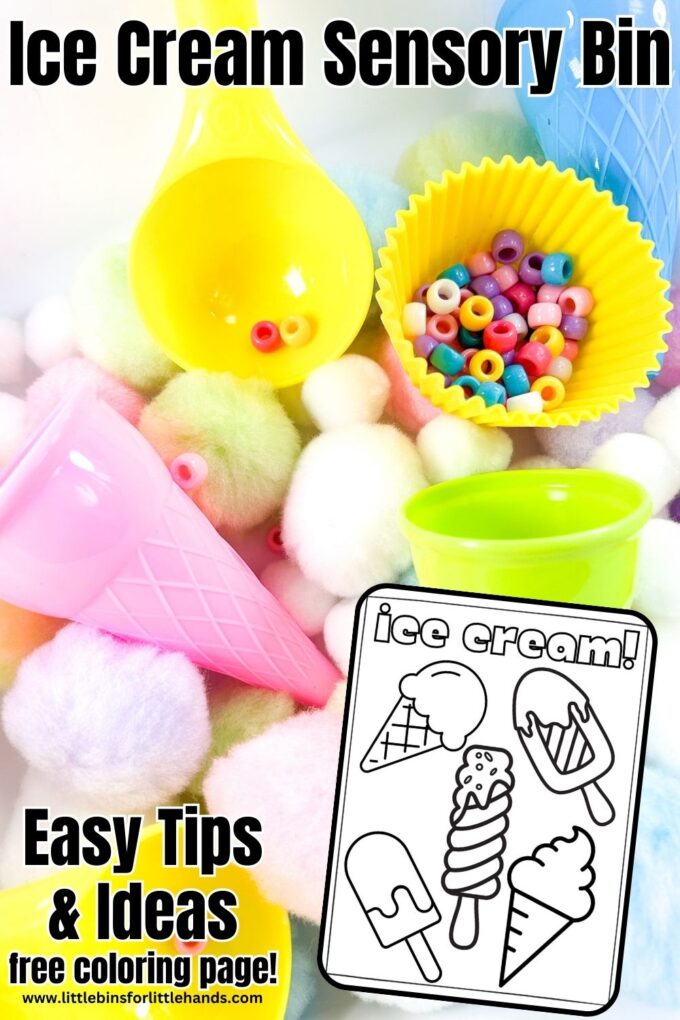
Kids love sensory play. Whether you want to explore a popular summer theme or find a way to sneak in math or fine motor skills, create a simple ice cream sensory bin! With a few tips, tricks, and ideas, enjoy sensory play straight through the summer! Plus, grab the free printable ice cream coloring page and how to make a sensory bin guide!
Hands-On Sensory Play Suggestions
Add accessories and tools that encourage fine motor practice with the young age group for which a sensory bin is designed.
This can be as simple as scooping the filler into a small container and then dumping it into another container. For a more complex activity, provide kitchen tongs to grab objects and transfer them to a container.
Try it: Pom poms are excellent for transferring tongs from one container to another. Add some sneaky math by rolling a die and counting how many to transfer.
Free Quick Start Sensory Bin Guide
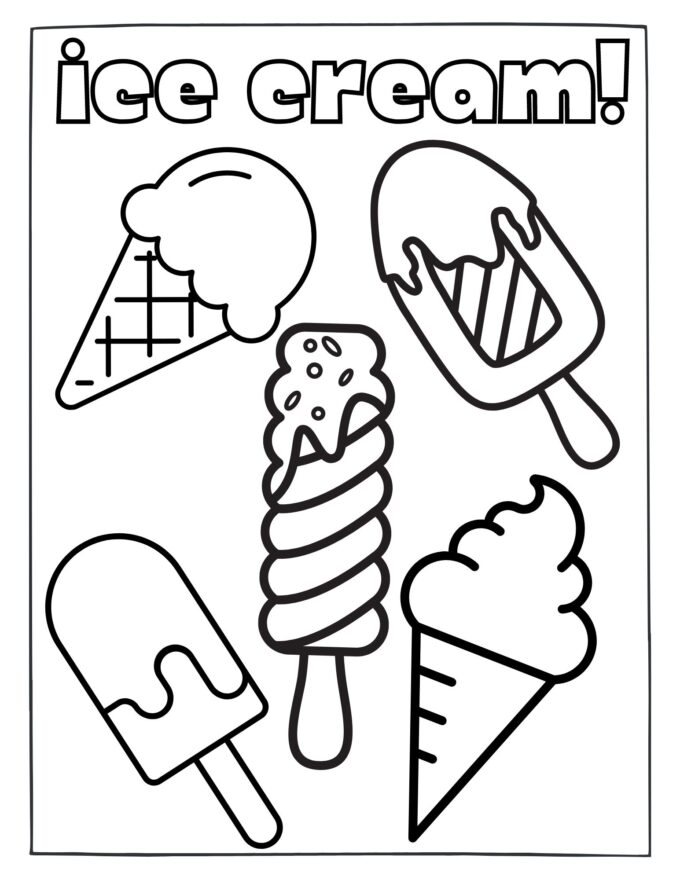
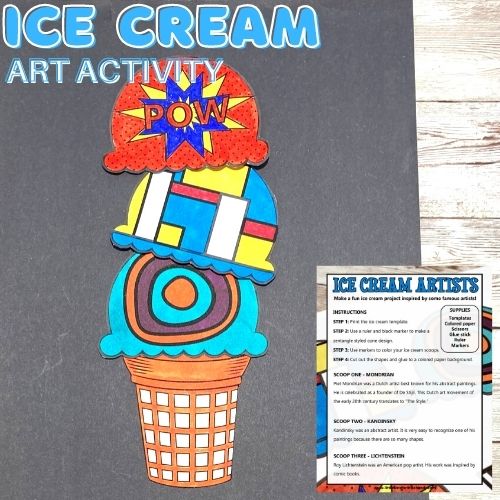
Free Printable Ice Cream Coloring Page
Grab this instant download and add a simple ice cream coloring page to this sensory bin theme.
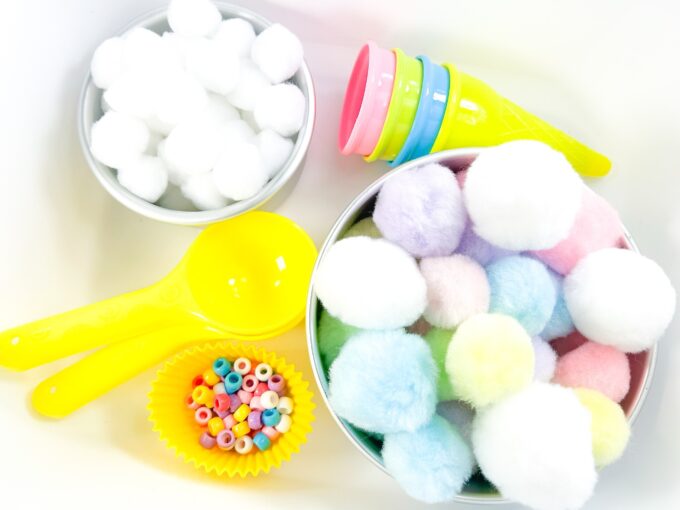
Ice Cream Sensory Bin Supplies
While this sensory bin uses pompoms as a filler, you can easily switch it out for a kinetic sand type of filler which is fun to go with an ice cream scoop. See how to make kinetic sand!
SAFETY NOTE: We do NOT recommend using water beads due to extreme health risks. Please DO NOT use this as a sensory bin filler.
- Sensory bin
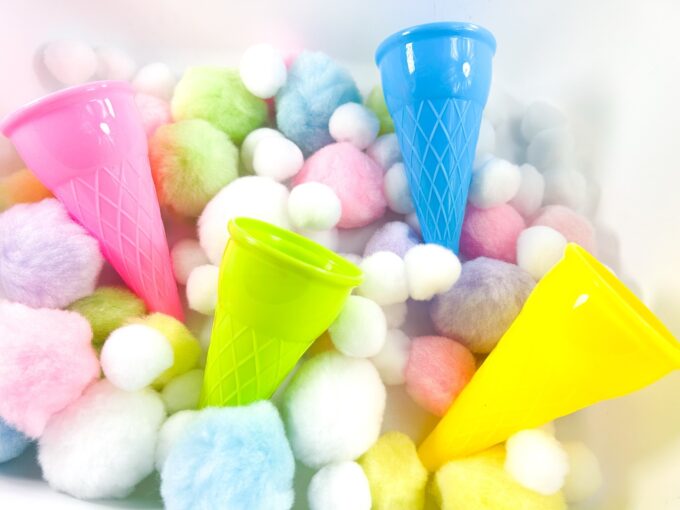
- Plastic ice cream cones (Amazon Affiliate Link)
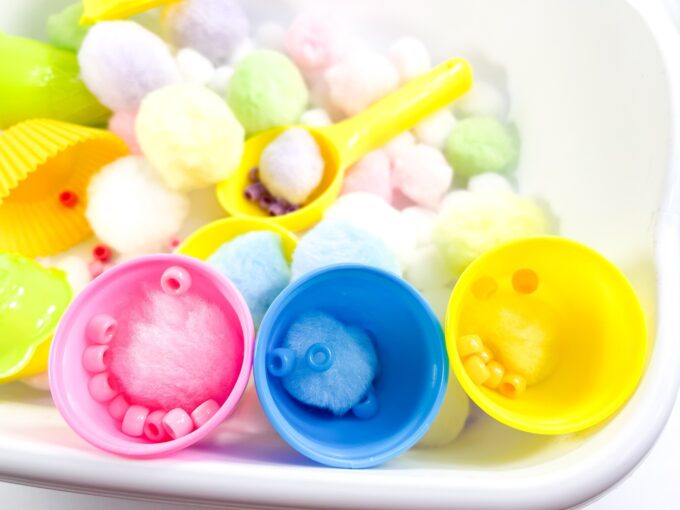
- Ice cream scoops (these came with the set above)
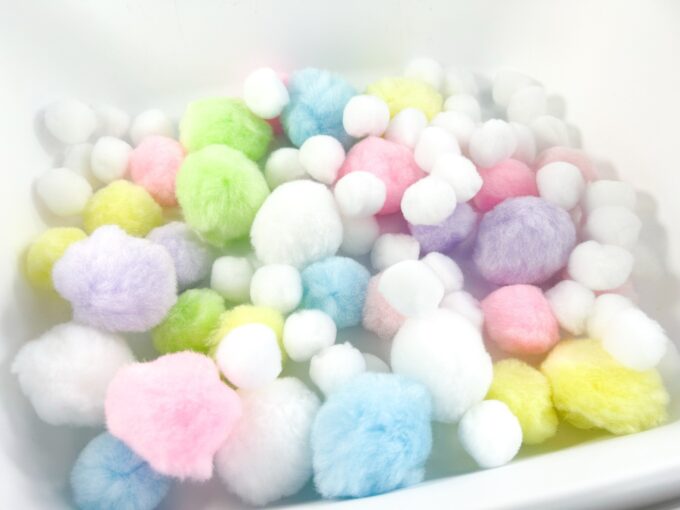
- Pastel Pom poms (variety of sizes)
- Small white pom poms
- Pony beads (optional)
- Cupcake liners (silicone is sturdier, but paper works well too!)
How to Set Up an Ice Cream Sensory Bin
It’s pretty much a 1-2-3 process for setting up a sensory bin. Remember, it will never look quite as pretty as the moment before your kids dig into it! Don’t make it too complicated.
STEP 1 FILLER: Pom poms are the perfect filler for ice cream sensory play!
STEP 2 THEMED ITEMS: Place the other items on top, including plastic cones, cupcake liners, and beads if desired.
STEP 3 BIG ITEMS: Add a scoop, kitchen tongs, and a container if desired.

ENJOY! All that’s left is to invite the kids to explore the contents of the ice cream sensory bin!

Ice Cream Activity
Color matching, counting, and pretend play! So many great benefits to this sensory bin.
TIP: Always add a few themed books to the side of the bin as a nice transition between activities.
More Fun Ice Cream Activities to Try
- Make Ice Cream in a Bag
- Make Homemade Slushies
- Ice Cream Art Project
- Popsicle Art
- Snow Ice Cream (winter version)
Check Out These Helpful Sensory Bin Resources
There’s so much more to learn about sensory bins and sensory play.
- Sensory Bin Ideas and Themes
- How To Make A Sensory Bin
- Best Sensory Bin Fillers
- Non Food Sensory Bin Fillers
- Rice Sensory Bin Ideas
- How To Clean Up A Sensory Bin In A Snap
- Sensory Play Recipes You Can Use
Homemade Sensory Play Recipes
Printable Ice Cream Theme Activity Pack
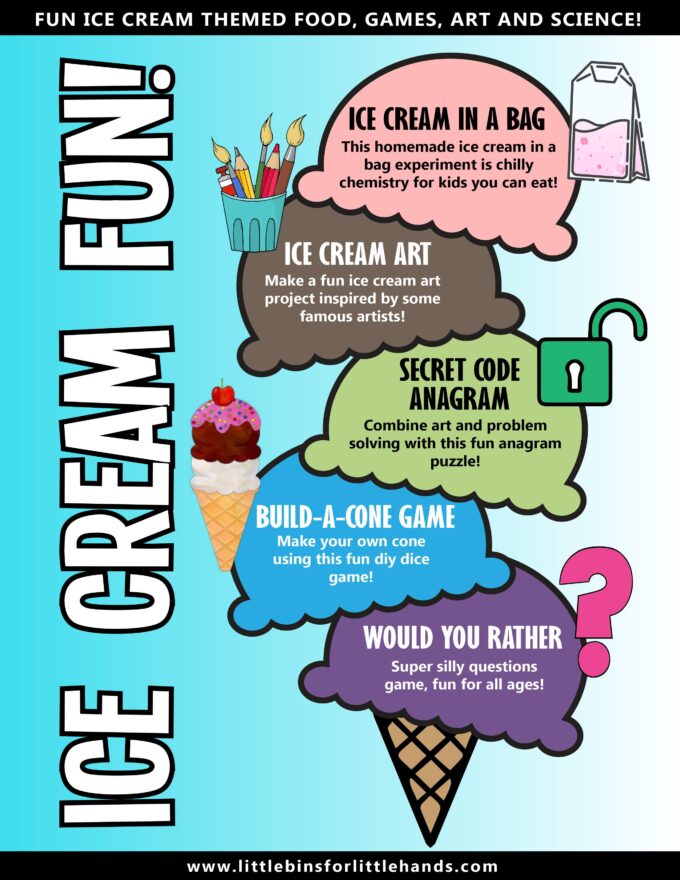
- First, make a fabulous treat for summer science with ice cream in a bag and enjoy it with themed Would You Rather Cards!
- Next, play a game or two and decipher a secret code picture!
- Finish with a fantastic art activity inspired by famous artists or enjoy the coloring page!