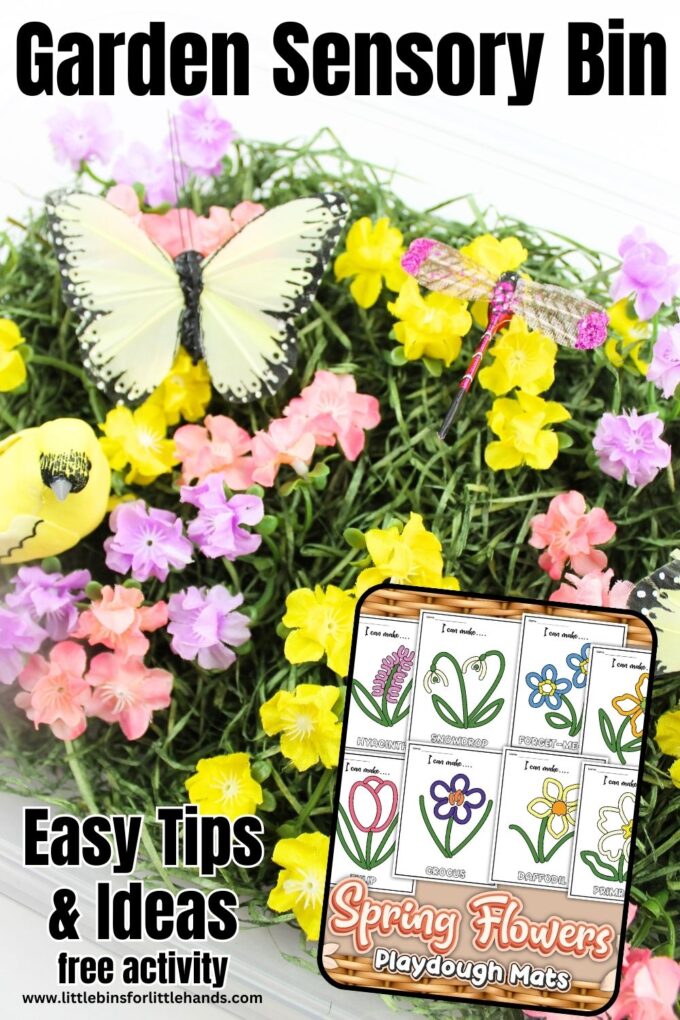
A no-mess indoor flower garden sensory bin is a fantastic spring theme! Kids love sensory play. Whether you want to explore a popular theme or find a way to sneak in math or fine motor skills, create a simple garden sensory bin! With a few tips, tricks, and ideas, enjoy sensory play all year long! Grab free printable flower playdough mats and our how to make a sensory bin guide!
Flower Sensory Activities
Kids love to dig their hands into a newly made sensory bin, scoop and pour, discover, and carry out storytelling. Creating a garden sensory bin is a super fun theme for spring. We have so many fantastic flower theme activities to try!
Below you’ll find many resources to help you assemble an entire flower theme spring unit. Your kids will have so much fun with the hands-on activities below.
Hands-On Sensory Play Suggestions
Add accessories and tools that encourage fine motor practice with the young age group for which a sensory bin is designed. For example, scooping the filler into a small container and then dumping it into another container can be as simple as a more complex activity. For example, provide kitchen tongs to grab objects and transfer them to a container.
Try it: These little flowers are perfect for transferring with kitchen tongs. To keep with the theme, grab a small plastic flower pot to fill!
Try it: Add flowers of different sizes for sorting and classifying!
Free Spring Flowers Playdough Mats
Garden Sensory Bin Supplies
NOTE: While this sensory bin uses artificial grass or substitute with shredded paper packaging, you can easily switch it out for more scoopable fillers such as sand, aquarium, gravel, rice, beans, or whatever else you enjoy!
Optional Sensory Bin Fillers: You aren’t limited to the exact materials we have used for this sensory bin. Use the images below to guide creating a garden sensory bin. Feel free to combine and explore materials that work for you in your setting.
SAFETY NOTE: We do NOT recommend using water beads due to extreme health risks. Please DO NOT use this as a sensory bin filler.
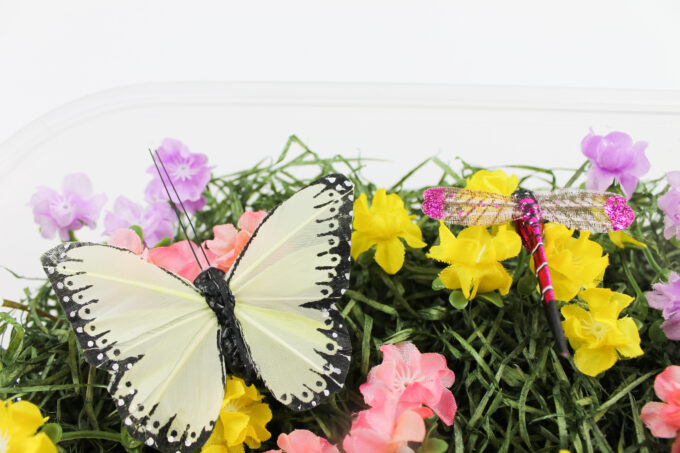
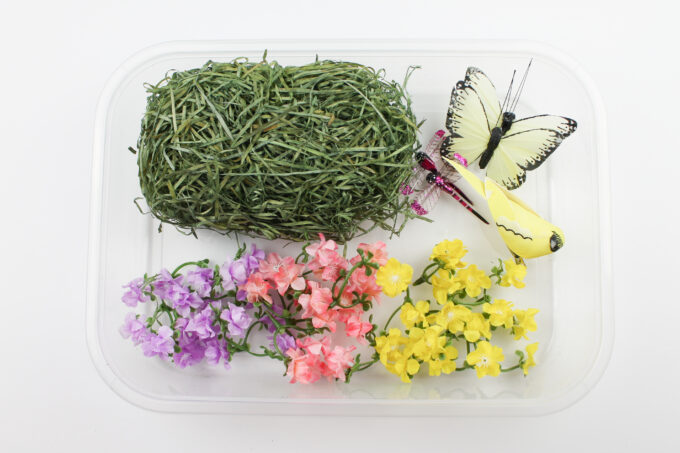
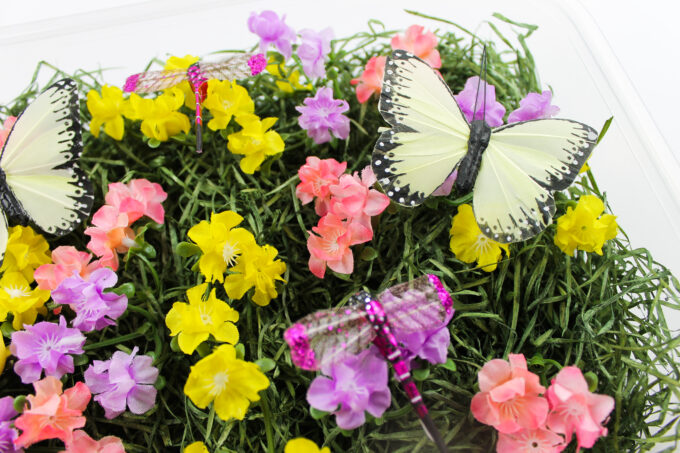
- Artificial grass
- Artificial purple, pink, and yellow flowers (remove stems)
- Artificial bird
- Artificial dragonflies
- Artificial butterflies
- Sensory bin or tray
How to Set Up a Simple Garden Sensory Bin
It’s pretty much a 1-2-3 process for setting up a sensory bin. Remember, it will never look quite as pretty as the moment before your kids dig into it! Don’t make it too complicated.
Learn more about sensory bins here!
STEP 1 FILLER: Artifical grass or similar shredded paper for gift wrapping is a fantastic filler for in-the-garden sensory play!
STEP 2 THEMED ITEMS: Place the other items on top, including flowers, butterflies, and dragonflies.

STEP 3 BIG ITEMS: Add a scoop, kitchen tongs, and a container if desired.
ENJOY! Now, invite the kids to explore the contents of the garden sensory bin!
TIP: Always add a few themed books to the side of the bin as a nice transition between activities.
More Fun Flower Garden Activities to Try
- Simple Flowers to Plant with Kids
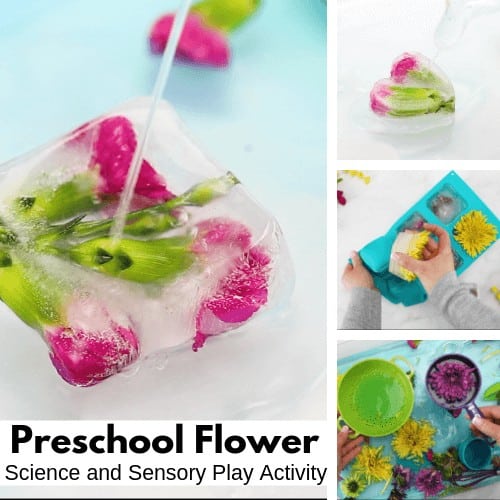
- Frozen Real Flower Sensory play
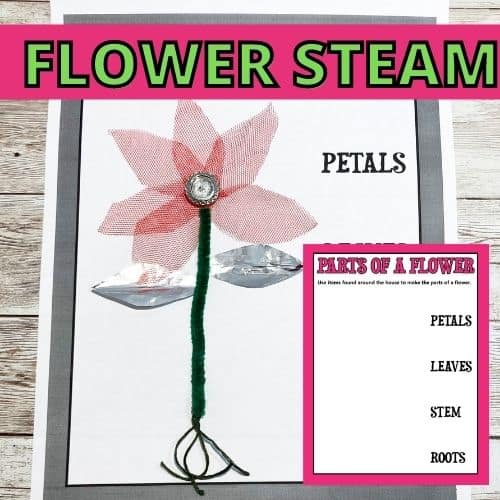
- Parts of a Flower Collage Activity
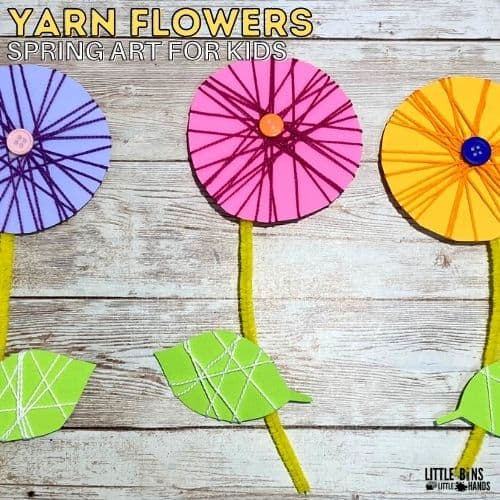
- Yarn Wrapped Flower Craft
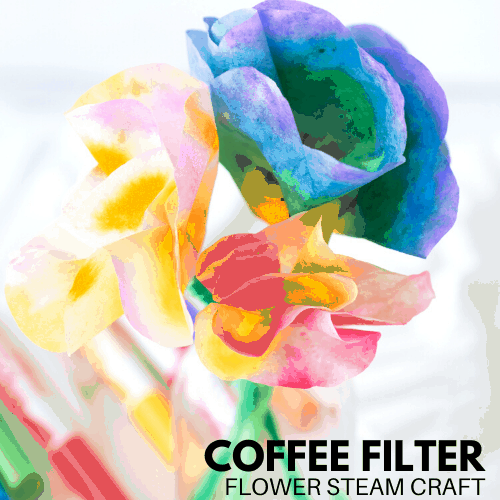
- Coffee Filter Flowers
- Color Changing Flowers
- Plant Scavenger Hunt

The Best Sensory Bin, Tub, or Sensory Table To Use
Please note I am sharing Amazon Affiliate links below. I may receive compensation through any purchases made.
Start with the right sensory bin or tub when creating a sensory bin for kids of all ages. With the right size bin, kids will be at ease playing with the contents, and the mess can be kept to a minimum.
Is a sensory table a good choice? A more expensive, heavy-duty sensory table, such as this one, allows one or more kids to stand and play comfortably. This was always my son’s favorite sensory bin, and it works just as well for home use as it does in the classroom. Roll it right outside!
If you need a sensory bin set on a table, make sure the sides are not too tall so kids do not feel like they are struggling to reach into it. Aim for a side height of around 3.25 inches. If you can place it on a child-size table, that makes it much better. Under the bed storage bins also work well for this. Grab a plastic kitchen sink dish pan from the dollar store if you need a quick, cheap alternative!
Unless you have space restrictions, try to pick a size that gives your kids room to play around without continually knocking the contents out of the bin. These more compact sensory bins with lids are a good alternative.
Sensory Bin Tips and Tricks
TIP: Due to various sensory needs, some kids may feel more comfortable standing to engage in the activity. Sitting on the floor or kneeling in front of a sensory bin may also be uncomfortable. My son’s sensory needs made standing the best choice for us.
TIP: When designing a themed sensory bin, consider how many items you put into the bin versus the size of the bin. Too many items may feel overwhelming. If your kid is playing happily with the sensory bin, resist the urge to add just one more thing!
TRICK: It’s important for the adult to model the appropriate use of sensory bins and to keep a close eye on young kids who may want to throw the filler and items. Keep a kid-size broom and dustpan handy to help them learn how to clean up spills.
Learn more about sensory bins here!
Homemade Sensory Play Recipes