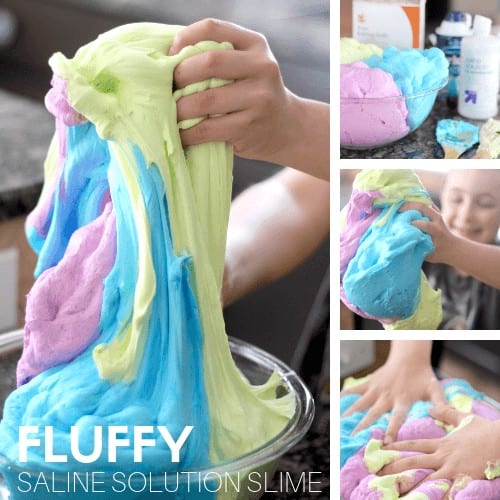
Bursting with color, this gorgeous multi colored slime hits the nail on the head for a must-try slime making activity. How do you get so many colors into one slime? We show you how! Everyone needs to try making homemade slime at least once, and this is it!
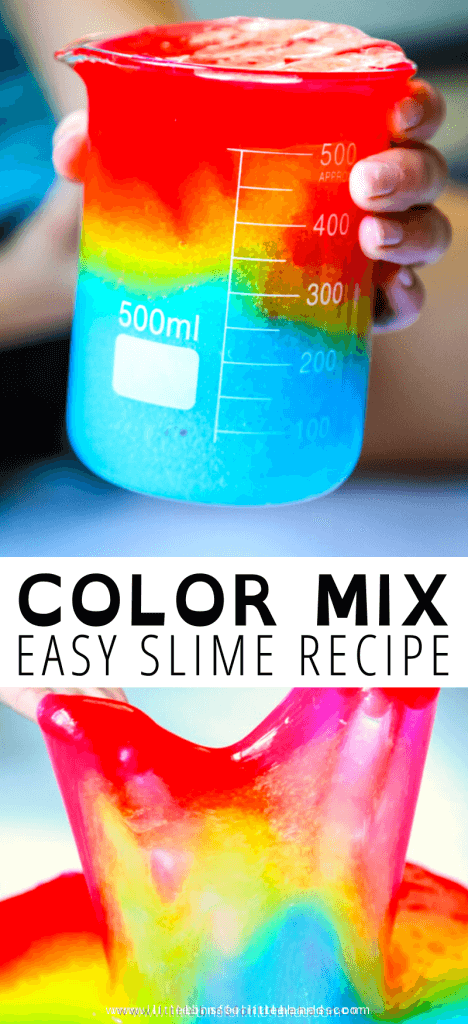
Multi Colored Slime Recipe
To get our multi colored slime, we made 3 separate batches – one yellow, blue and red. Feel free to half the quantities below for each color if you want to make a smaller amount of slime.
Supplies:
- 1/2 Cup of Clear PVA School Glue
- 1/4-1/2 Cup of Liquid Starch (Sta-Flo brand may need more)
- 1/2 Cup of Water
- Food coloring
How to Make Multi Colored SLime with Liquid Starch
STEP 1: Add 1/2 cup water and 1/2 cup of glue to a large bowl and mix well together.
STEP 2: Now’s the time to add food coloring. Mix one color into the glue and water mixture.
STEP 3: Pour in 1/4 cup of liquid starch. You will see the slime immediately start to form and pull away from the sides of the bowl. Keep stirring until you have a gooey blob of slime. The liquid should be gone!
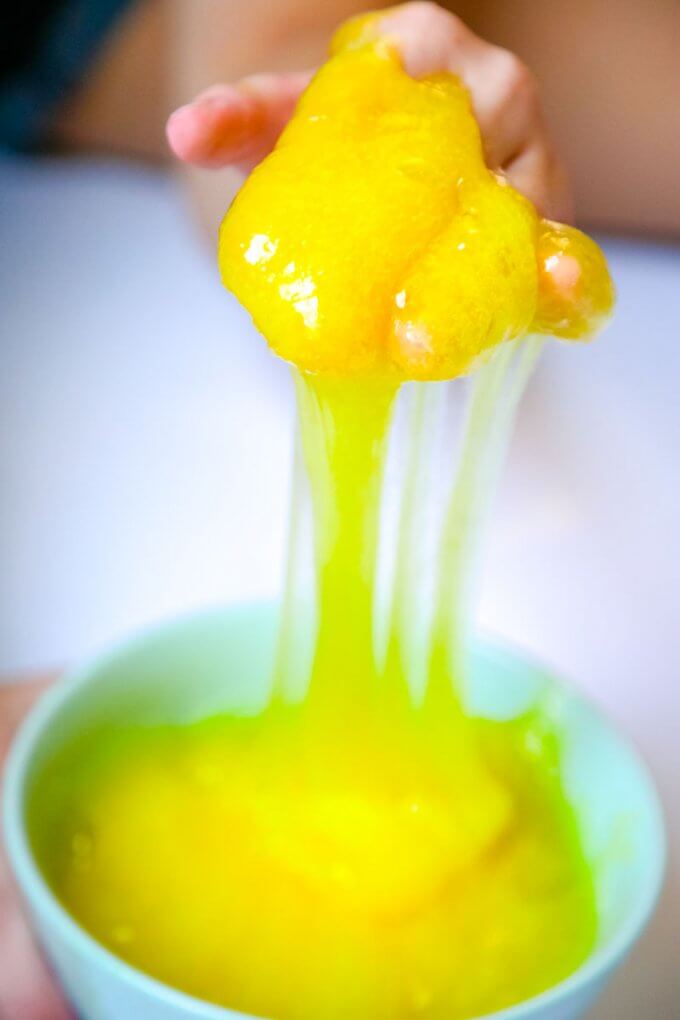
STEP 4: Start kneading your slime. It will appear stringy at first but just work it around with your hands and you will notice the consistency change.
STEP 5: Repeat the process for each color.
SLIME MAKING TIP: We always recommend kneading your slime well after mixing. Kneading the slime really helps to improve it’s consistency. The trick with liquid starch slime is to put a few drops of the liquid starch onto your hands before picking up the slime.
You can knead the slime in the bowl before you pick it up as well. This slime is stretchy but can be stickier. However, keep in mind that although adding more liquid starch reduces the stickiness, and it will eventually create a stiffer slime.

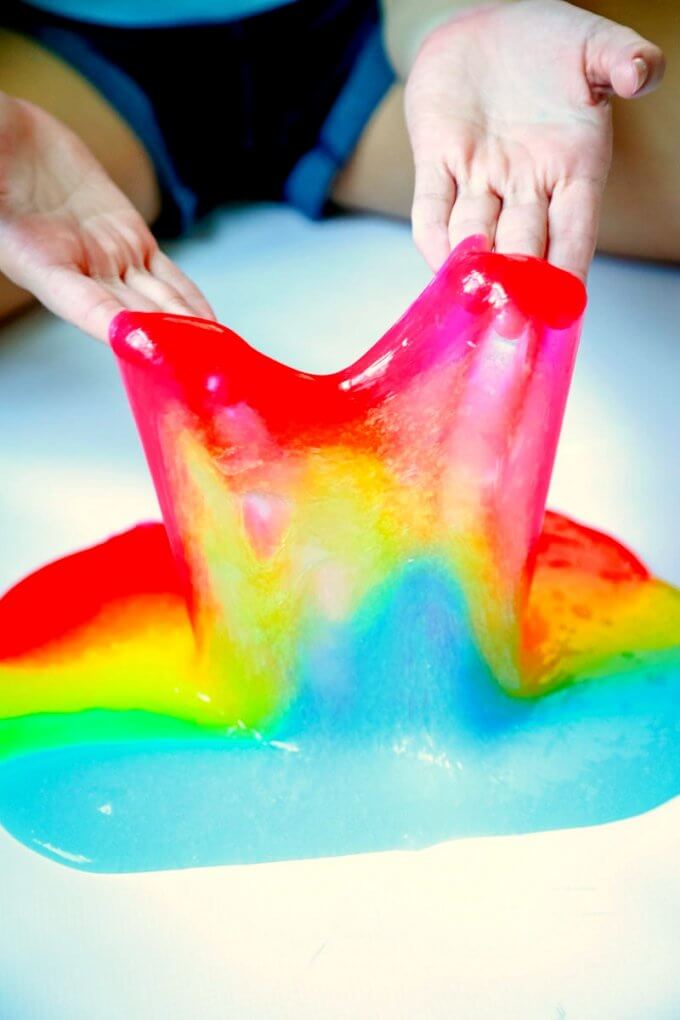
You will love how easy and stretchy this slime is to make and play with too. Once you have your desired slime consistency, time to have fun! Let’s mix the slime together to make one awesome multi colored slime!
Oh, if you get slime on clothes, in hair (It can happen!) check out our tips… How to get slime out of clothes!
How To Store Slime
Slime lasts quite a while! I get a lot of questions regarding how I store my slime. We use reusable containers in either plastic or glass. Make sure to keep your slime clean and it will last for several weeks.
If you want to send kids home with a bit of slime from a camp, party, or classroom project, I would suggest packages of reusable containers from the dollar store or grocery store or even Amazon. For large groups, we have used condiment containers and labels as seen here.
Helpful Slime Making Resources
These are the best resources to look through before, during, and after making your awesome multicolored slime!
More Fun Slime Recipes To Try
If your kids love playing with slime, why not try more favorite slime ideas…
Grab the Ultimate Slime Recipe Bundle
All the best homemade slime recipes in one place with plenty of fantastic extras!
What’s Included:
- The Ultimate Slime Guide contains all the specialty recipes you or your kids want to make! You’ll find all the best tips, tricks, hints, and slime-y info in almost 100 pages!
- The Ultimate Slime Holiday Guide covers all the best holidays and seasons with special themes and slime-y projects!
- The Ultimate Borax-FREE and Taste-Safe Slime Guide shows you how to make all the best borax-free, taste-safe, and non-toxic slimes kids love, such as marshmallow slime. These recipes do not use chemical activators such as saline solution, liquid starch, or borax powder, making them truly borax-free.
- The Ultimate Slime Coloring Book is an easy-to-print coloring book kids will love! Color and design your favorite slimes!
- The Slime Starter Guide is a fact-filled information guide with everything you need to know to make the best slime ever!
- Slime Science Project Pack helps you turn slime-making into a science lesson!