Ever wondered why a feather floats while a rock drops? With a few sheets of paper, dive into the world of air resistance and learn about physics in action! We love easy STEM activities for kids!
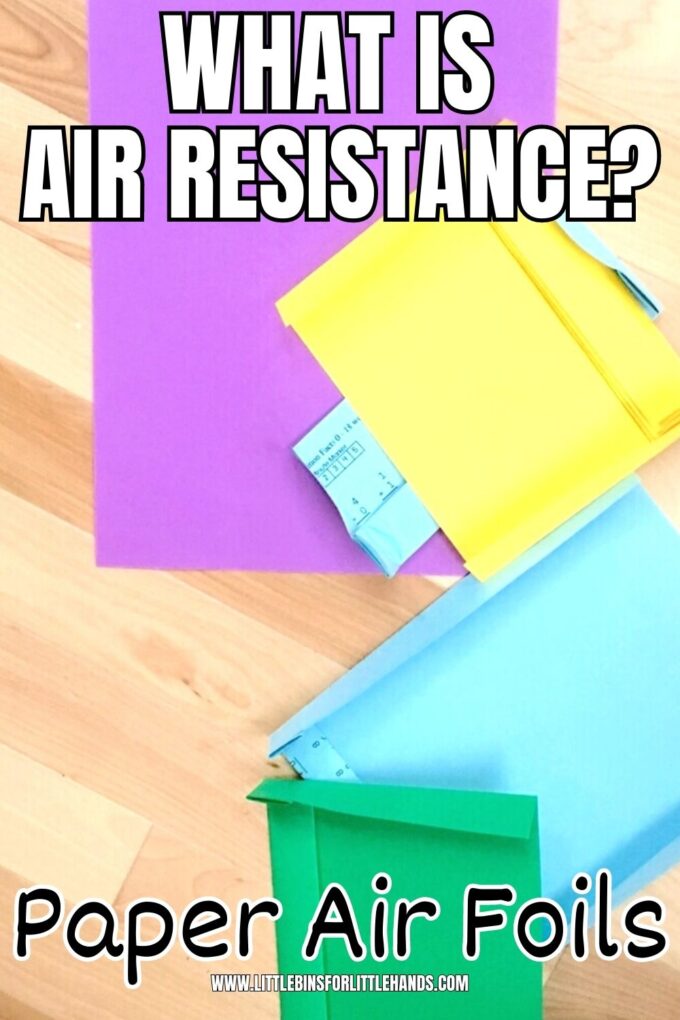
Air Resistance Experiment
Air resistance, or drag, is a force that opposes an object’s motion through the air. When objects fall, gravity pulls them downward while air resistance pushes back, slowing them down. How much air resistance an object experiences depends on its mass, surface area, and the shape of the object. Scientists measure this through drag coefficients and study how to reduce air resistance to improve designs for faster planes, more efficient cars, and even better parachutes.
Grade Level Recommendation: Best for Grades K-5. Younger kids can observe and describe what they see, while older kids can take notes, draw conclusions, and use graphs to record their results.
Supplies:
- Printer or computer paper (white or colored)
- Different Materials: Coffee filters
- Various weights (like small objects to add mass)
- Notebook for recording results and graphing
- Optional: heavier paper types, such as cardstock or poster board
- Balloons (for balloon rockets)
Instructions:
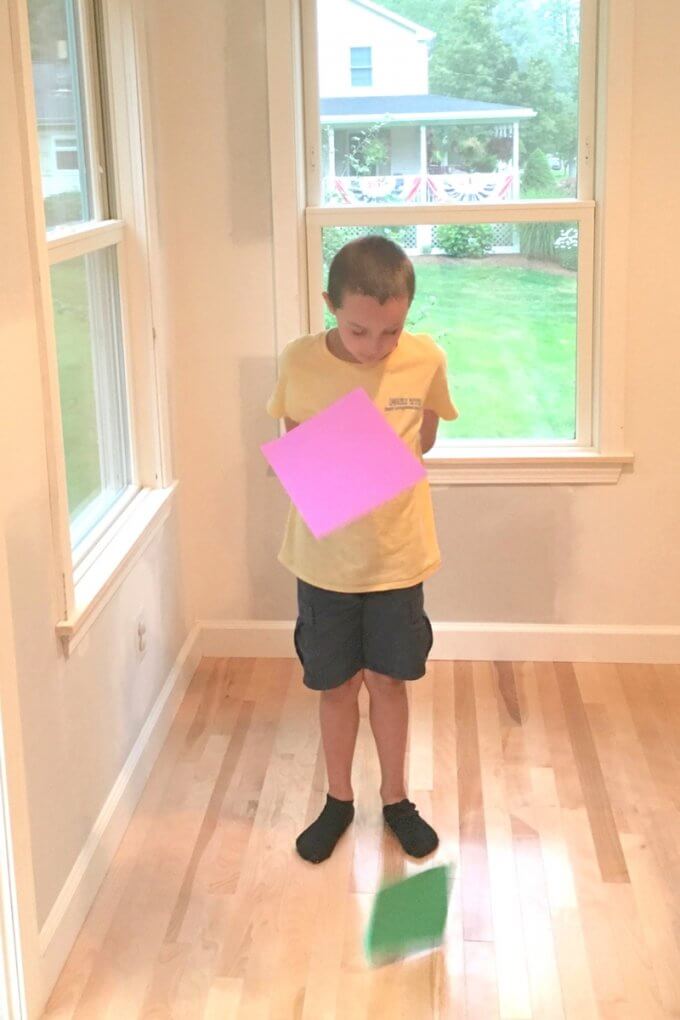
Step 1: Set Up a Control Test to Explore Air Resistance
- Hold an unfolded sheet of paper at arm’s length and drop it.
- Observe: Does it drop fast, or does it float slowly? How does it react to air?
- Record your observations. This is your “control” or constant—an unaltered object used to observe how it behaves under the force of gravity and air resistance.
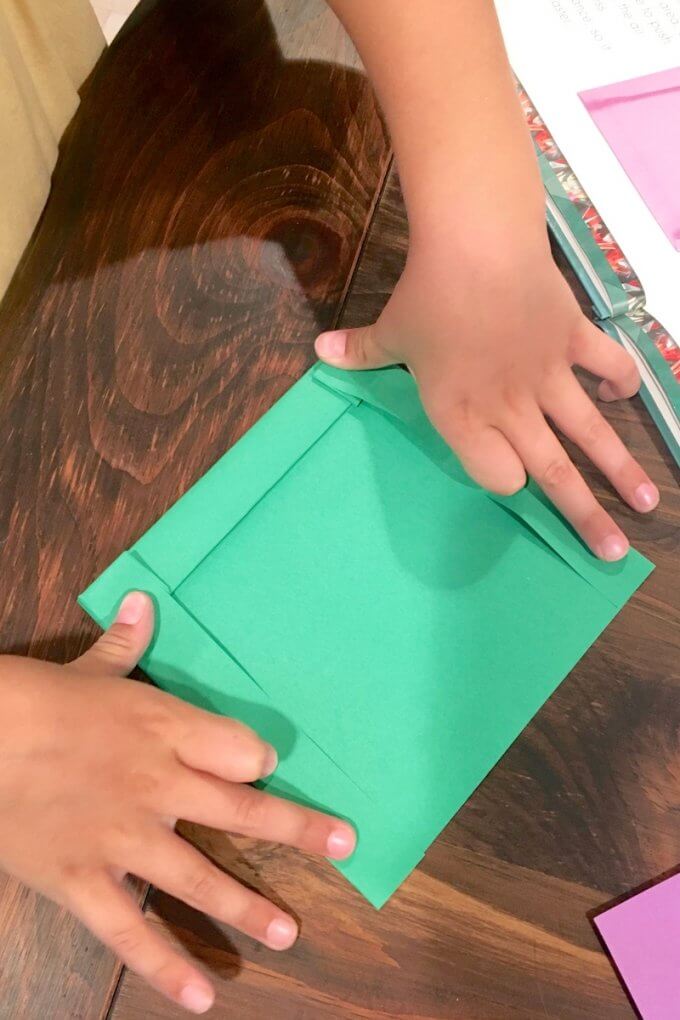
Step 2: Experiment with Different Airfoil Shapes
Now, we’ll test how changing the shape of the object affects its descent.
- Fold the paper in different ways:
- One-third up the sheet
- Halfway up the sheet
- Three-quarters up the sheet
- Each fold changes the surface area, creating new airfoil shapes.
- Test each airfoil by dropping it from the same height. Notice if it falls faster or slower than the control, and record your results in a notebook.
💡 TIP: You are not flipping back and forth like making a paper fan, but instead folding the paper over until you reach the 1/2 way point or whatever point you choose to test.
💡 Test It: folded paper Air Foil versus plain piece of unfolded paper

What is Air Resistance?
Air resistance acts as a downward force countered by acceleration from gravity. When objects like paper airfoils or parachutes move through the air, they encounter air particles, which creates resistance. The larger an object’s surface area, the greater the air resistance it will face. This explains why a feather falls more slowly than a rock—it has a greater surface area relative to its mass, causing more drag.
As the air resistance and gravity equalize, objects reach a terminal velocity or constant velocity, meaning they fall without accelerating. Scientists apply these principles to design parachutes, kites, and even safety gear to effectively balance air resistance and gravity.
Applying the Scientific Method
By now, you may have developed your hypothesis, which might be: Do different shapes of paper have different air resistance?
- Question: How does folding paper affect its speed when falling?
- Hypothesis: Different paper shapes will result in different fall rates due to changes in air resistance and drag coefficients.
- Experiment: Drop each shape and observe the effect of each fold. Does it float, or does it fall straight down?
- Data Collection: Record observations for each paper fold and plot results on a graph.
- Conclusion: Based on the observations, determine which shapes experience more or less air resistance.
More Air Resistance Science Experiments
Sailboat Races: Build small sailboats with paper sails and observe how air resistance moves them in water.
Parachute Drop: Make mini parachutes from coffee filters or tissue paper. Observe how the increased surface area slows the descent.
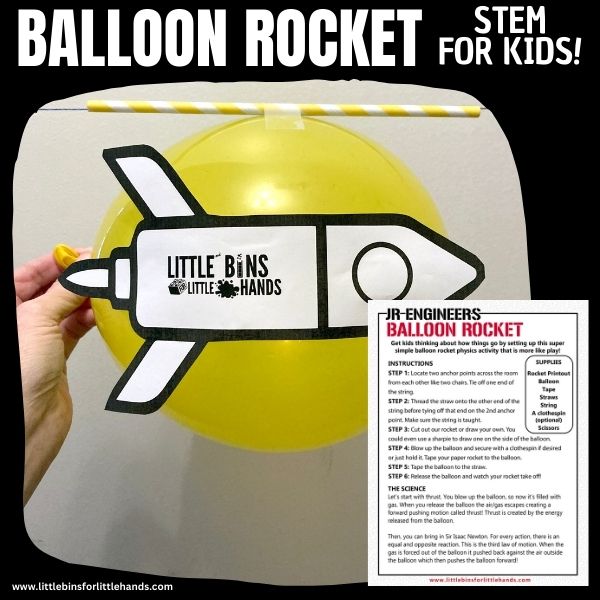
Balloon Rockets: Attach a balloon to a string and release it. Observe how air resistance affects its movement.
Paper Airplane Competition: Try different designs to see which flies longest, observing how shape impacts air resistance.
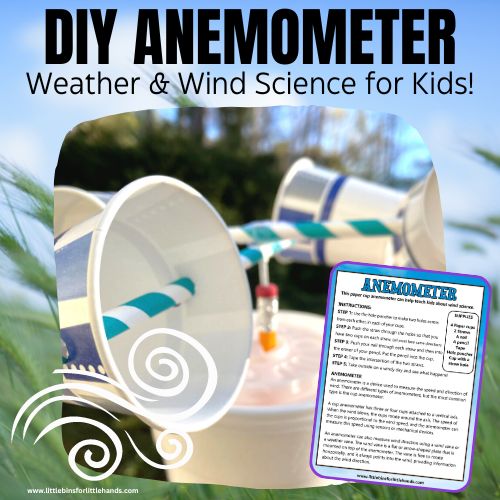
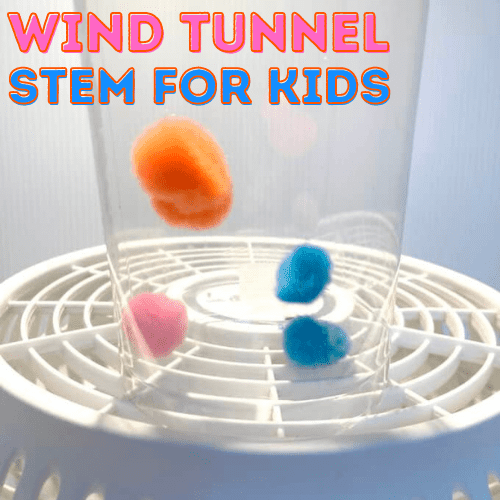
Wind Tunnel Experiment: Create a simple wind tube and test objects to see how air resistance affects their movement.
Feather and Paper Races: Use a feather and a sheet of paper to explore how mass and surface area affect air resistance.
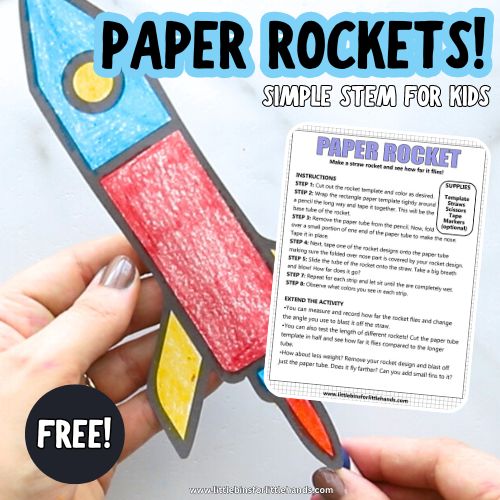
Straw Rockets: Using paper, create simple rockets and attach them to plastic straws. Kids can blow into the straw to launch the rockets and observe how air resistance affects their flight. Watch the video to see how to create your own. Grab the templates for all the activities and many more in our Paper Projects Pack.
Balloon Cars: Create simple balloon-powered cars using straws, bottle caps, and balloons. Kids can experiment with different balloon sizes and shapes to see how air resistance affects the car’s speed. In addition, you can set up balloon rockets!
Flying Kites: Make a DIY kite! Fly kites on a windy day and discuss with kids how the shape and design of the kite help it overcome air resistance.
Windmill STEM Project: Build a windmill and test it outside. Learn about how useful wind power can be and how it is generated.


Helpful Science Resources
Here are a few resources to help you introduce science more effectively to your kids or students and feel confident presenting materials. You’ll find helpful free printables throughout.
- Printable Science Project Pack 👇
- Best Science Practices (as it relates to the scientific method)
- Science Vocabulary
- All About Scientists
- Free Science Worksheets
- DIY Science Kits
- Science Tools for Kids
- Scientific Method for Kids
- Citizen Science Guide
- Join us in the Club


2 Comments
Comments are closed.