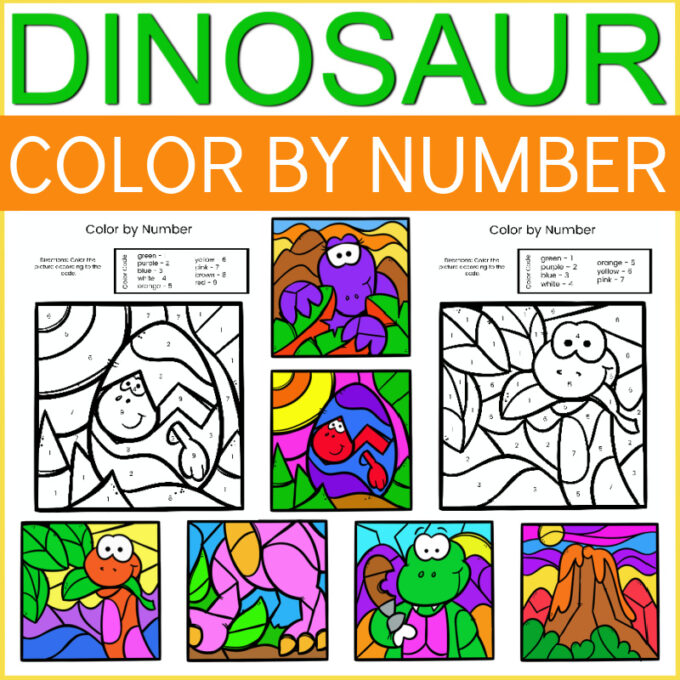
Whether you want to explore a popular theme, like dinosaurs, or find a way to sneak in math skills, create a dinosaur sensory bin! With a few tips, tricks, and ideas, enjoy sensory play all year long! Grab a free printable dinosaur color-by-number activity and our how-to-make-a-sensory-bin guide!
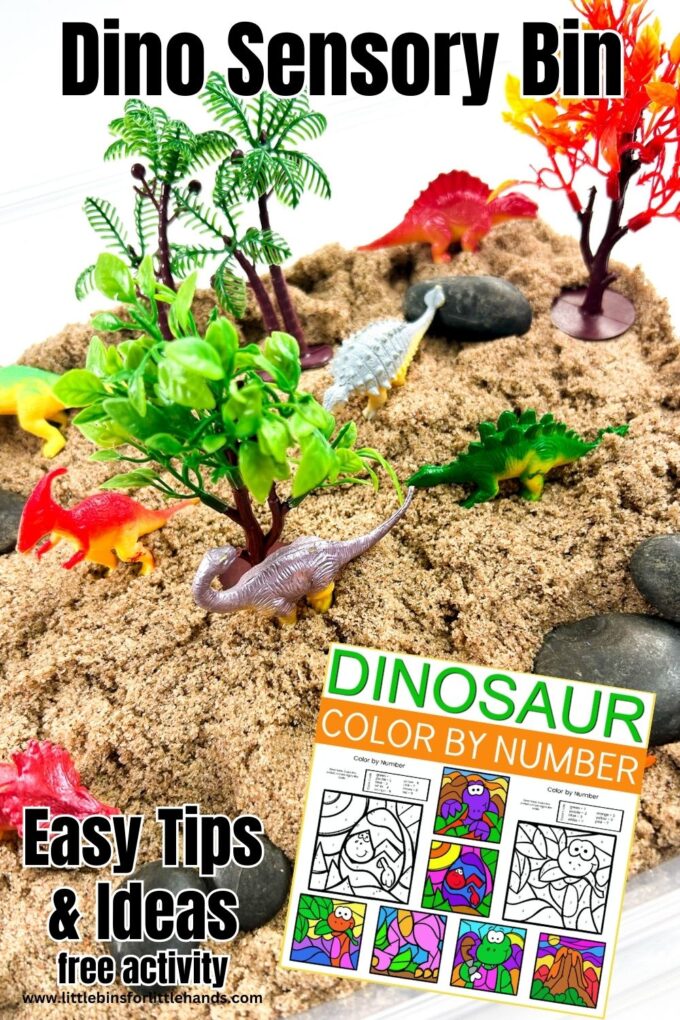
Dinosaur Sensory Bin Ideas
Below, you’ll find many resources to help you assemble an entire dinosaur-themed unit. Your kids will have so much fun with the hands-on activities below.
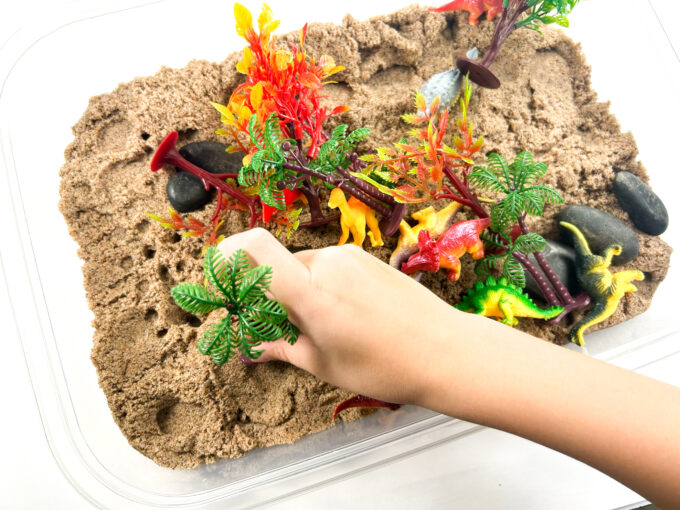
Add accessories and tools that encourage fine motor practice with the young age group for which a sensory bin is designed. This can be as simple as scooping the filler into a small container and then dumping it into another container. For a more complex activity, provide kitchen tongs to grab objects and transfer them to a container.
👉 Explore all of our dinosaur activities here
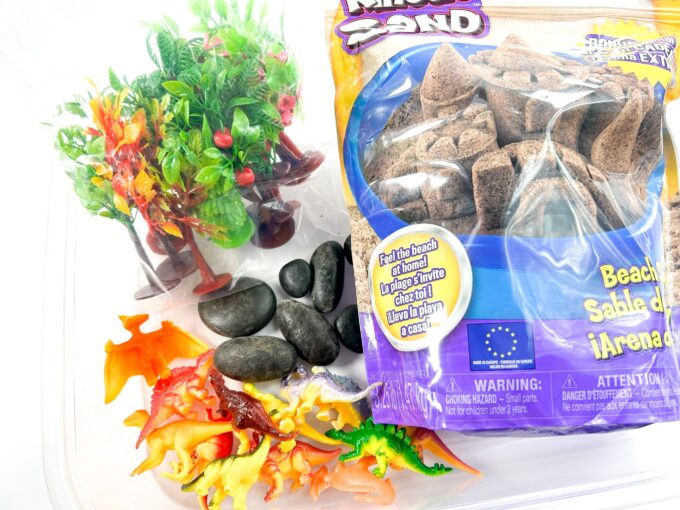
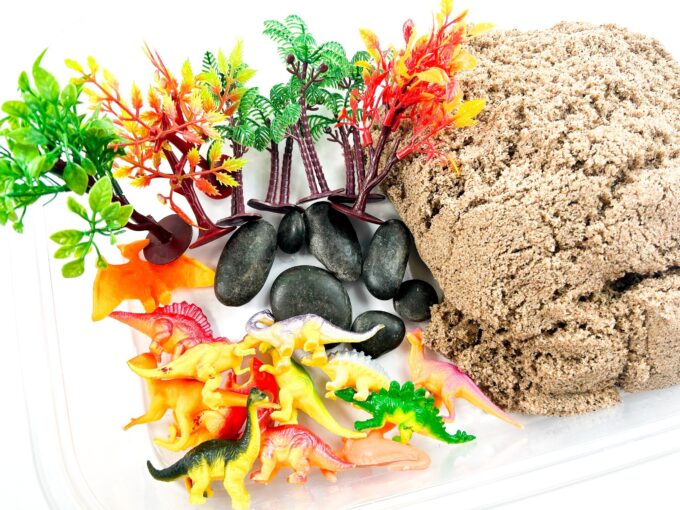
Dinosaur Sensory Bin Supplies
Use moldable sand, moon sand, or cloud dough (favorite) as your base. You can buy it or make your own—we have easy recipes for all three.
You don’t need exact materials. Use what you have and adjust for your space and kids.
Add a theme with:
- Toy dinosaurs
- Rocks or pebbles
- Small trees or plants
- Scoops, cups, or tools
💡 Check the dollar store or craft stores like Michaels for simple add-ins.
SAFETY NOTE: We do NOT recommend using water beads due to extreme health risks. Please DO NOT use water beads as a sensory bin filler.
Free Quick Start Sensory Bin Guide
How to Set Up a Simple Dinosaur Sensory Bin
It’s pretty much a 1-2-3 process for setting up a sensory bin. Remember, it will never look as pretty as it does in the moment before your kids dig into it! Don’t make it too complicated.
STEP 1 FILLER: Moldable sand is a fantastic, highly reusable sensory bin filler for a variety of themes. Spread it around the base of your sensory bin. Want to know more about choosing a sensory bin, keep reading!

STEP 2 THEMED ITEMS: Place the other items on top, including dinosaurs, rocks, and trees.
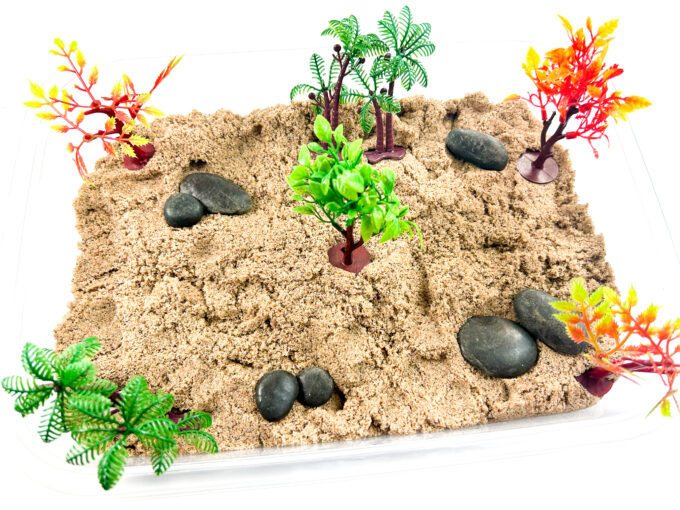
STEP 3 BIG ITEMS: Add a scoop, kitchen tongs, and a container if desired.
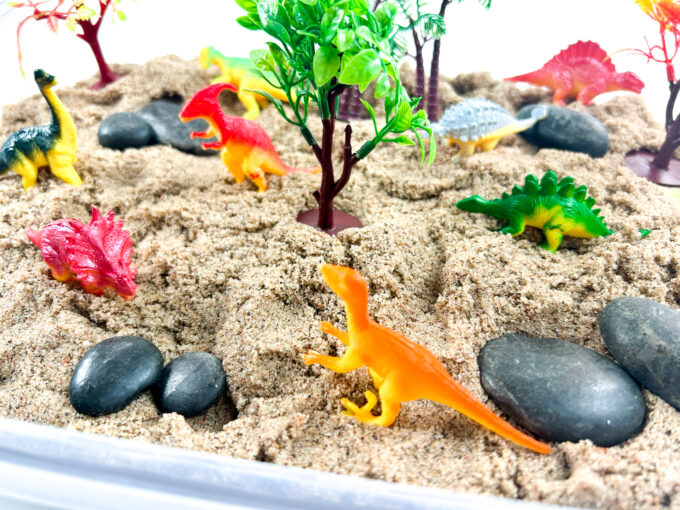
ENJOY! All that’s left is to invite the kids to explore the contents of the garden sensory bin!
TIP: Always add a few themed books, games, or puzzles to the side of the bin as a nice transition between activities. Grab the free dinosaur color by number pack!
More Fun Dinosaur Activities to Try
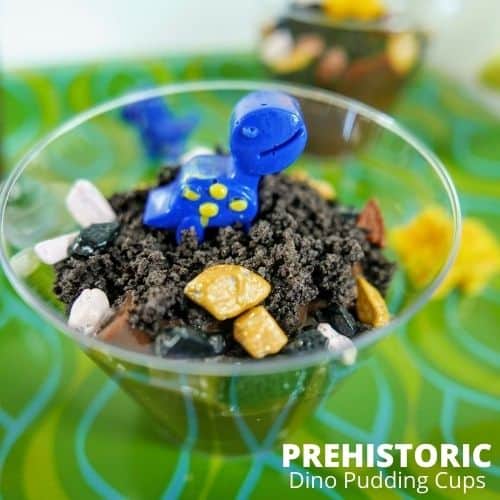
- Make dinosaur pudding cups for a not-so-prehistoric snack.
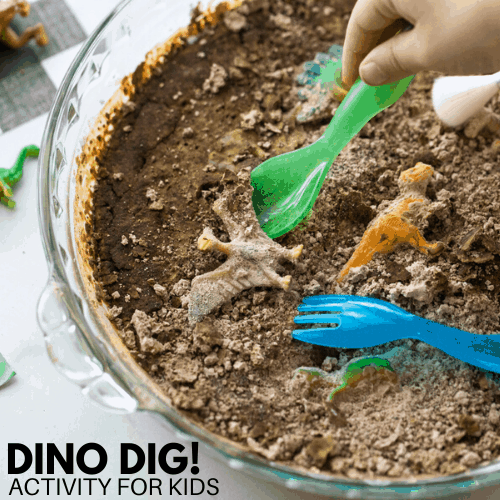
- Create a dinosaur dig in the kitchen.
- Set up this fun dinosaur volcano sensory bin.
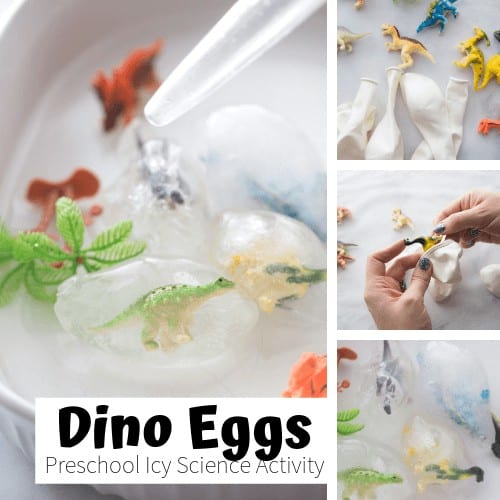
- Hatch icy dinosaur eggs.
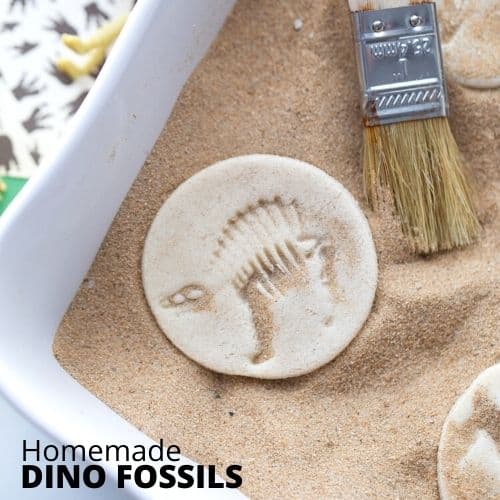
- Make salt dough dino fossils.
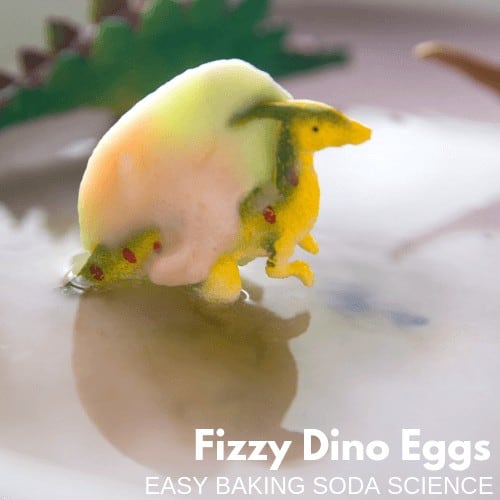
- Hatch baking soda vinegar dino eggs.
- Check out all our dinosaur theme projects!
- Free dinosaur camp week guide
The Best Sensory Bin To Use
Start simple. You don’t need anything fancy to make a great sensory bin.
- Shallow plastic bins (about 3–4 inches deep) are the easiest for kids to use
- Under-bed storage bins work great for bigger setups
- Dishpans are perfect for quick, low-cost options
💡 The goal: give kids enough space to play without making a huge mess.
If you have the room, a sensory table is a great upgrade. It lets kids stand and play comfortably and works well for multiple kids at once.
Sensory Bin Tips (That Actually Matter)
- Keep cleanup simple. A small broom + dustpan goes a long way
- Less is better. Too many items can feel overwhelming
- Let kids stand if needed. It’s often more comfortable
- Model how to play. Show scooping, pouring, and gentle use
👉 Learn more about sensory bins here!
Homemade Sensory Play Recipes
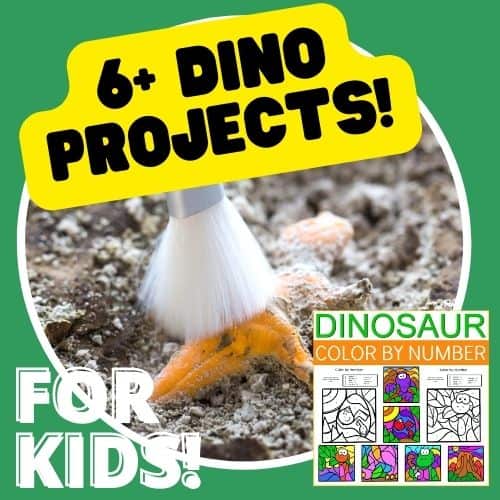
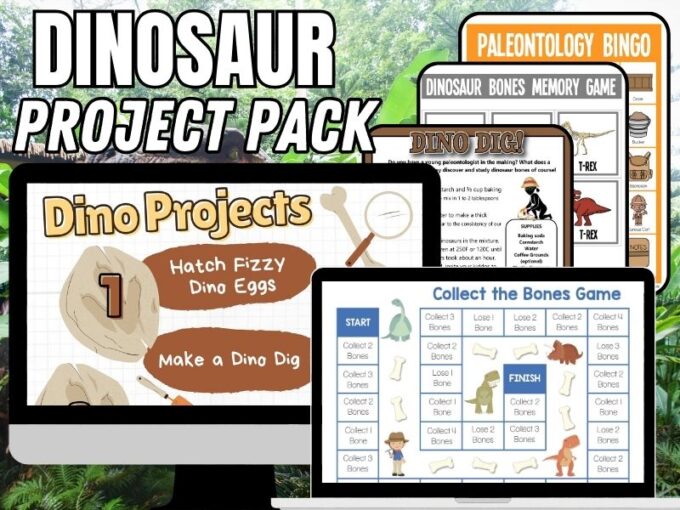
Printable Dinosaur Project Pack
This printable dinosaur project pack is perfect for Pre-K, K, 1st-grade ages, and any kiddo that loves dinosaurs. 15+ activities to keep your dino fans busy!


I love it–the water bin is the perfect place for the dinosaurs!! 😉 I also had to laugh at him washing his hands at each step, lol…my daughter would do that too!
Yes, best to let him just do it and much easier than him washing his hands after shaving cream or oobleck in the bathroom every 20 secs! Guess lesson learned that hands on messy should be done outside with a bucket of water. This sure was fun to make together.
Very cute! I kind of wish we had a sand and water table now. Too bad I really hate sand! lol Thanks for sharing at Mom’s Library!
What a great idea! I love all the sensory components to this activity. I’ve also heard about mixing flour and baby oil together to make sand – I think that’s going to be my next adventure with the kids! Thanks for sharing
So neat! Where did you get the table? I need one or two of those.
Oh that is just a water table from toys r us! I bet you can find it on craigslist too especially at the end of the season.
I’ll have to try this. I’ve been getting everything ready before hand, but it’s probably twice the fun for them to help every step of the way! Thanks for the tip!
I really enjoyed how he was involved in this rather than it being set up for him. I am totally kicking myself for giving away our own water table because now I want to do this exact one with my kids. Thank you for linking up to Magic Moments Monday!