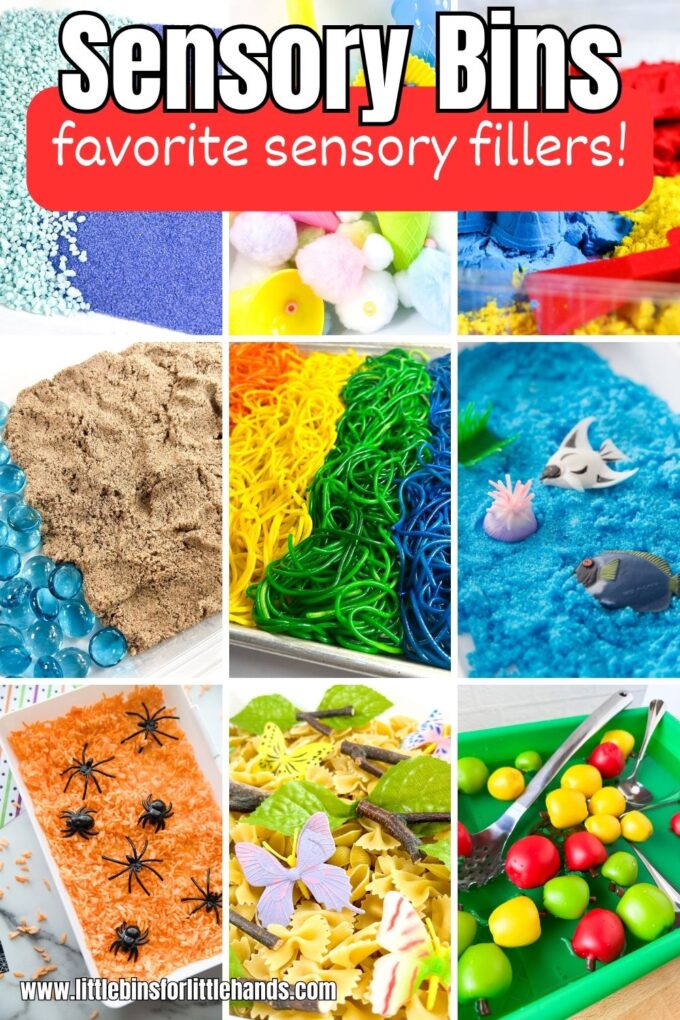
Sensory play is a fantastic way for kids to explore textures, colors, and materials while developing fine motor skills and creativity. Set up a fun and colorful bean sensory bin with colored beans. Here’s a step-by-step guide on how to dye beans for sensory play.

How to Dye Beans For Sensory Play
🛑 Always supervise young kids during sensory play and sensory bin use!
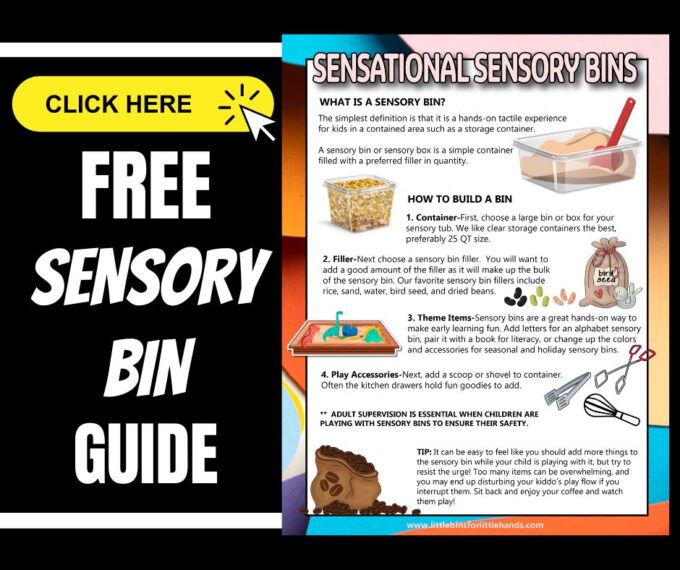
If you’re new to sensory bins or want to find more ways to enjoy sensory bins, read our Best Sensory Bins Guide [here].
Materials Needed:
💡 Additionally, you can substitute vinegar and food coloring with acrylic paint or liquid watercolors for even more vibrant options. However, these variations can be messier to make.
- Dry white beans
- Food gel coloring
- Resealable plastic bags or containers with lids
- Vinegar or rubbing alcohol
- Baking sheets or trays
- Parchment paper or aluminum foil
- Gloves (optional)
💡 Use a vibrant set of food coloring dyes with various color shades for a better variety of colors [Amazon Affiliate link here].

Instructions:
STEP 1. Start by gathering all the materials you need. Ensure you have enough beans and different colors of food coloring for variety.
💡 Remember, you can mix in black beans and lentils for pops of color. Black beans would be easier to use than dying white beans black. Black beans are perfect for a space theme, while lentils are fun for a plant theme.
STEP 2. Measure the dry white beans you want to dye. You can dye beans in batches to create different colors.
STEP 3. Add a few drops of food coloring to a resealable plastic bag or container. Start with about 10-15 drops. Add more drops if you want a more vibrant color.
- If using liquid watercolors, aim for 5-7 drops.
- If using acrylic paint, aim for 1-2 tablespoons.
STEP 4. Add 1-2 teaspoons of vinegar or rubbing alcohol to the bag or container. This helps the color adhere to the beans. (Omit if using paint or watercolors.)
STEP 5. Place the beans in the bag or container with the dye solution. Seal the bag or close the container tightly.
STEP 6. Shake the bag or container vigorously to ensure all the beans are coated evenly with the dye. This is a fun step that kids can help out with!
STEP 7. Line a baking sheet or tray with parchment paper or aluminum foil. Spread the dyed beans out in a single layer to dry. Allow them to dry for at least 24 hours. You can occasionally stir the beans to ensure all sides dry evenly to speed up the drying process.

STEP 8. Repeat the process with different colors of food coloring to create a variety of colored beans.
💡 Once completely dry, store the beans in an airtight container. They are now ready for sensory play! Use them in sensory bins for counting games, sorting by color, or any other creative activity.
- Add scoops, spoons, and tongs
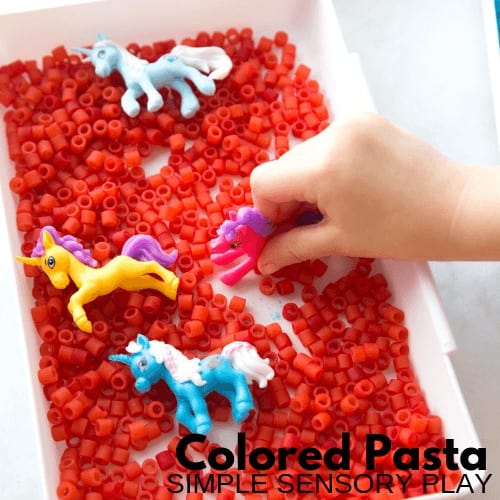
- Add small items, such as plastic insects, as shown below
- Add small containers for filling, sorting, and transferring

How To Store Colored Beans
Your dyed dry white beans will last a long time if stored properly. Colored beans can last for several months to a year. Here’s how to store them and additional information about their durability and colorfastness.
- Ensure Complete Drying: Before storing, ensure the beans are completely dry. Any remaining moisture can lead to mold growth.
- Use Airtight Containers: Store the beans in glass or plastic containers with tight-fitting lids or resealable plastic bags. This will protect them from moisture and pests.
- Label the Containers: If you have multiple colors or types of sensory materials, label each container with the contents and date of dyeing. This will help you track what you have and when it was made.
- Cool, Dry Storage: Keep the containers in a cool, dry place away from direct sunlight. Sunlight can fade the colors over time.
💡 Remember to periodically inspect the beans for any signs of mold or damage. Discard any beans that show signs of spoilage.
Will the Color Rub Off?
TIP 1: In the first few days after dyeing, the color might rub off slightly if the beans are not thoroughly dried or if too much dye was used. To prevent this, ensure thorough drying and consider using minimal dye.
TIP 2: If you notice color transfer, you can seal the color by lightly spraying the dried beans with a clear acrylic sealer or a mixture of water and white glue (in a 1:1 ratio). Let them dry completely before storing or using them.
💡 We generally have not had any issues with the color rubbing off. However, this may be different in varying climates.
10 Fun Ways To Use Colored Beans
These activities make the most of everyday materials, keeping costs low while providing kids with fun and educational sensory play.
Color Sorting: Dyed white beans in various colors. Kids can sort the beans by color into small muffin tin or bowls.
Letter and Number Hunt: Fill a container with beans and hide letters and numbers in the beans. Kids can find and identify them.
Counting and Math Games: Use the beans to teach counting, addition, and subtraction. Write numbers on paper and have kids place the correct number of beans on each number.
Pattern Making: Kids can create patterns and designs by gluing various colored beans onto paper. This helps with fine motor skills and pattern recognition.
Sensory Bottles: Fill empty plastic bottles with beans to create sensory shakers. Kids can enjoy the sound and visual appeal of the colorful beans.
Sensory Bin Garden: Create a small garden scene by placing the green colored beans as grass and brown beans as soil, then adding fake flowers and toy insects.
Rainbow Treasure Hunt: Color beans in rainbow colors (red, orange, yellow, green, blue, purple) and fill a container in layers to create a rainbow effect. Hide small toys or “treasures” for kids to find.
Pretend Cooking: Kids can use the beans as pretend ingredients for cooking with small pots, pans and spoons. This encourages imaginative play and fine motor skills.
Under The Sea Sensory Bin: Fill the bin with blue colored beans to represent water. Add toy sea creatures, shells, and pebbles. Provide small nets and containers for kids to “fish” for the sea creatures and explore the underwater world.
Animal Habitat Sensory Bin: Dye white beans blue for water, green for grass, brown for soil. Create different habitats by using the beans to represent different environments and placing the corresponding animals in each area.
More Dyed Sensory Bin Fillers
These dyed sensory bin fillers below are also an excellent option for sensory play:
- Dyed Rice
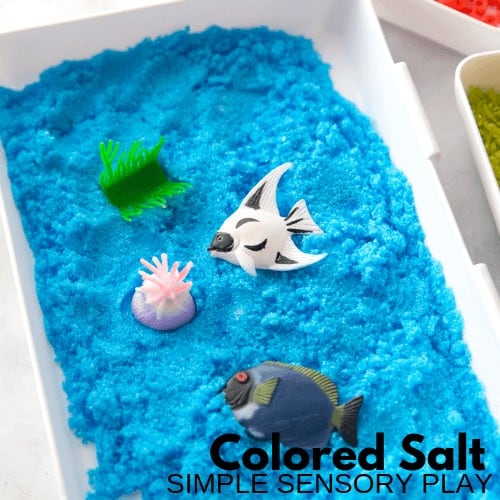
- Colored Salt
- Dyed Pasta
- Dyed Coconut
- Colored Kinetic Sand
- Colored Cloud Dough
- Colored Spaghetti
- Dyed Chickpeas

Check Out These Helpful Sensory Bin Resources
There’s so much more to learn about sensory bins and sensory play.