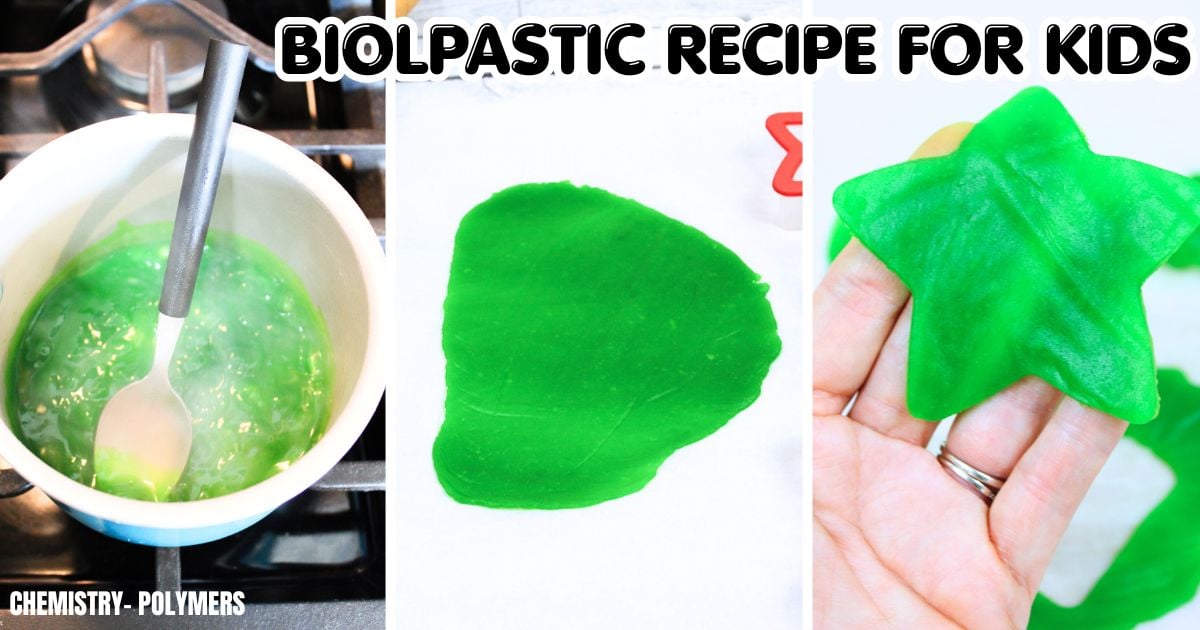
Can you make plastic from plants? This easy bioplastic recipe uses cornstarch, vinegar, glycerin, and water to create a simple biodegradable plastic that kids can make at home or in the classroom.
As the mixture heats and dries, it forms a flexible polymer that can be shaped into decorations, jewelry, ornaments, bookmarks, and more. Along the way, kids explore polymers, material science, sustainability, and the chemistry behind biodegradable plastics.
What is bioplastic?
Bioplastic is a material made from renewable resources such as cornstarch, potatoes, algae, or plant oils. Unlike many traditional plastics, bioplastics are made from natural materials and may break down more easily in the environment.
Homemade Bioplastic
- Field: Chemistry—Polymers
- Grades: 3–8
- Concepts Explored: Polymers, bioplastics, biodegradable materials, material properties, sustainability, renewable resources
👉 Looking for more hands-on chemistry investigations? Visit our Kitchen Chemistry hub to explore polymers, reactions, density, and other material science activities.
What Are Bioplastics?
Bioplastics are materials made from natural, renewable resources such as cornstarch, potatoes, algae, or plant oils.
Unlike many traditional plastics made from petroleum, bioplastics come from plant-based sources and can break down more easily in the environment under the right conditions.
Scientists continue to develop new bioplastics as alternatives to single-use plastics used in packaging, food containers, and other everyday products.
💡 This activity allows kids to create a simple starch-based bioplastic while learning how chemistry and engineering can help solve real-world environmental challenges.
How To Make Bioplastic
Materials
- 2 tablespoons cornstarch
- 1 tablespoon vinegar
- 1 teaspoon glycerin
- 4 tablespoons water
- Food coloring (optional)
- Mixing bowl
- Spoon
- Small saucepan
- Parchment paper or silicone mat
- Rolling pin (optional)
Instructions
STEP 1
Combine the cornstarch, vinegar, glycerin, and water in a bowl. Add food coloring if desired.

STEP 2
Pour the mixture into a saucepan and heat over medium-low heat.
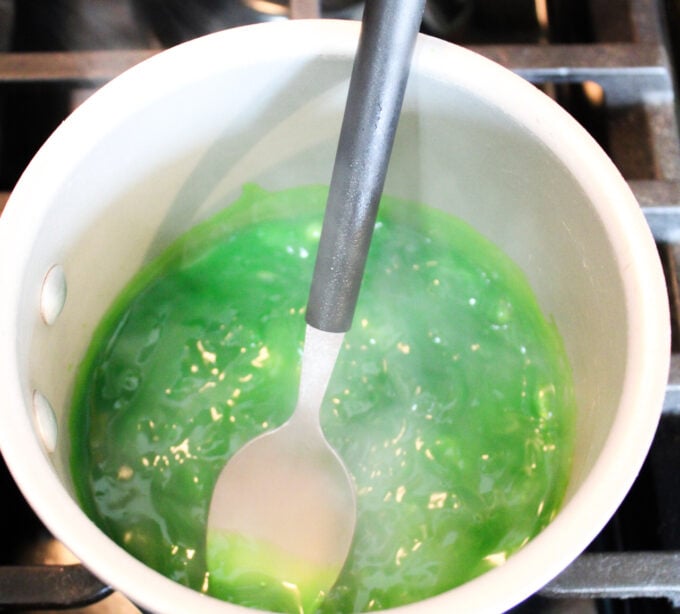
STEP 3
Stir constantly for 90 seconds to 2 minutes until the mixture thickens and becomes translucent.
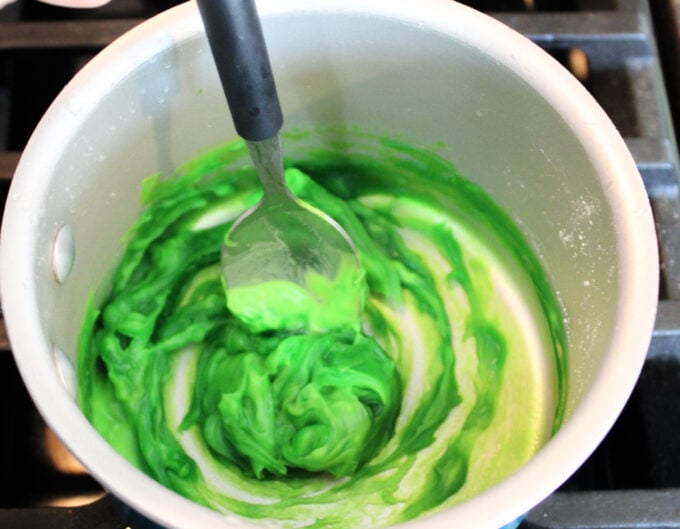
STEP 4
Remove from heat and allow the mixture to cool for 1–2 minutes.
STEP 5
Place the bioplastic onto parchment paper and roll it out to the desired thickness.
STEP 6
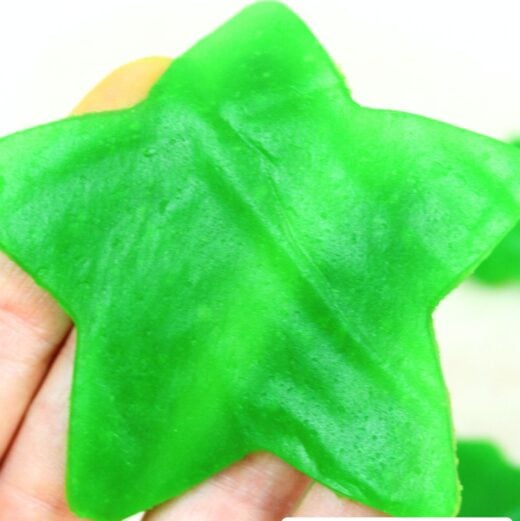
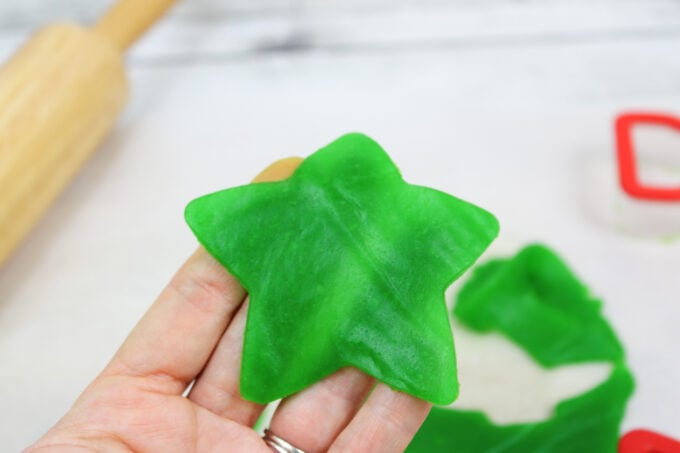
Shape, cut, or mold the material as desired.
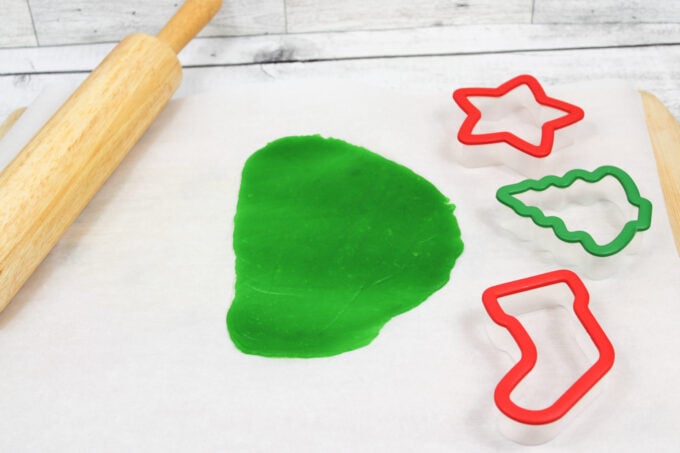
STEP 7
Allow the bioplastic to dry for 1–2 days, turning it occasionally to ensure even drying.
Approximate Yield:
- Small Cookie Cutters (2-3 inches): Around 6-8 ornaments.
- Medium Cookie Cutters (3-4 inches): Around 4-6 ornaments.
- Large Cookie Cutters (4-5 inches): Around 3-4 ornaments.
The Science Behind Bioplastics
This activity demonstrates polymer science using ingredients commonly found in the kitchen.
Cornstarch contains long chains of glucose molecules called starch polymers. When heated with water, the starch granules absorb moisture and swell. As the mixture thickens, the starch molecules begin forming a network throughout the material.
Why Add Glycerin?
Glycerin acts as a plasticizer.
A plasticizer helps polymers move more easily past one another, making the finished bioplastic more flexible and less likely to crack.
💡 Without glycerin, the material would become stiff and brittle.
What Does Vinegar Do?
The vinegar helps the ingredients combine smoothly and improves the formation of the polymer network.
How Does The Bioplastic Harden?
As the material dries, water slowly evaporates.
The starch chains move closer together and form stronger connections, creating a solid sheet of bioplastic.
This process changes the texture from a soft, gel-like material to a firm, plastic-like material.
👉 Learn more about polymers and material properties in our Polymer Science for Kids guide.
Test Your Bioplastic
Scientists study materials by testing their properties.
After your bioplastic dries, investigate:
- Is it flexible or brittle?
- Can it bend without breaking?
- Is it transparent or opaque?
- Does thickness affect strength?
- How does it compare to traditional plastic?
Record your observations and compare different batches.
👉 Learn more about Material Properties here
Why Are Bioplastics Important?
Many traditional plastics remain in the environment for hundreds of years.
Bioplastics are being developed to reduce waste and dependence on fossil fuels by using renewable plant-based materials.
Scientists and engineers are exploring bioplastics for:
- Food packaging
- Disposable utensils
- Medical materials
- Agricultural products
- Consumer goods
This activity shows how chemistry can help solve environmental problems through innovation and material design.
Ways To Use Homemade Bioplastic
Once your bioplastic dries, try making:
- Ornaments
- Jewelry
- Bookmarks
- Decorative shapes
- Gift tags
- Nature-inspired art
- Small science models
Free Polymer Science Labs Guide
Want to explore more amazing polymers?
Grab our FREE Polymer Science Labs Guide packed with investigations that help kids discover how polymers stretch, bend, bounce, absorb water, and change shape.
Inside you’ll find:
✔ Polymer Science Labs Guide
✔ 5-Day Polymer Science Lab Plan
✔ Polymer Hunt Activity
✔ Polymer Investigation Sheet
✔ Observation Pages
Perfect for classrooms, homeschool lessons, and curious young scientists.
Bioplastic FAQ for Kids
What is bioplastic made from? This bioplastic uses cornstarch, water, vinegar, and glycerin to create a simple, biodegradable polymer.
Is bioplastic a polymer? Yes. Bioplastics are made from long chains of molecules called polymers. In this activity, starch molecules form the polymer structure.
Why is glycerin added to bioplastics? Glycerin acts as a plasticizer, making the material more flexible and less likely to crack.
Can bioplastic replace regular plastic? Some bioplastics are already used in packaging, utensils, and consumer products, although different materials are needed for different applications.
How long does homemade bioplastic last?
If kept dry, homemade bioplastic can last for months. Over time, it may become more brittle or begin to break down.
Why is bioplastic considered more sustainable? Bioplastics are often made from renewable plant-based resources instead of petroleum and may break down more easily in the environment.
More Polymer Science Activities
- Plastic Milk Experiment
- Leakproof Bag Experiment
- Guar Gum Slime
- Gelatin Slime
- Strawberry DNA
- Homemade Bouncy Balls
Looking for more hands-on science activities? Explore our Kitchen Chemistry hub for polymers, reactions, density experiments, and other hands-on science investigations.
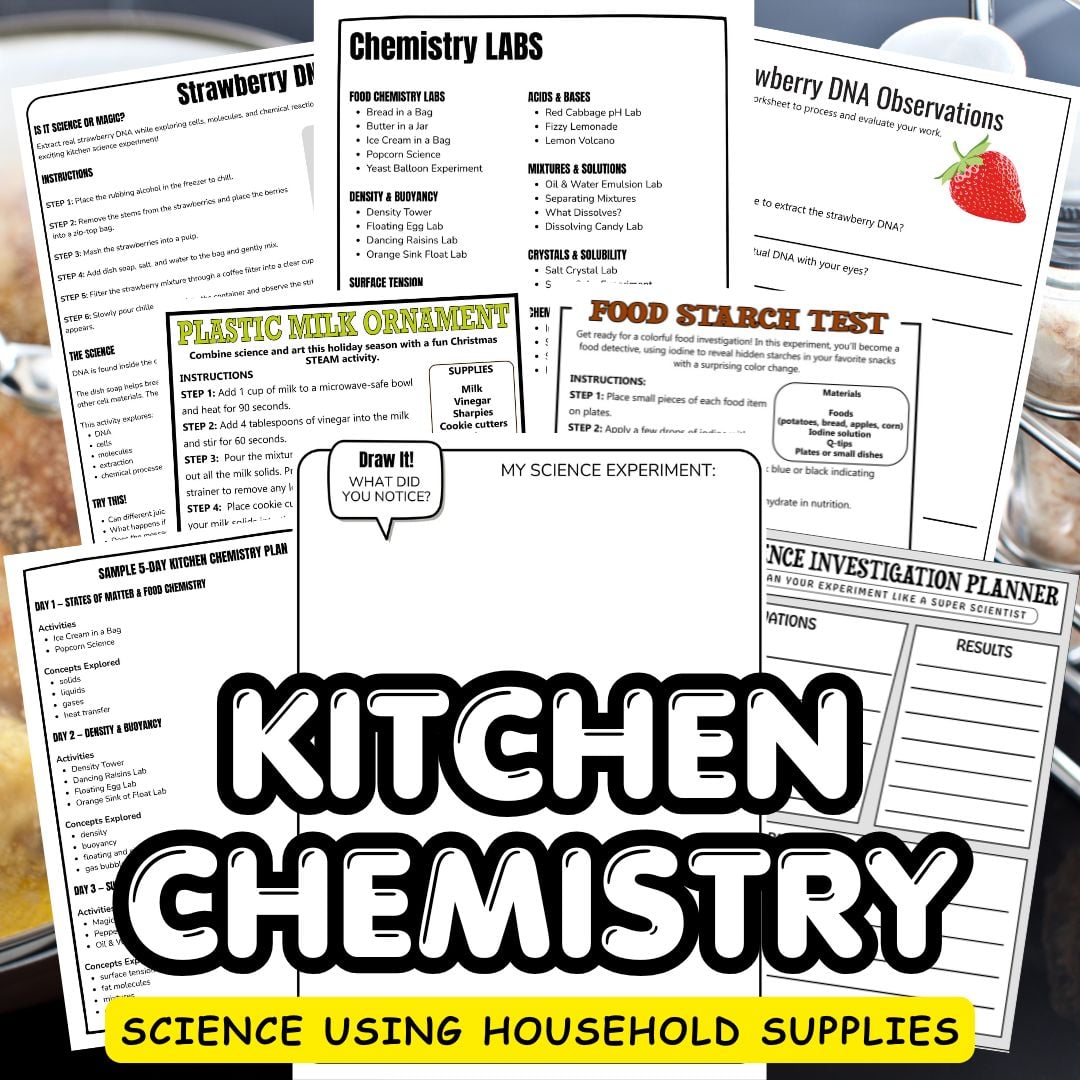
Explore More Kitchen Chemistry
Continue the fun with our Kitchen Chemistry Pack featuring printable experiments, reusable investigation pages, science explanations, and easy hands-on activities using everyday kitchen supplies.
Perfect for home or classroom science with activities focused on:
reactions, mixtures, crystals, surface tension, polymers, and color-changing chemistry.


Approximately how many ornaments does one batch make? Can you double or triple the recipe without a problem?
I would work in small batches instead of doubling or tripling the recipe.Rolling the dough to about 1/8 to 1/4 inch thick works best for durability.
Small Cookie Cutters (2-3 inches): Around 6-8 ornaments.
Medium Cookie Cutters (3-4 inches): Around 4-6 ornaments.
Large Cookie Cutters (4-5 inches): Around 3-4 ornaments.