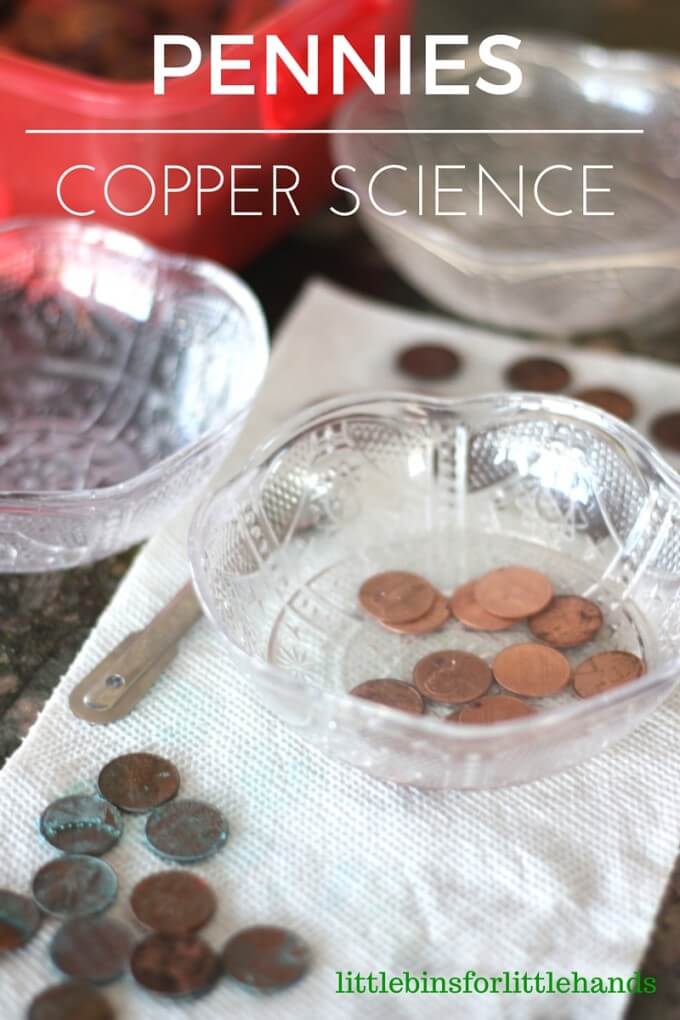
This green penny experiment is a great way for kids to explore concepts like oxidation, chemical reactions, and the properties of metals. It’s suitable for elementary-aged learners curious about how and why everyday materials change over time or why the Statue of Liberty is green! Science has never been so shiny—or green!
Penny Lab Experiments
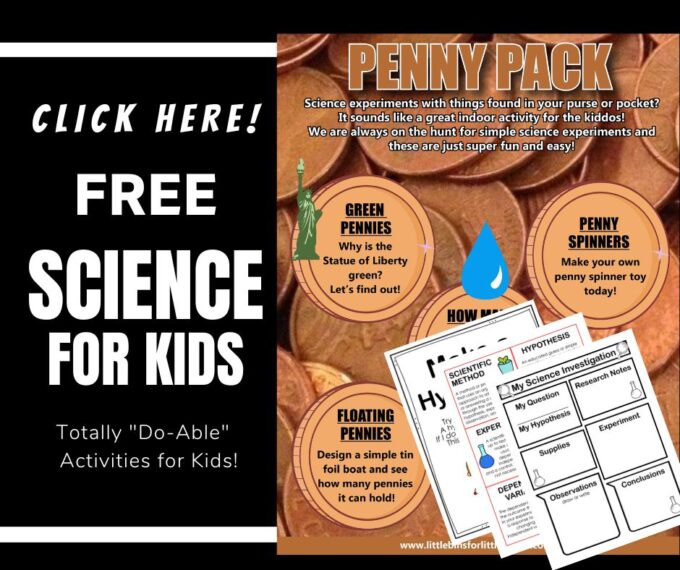
Ready for a fun science experiment using items you probably already have in your purse or pocket? Add this simple penny experiment to your science activities this season! Learn how to turn pennies green and discover what cleans them. It’s fascinating to explore chemistry with just a few everyday materials. Don’t forget to check out our other penny experiments down below for even more hands-on learning!
Green Penny Science Experiment
- So what makes green pennies green?
- What is copper?
- What does all this have to do with the Statue of Liberty?
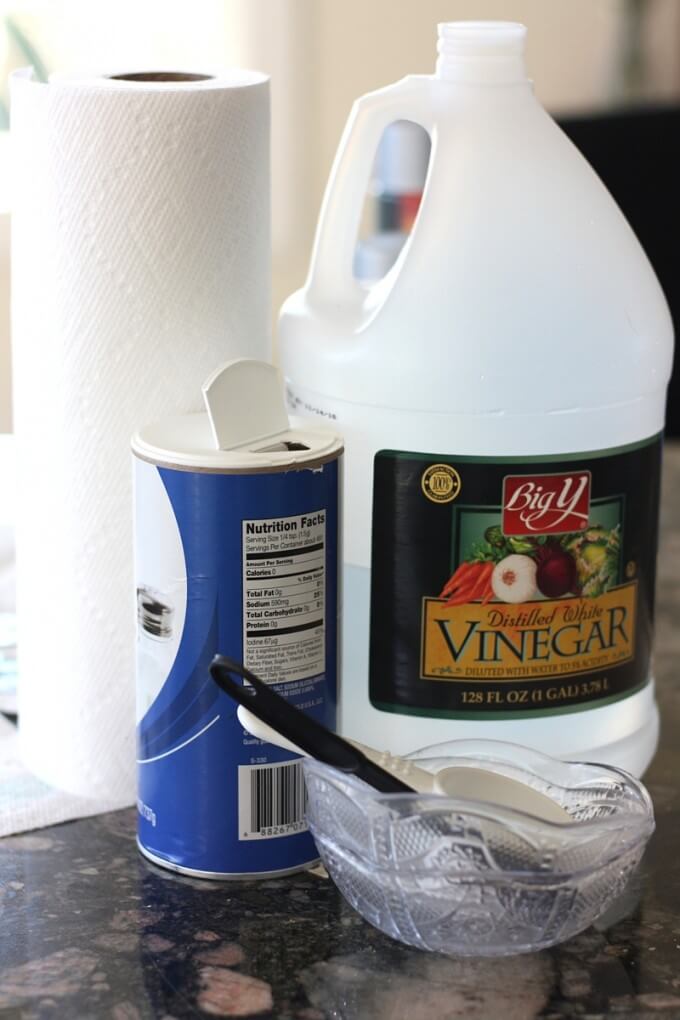
SUPPLIES:
- white vinegar
- salt
- water
- bowl with a good size bottom base
- a teaspoon
- paper towels
- pennies
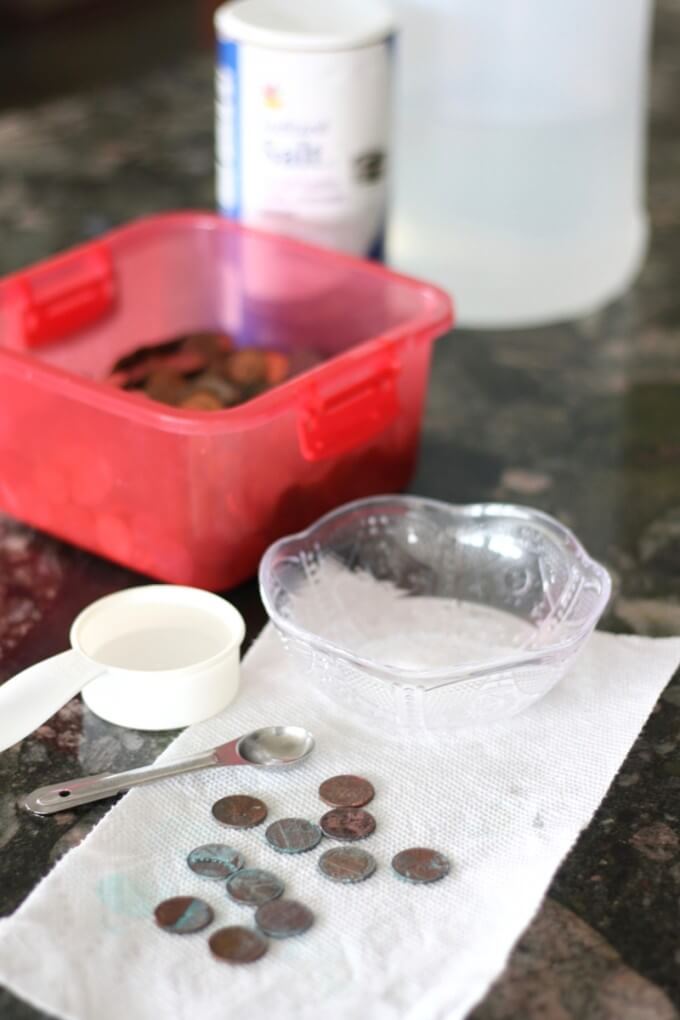
PENNY EXPERIMENT SET UP:
STEP 1: Prep the green pennies science experiment by filling 2 small bowls with about 1/4 cup of vinegar and a teaspoon of salt each. Mix thoroughly.
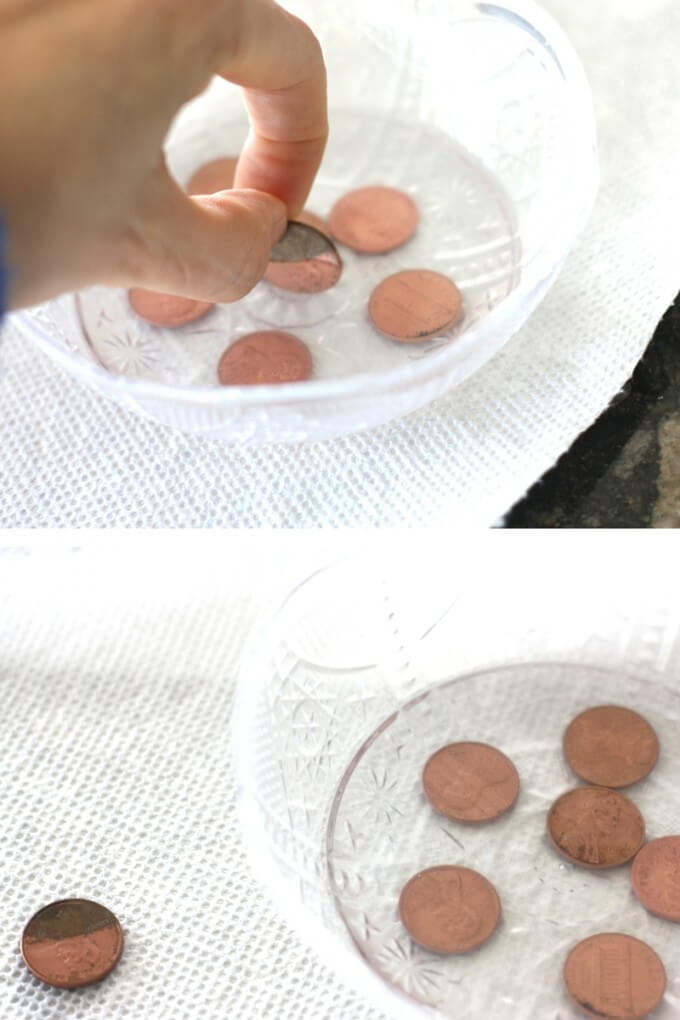
STEP 2: Before dropping about 5 pennies into the bowl. Take one and dip it halfway into the bowl. Count to 10 slowly and pull it out. What happened?
Add a few more pennies and let them sit for a few minutes. What can you see happening?
Make sure to add 6 pennies to the other bowl too.
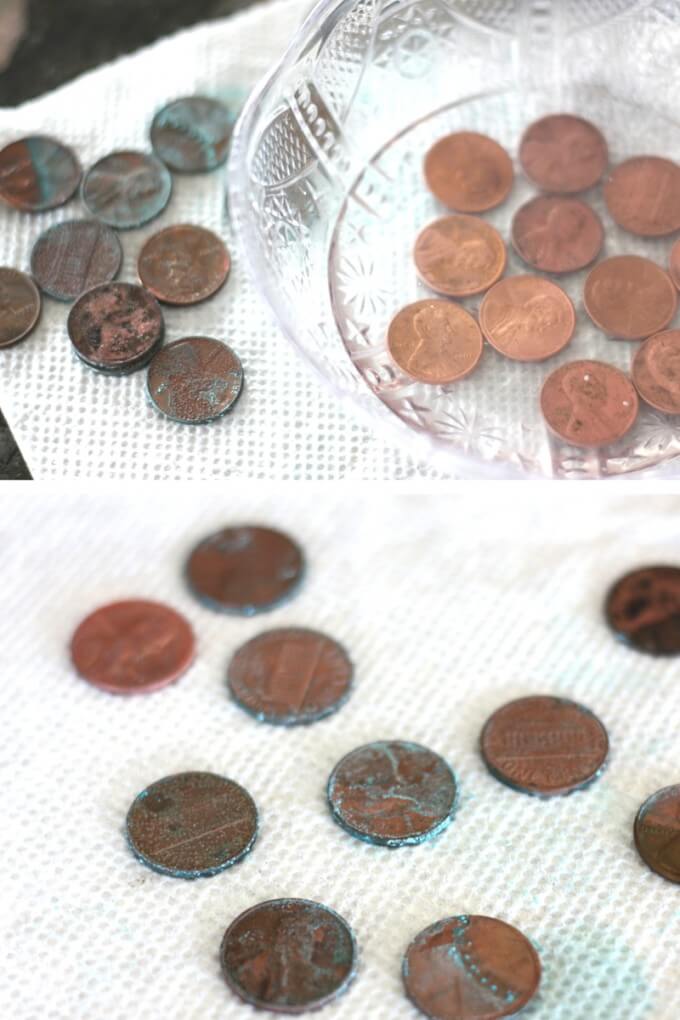
STEP 3: Now, take the pennies from one bowl, rinse them, and let them dry on a paper towel. Take the other pennies from the other bowl and place them directly on another paper towel (do not rinse). Let’s wait and see what happens.
Alternatively, try out other acids like lemon and other citrus juices and see which works best!
Can you see the differences between the two groups of rinsed and unrinsed pennies? Do you now have some green pennies? I bet you do! Your dull pennies should either be green or polished!
Green Pennies and the Statue of Liberty
Your green pennies have a patina. A patina is a thin layer formed on the surface of your copper penny from “weathering” and oxidizing from the chemical process we just put the penny through.
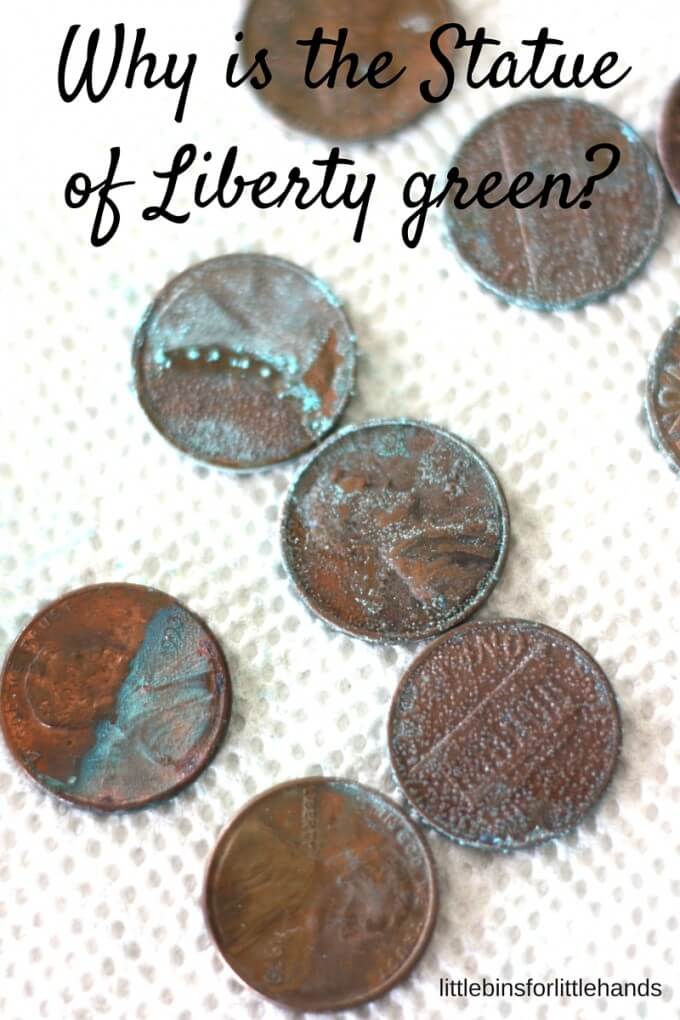
Why is the Statue of Liberty Green?
The Statue of Liberty is covered in a thin layer of copper. She has a patina similar to our green pennies because she sits out in the elements and is surrounded by salt water. Polishing her would be a huge job!
Why Do Pennies Turn Green?
Gather a dozen dull pennies and dive into a double science activity: polishing pennies and making green pennies! Each activity is exciting on its own, but together they create a fun and educational science project. Plus, they help kids understand why green pennies—and even the Statue of Liberty—look the way they do. Perfect for a hands-on chemistry lesson, this activity combines simple materials with fascinating results.
Why Do Pennies Look Dull?
Pennies are made of copper, which is naturally shiny and bright. So, why do some pennies lose their luster? Over time, the copper atoms react with oxygen in the air to form copper oxide, creating the dull surface you see on older pennies. But don’t worry—this can be reversed. Keep reading to discover how to bring back their shine!
The Science Behind Polishing Pennies
When dull pennies are soaked in a mixture of salt and acid (like vinegar), the copper oxide dissolves, revealing the shiny copper surface underneath. This happens because the acid reacts with the copper oxide to strip it away, leaving behind clean, polished pennies.
Why Do Pennies Turn Green?
In the second part of the activity, you’ll create green pennies by allowing them to air dry after exposure to the vinegar solution. The green patina forms when the copper reacts with oxygen, water, and acetic acid in the air, producing copper acetate. This same process is what gives the Statue of Liberty its iconic green color—its copper surface has oxidized over many years!
More Penny Experiments for Kids
Click here to get your FREE Science Guide!
MORE FUN SCIENCE EXPERIMENTS
Kids’ science experiments are numerous! Easy to set up, budget-friendly, and filled with opportunity!
- Rubber Egg in Vinegar Experiment
- Easy Sandbox Volcano
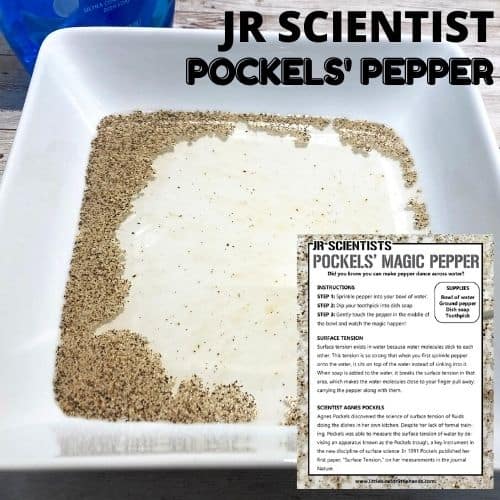
- Magic Pepper Demonstration
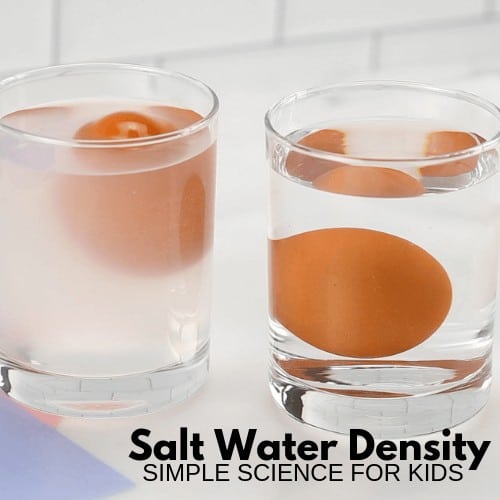
- Salt Water Density
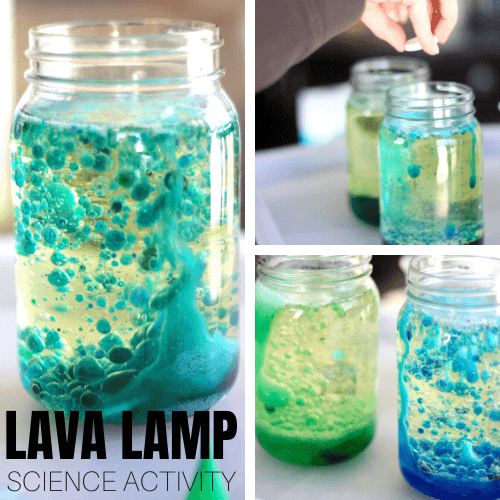
- Lava Lamp
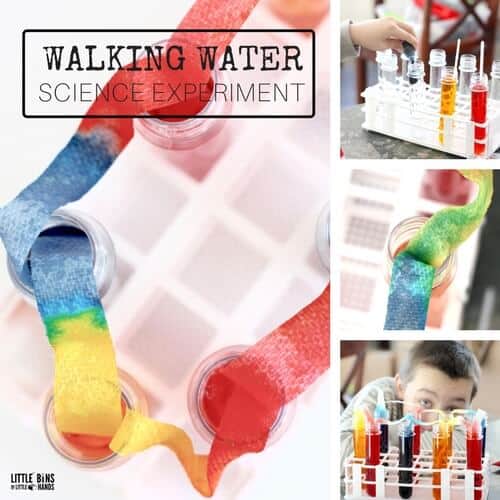
- Walking Water
- Oobleck Recipe


Printable Science Projects For Kids
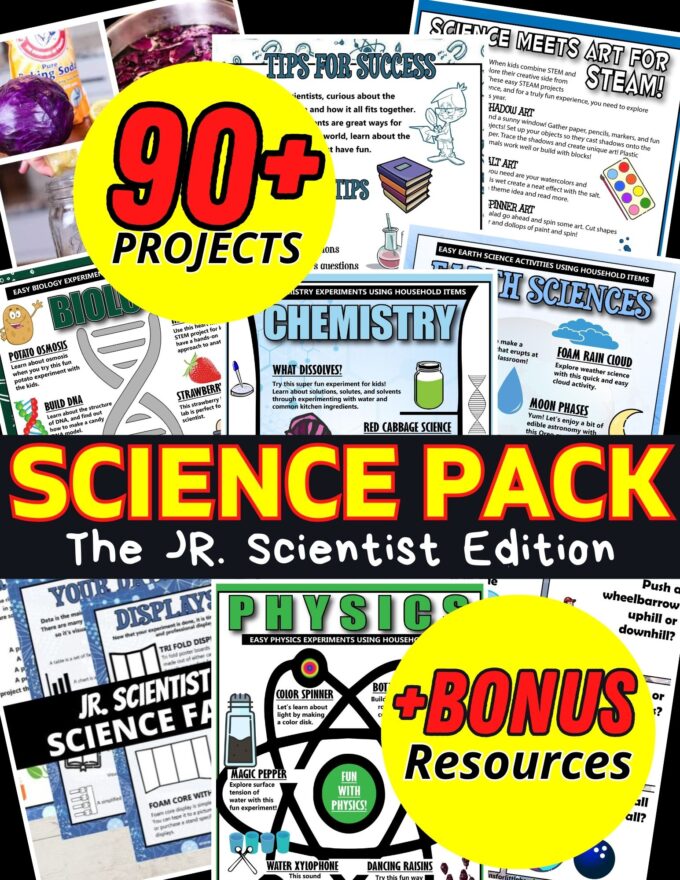
If you’re looking to grab all of our printable science projects in one convenient place plus exclusive worksheets and bonuses like a STEAM Project pack, our Science Project Pack is what you need! Over 300+ Pages!
- 90+ classic science activities with journal pages, supply lists, set up and process, and science information. NEW! Activity-specific observation pages!
- Best science practices posters and our original science method process folders for extra alternatives!
- Be a Collector activities pack introduces kids to the world of making collections through the eyes of a scientist. What will they collect first?
- Know the Words Science vocabulary pack includes flashcards, crosswords, and word searches that illuminate keywords in the experiments!
- My science journal writing prompts explore what it means to be a scientist!!
- Bonus STEAM Project Pack: Art meets science with doable projects!
- Bonus Quick Grab Packs for Biology, Earth Science, Chemistry, and Physics


3 Comments
Comments are closed.