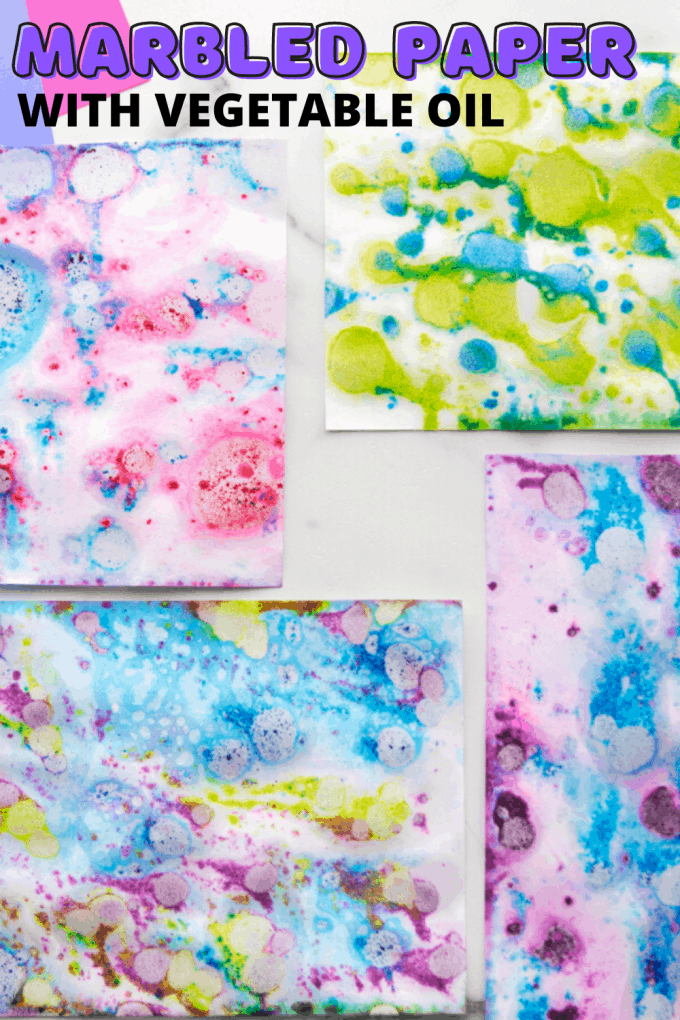
Try something a little different by making your own colorful marbled paper with a few simple supplies. Mix up homemade oil paint from kitchen supplies and make DIY marbled paper at home or in the classroom. Art doesn’t have to be difficult or overly messy to share with children, and it doesn’t have to cost a lot either. Make this fun and colorful marble paper for do-able art projects for kids.
HOW TO MAKE MARBLED PAPER
THE SCIENCE OF PAPER MARBLING
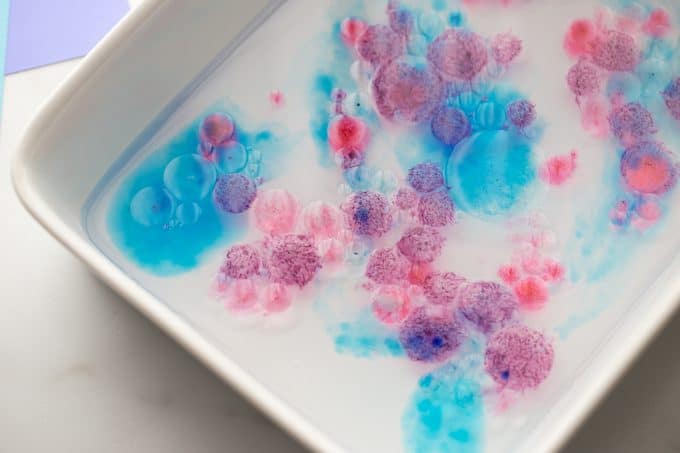
Why don’t oil and water mix? Do you notice the oil and water separate to make the fun marbling pattern? The water molecules attract each other, and the oil molecules stick together. That causes oil and water to form two separate layers.
Water molecules pack closer together so they sink to the bottom, leaving the oil sitting on top of the water. That’s because water is heavier than oil. Making a density tower is another great way to observe how not all liquids weigh the same.
Liquids are made up of different numbers of atoms and molecules. In some liquids, these atoms and molecules are packed together more tightly resulting in a denser or heavier liquid.
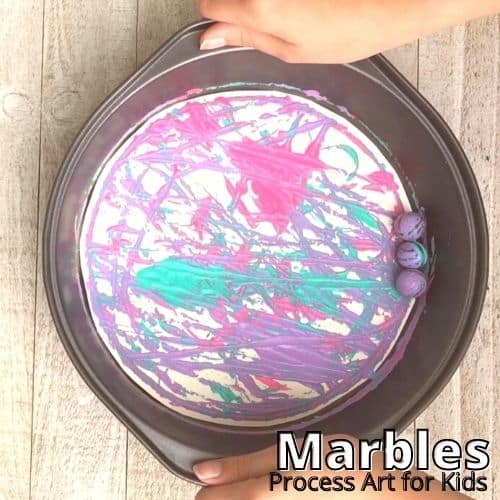
ALSO CHECK OUT: Marbled Easter Eggs
MARBLING PAPER
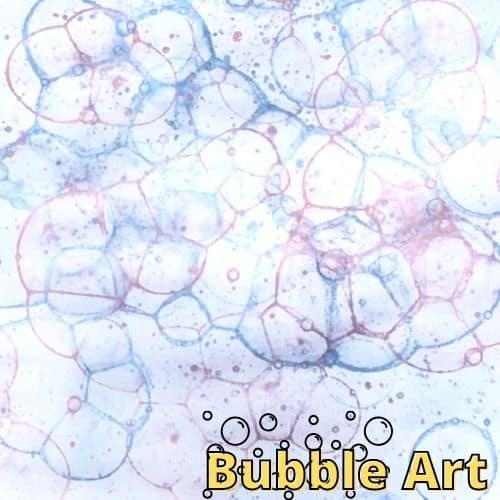
ALSO CHECK OUT: Paper Marbling with Shaving Cream
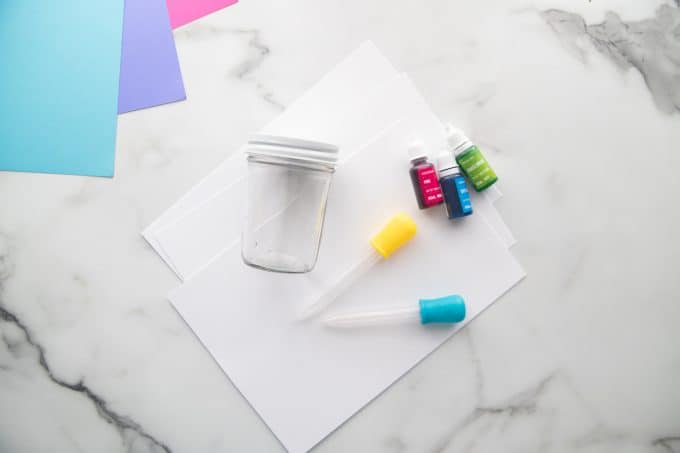
SUPPLIES:
- 2 tablespoons vegetable oil per color
- 5 to 10 drops liquid food coloring
- 1 to 2 cups water, depending on the size of your container
- Thick paper, like cardstock
- Shallow dish, like a casserole dish or dish pan
- Jars with lids
- Eye droppers
HOW TO MARBLED PAPER
STEP 1. Pour water into the shallow dish.
STEP 2. In a jar, pour the vegetable oil. Add food coloring to the vegetable oil. Close the lid and shake until the color is blended with the oil. Repeat to make different colors.
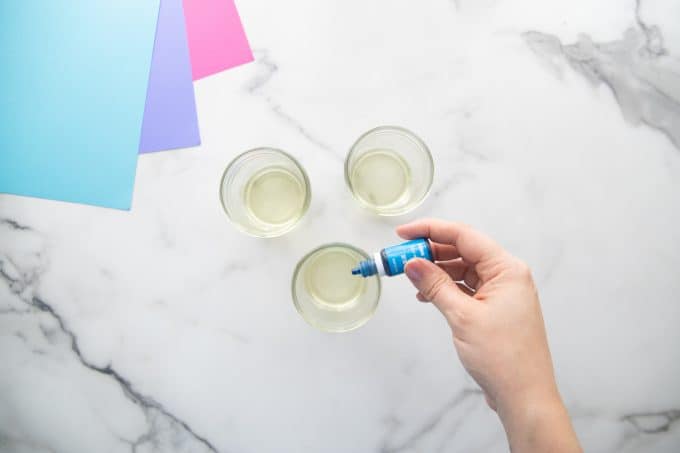
STEP 3. Ask your child to use eye droppers to drip colored oil onto the water in the dish.
Be aware that adding too much color will leave a grey mess. Also, allowing the oil to rest too long will cause the food coloring to sink into the water. If the water becomes muddy, pour it out and start again.
STEP 4. Place a sheet of thick paper onto the colored oil and water. Gently press until the paper has come in contact with the water. Immediately remove the paper, allowing the excess water to drip back into the dish.
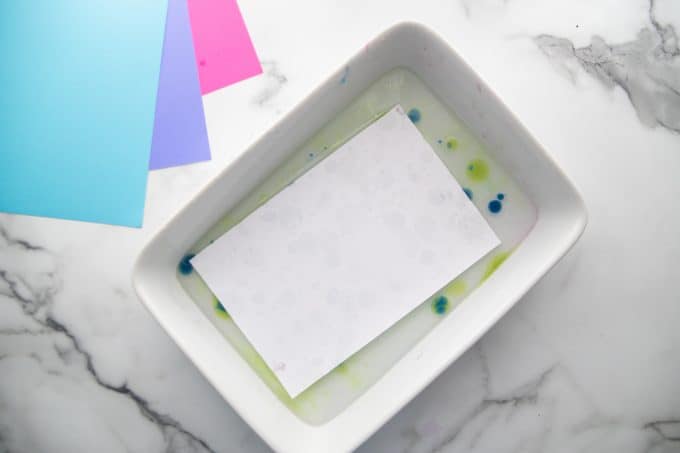
STEP 5. Allow the marbled paper to dry completely before displaying.

Helpful Art Resources To Get You Started
Here are a few resources that will help you introduce art more effectively to your kiddos or students and feel confident yourself when presenting materials. You’ll find helpful free printables throughout.
MORE FUN ART ACTIVITIES TO TRY