
Learn how to make clear slime that looks like liquid glass using a simple method that prevents cloudiness and a rubbery texture. This step-by-step, clear slime recipe shows you how to mix, activate, and rest the slime so it becomes transparent instead of foggy.
In this guide, you’ll learn:
- The best activator for clear slime
- How to remove bubbles
- How to make glitter clear slime
- Why slime turns cloudy
- How to fix clear slime problems
👉 New to slime? Start with the basic instructions here: Homemade Slime Recipe
Why Clear Slime Is Different
Clear slime behaves differently than white glue slime.
White glue contains fillers that hide bubbles.
Clear glue shows everything — air bubbles, oils, and over-mixing.
That means technique matters more than ingredients.
The secret to crystal clear slime:
slow mixing + resting time
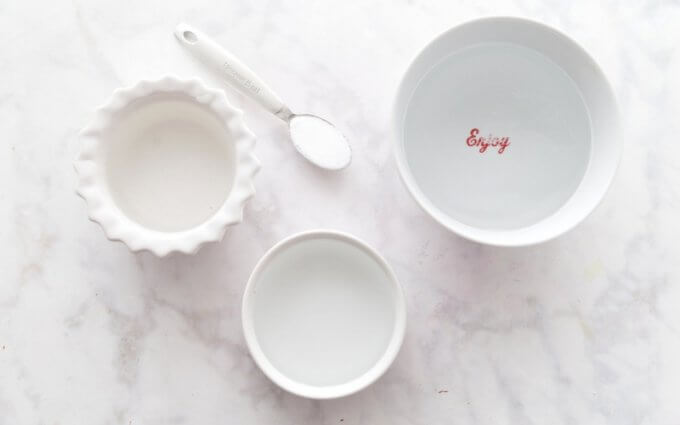
Clear Slime Ingredients (Preferred Method — Saline Solution)
- 1/2 cup clear PVA school glue
- 1/2 cup warm water
- 1/2 teaspoon baking soda
- 1 tablespoon saline solution
(must contain boric acid + sodium borate)
Optional add-ins after resting: fine glitter, sequins, charms
How to Make Clear Slime:
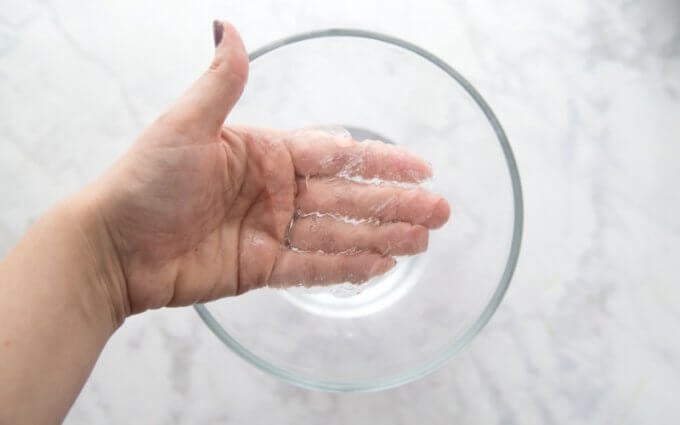
1. Prepare the Glue Base
Pour glue into a bowl and add warm water.
Gently fold together until smooth.
Do not stir fast — fast mixing traps bubbles.
2. Add Baking Soda
Sprinkle baking soda and stir slowly until dissolved.
This prepares the slime for activation and prevents stickiness.
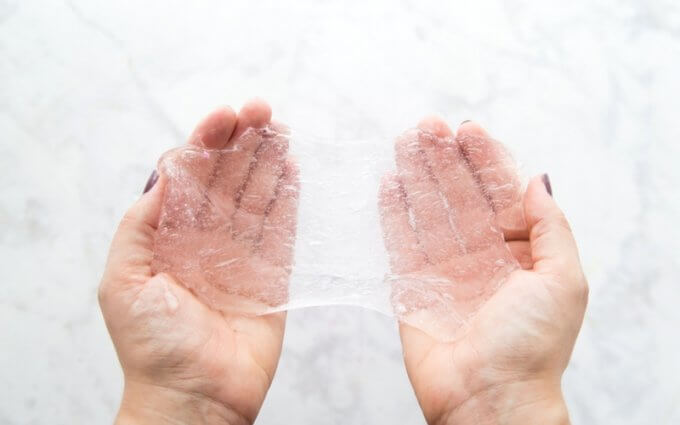
3. Activate the Slime
Slowly add saline solution while gently stirring.
When slime pulls from the bowl, begin kneading with your hands.
Add only a drop more activator if needed.
4. Let the Slime Rest (Important)
Place slime in an airtight container and leave untouched for 1–3 days.
Air bubbles rise out naturally, turning cloudy slime crystal clear.
Borax Clear Slime Alternative
Borax produces stronger, stretchier slime but may appear slightly less glass-clear at first.
Borax solution
1/2 teaspoon borax + 1/2 cup hot water
Slowly add to the glue base until slime forms, then knead gently.
Allow to rest 1–3 days for full clarity.
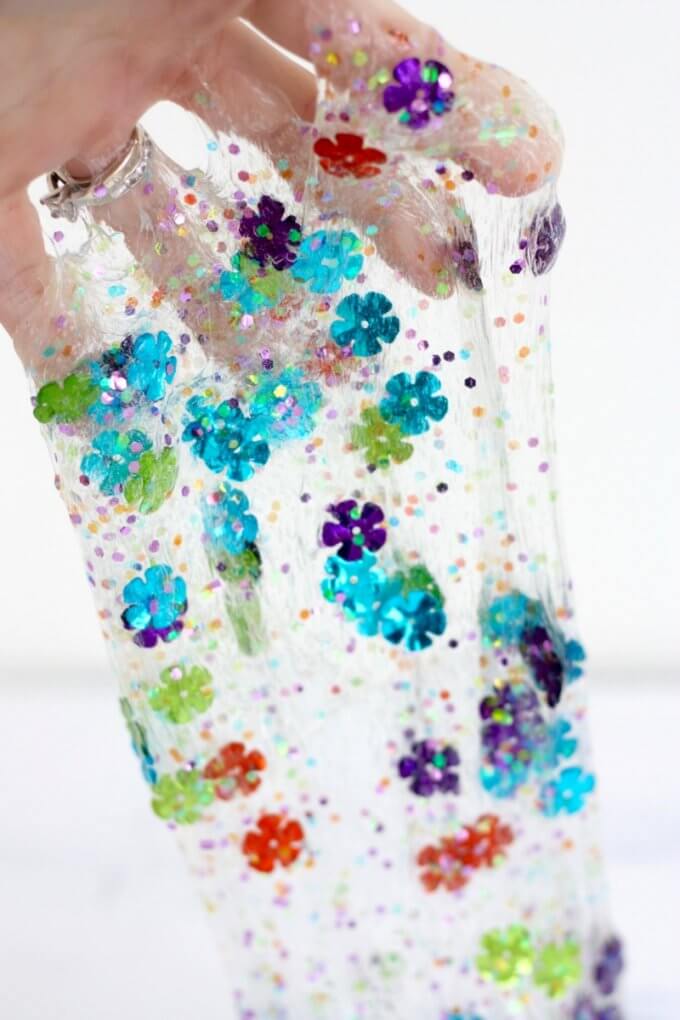
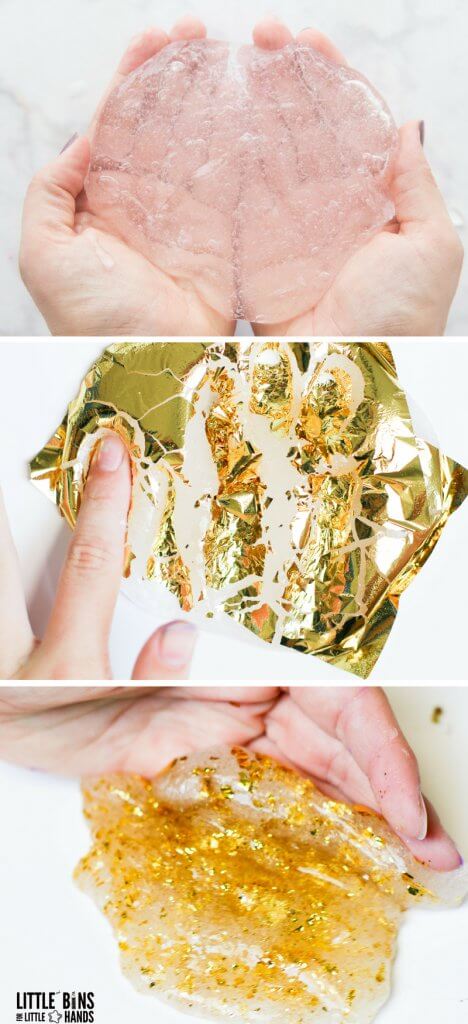
How To Make Glitter Clear Slime
Mix glitter and food coloring, if desired, into the glue and water mixture before adding the activator – don’t be afraid to be generous! While you can make slime with glitter glue, it won’t be as glittery as making your own!
Best glitter types
- fine craft glitter
- iridescent glitter
- polyester glitter
- mica powder (small amount)
To make thicker sparkle slime, knead in 1–2 extra drops of activator slowly.
Add-Ins Without Ruining Clear Slime
You can add decorations to clear slime after it becomes transparent. Adding items too early traps air bubbles and makes slime permanently cloudy.
Add decorations only after resting 1–3 days.
Good add-ins:
- confetti
- sequins
- foil flakes
- small charms
- foam beads
- pompoms
Why Clear Slime Turns Cloudy
Cloudiness is trapped air, not failure.
Common causes:
- stirring too fast
- kneading immediately
- oils on hands
- squeezing slime on the first day
Clarity improves naturally with resting time.
How To Get Crystal Clear Slime Faster
- store in a warm room
- use shallow container
- keep container sealed
- do not stretch the first day
🛑 Never microwave slime — heat damages the polymer structure.
Clear Slime Troubleshooting
Clear slime can feel firm at first — here’s how to make slime stretchy.
Sticky slime
Add 1 drop of activator and knead longer
Rubbery slime
Knead in a few drops of warm water
Won’t activate
Use saline containing boric acid
Foggy after resting
Handled too soon — let sit longer
👉 See full help: How To Fix Slime
👉 Activator comparison: Slime Activator Guide
The Science Behind Clear Slime
Clear slime is a polymer.
Glue consists of polyvinyl acetate molecules that move freely as a liquid.
Borate ions connect them into flexible chains.
This creates a non-Newtonian fluid — it stretches slowly but snaps quickly.
Clear glue lacks fillers, so you can see the polymer network forming.
👉 Explore more: Slime Science Experiments
How To Store Clear Slime
Keep in an airtight container at room temperature.
Lasts several weeks.
If sticky → add a drop of activator
If stiff → knead in warm water
More Helpful Slime Guides
Extend the Learning with Slime
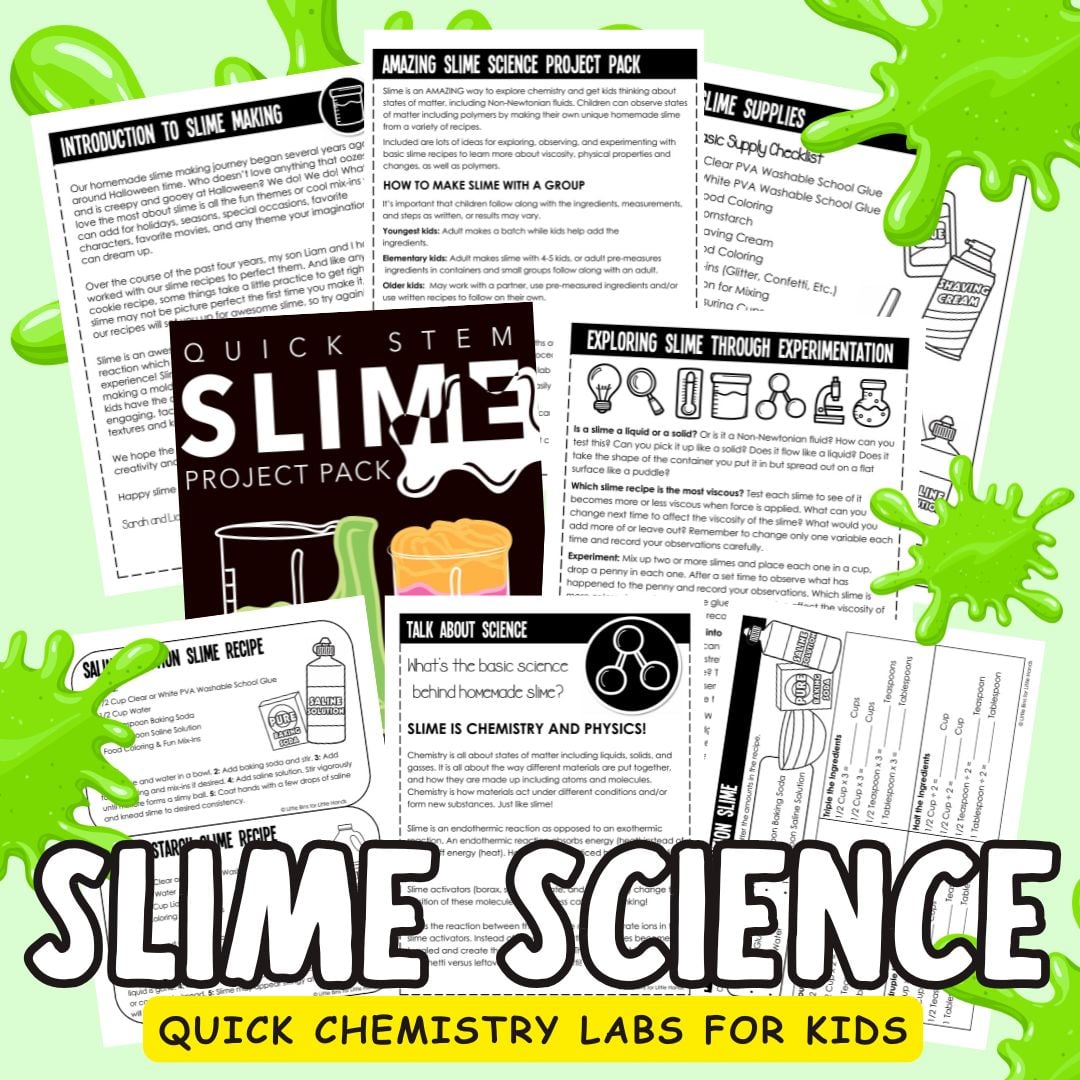
Our printable Slime Activity Pack includes step-by-step recipes, observations pages, challenges, and science extensions — perfect for home or classroom use.


7 Comments
Comments are closed.