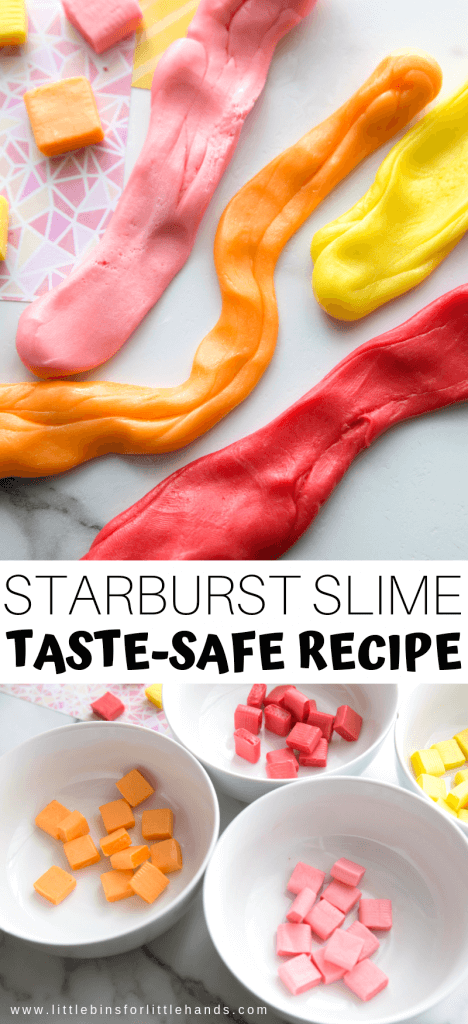
An edible starburst slime is a super fun alternative to the classic slime recipes that use borax! Try this candy slime recipe if you need a taste-safe and borax-free slime. The delicious scent of orange, lemon, and strawberry starburst candy makes a great addition to our collection of homemade edible slime recipes. Look for our FREE Slime Week Camp Plan!
Borax Free Slime
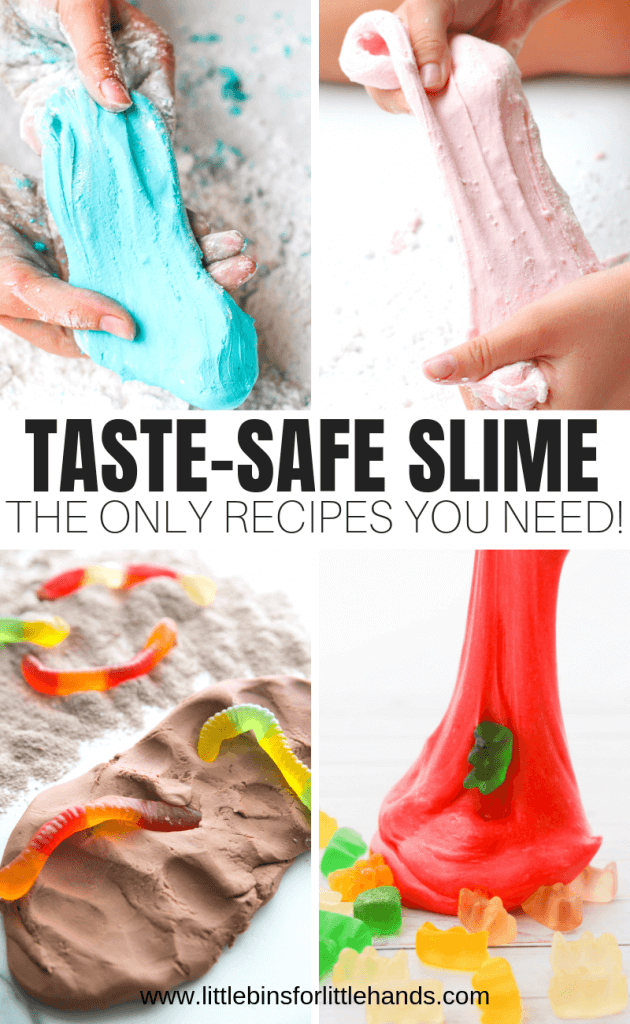
Just about all kids love playing with slime, but some kids still like to taste-test their play materials! That’s perfectly fine as long as you have some fun borax free slime recipes. Check out more than 12 borax free, taste-safe options we have tried!
Our traditional slime recipes use a combination of glue and borons (borax powder, liquid starch, or saline solution) to form the slime. Although this is an excellent chemistry lesson, it’s not safe to even nibble. See our slime activator list!
Even if you don’t have a nibbler, in my experience, most kids love to make an edible slime because they are just so cool. Especially when they involve candy like Starburst!
More Favorite Edible Slime Recipes…
How To Make Starburst Slime
Let’s get right to making edible slime with Starburst candy. Head to the kitchen, open the cupboards or pantry and be prepared to get a little messy. Your hands are the best mixing tools.
You can still achieve a stretchy consistency with edible slime, but it doesn’t have the same texture and consistency as our basic slime recipes.
However, edible slime, like this candy slime, is highly engaging for the senses because you can do more than feel it! Yes, you can have a nibble (we don’t recommend eating slime like a snack though), and you can also smell it!
The Texture Of Starburst Slime
The unique texture is what makes borax-free slime or edible slime so much fun for kids. Each will have their own AMAZING sensory experience using sight, smell, sound, touch, and taste!
Everyone has a different slime consistency preference, so we encourage you to play around with the measurements to find your favorite texture. We include suggestions too!
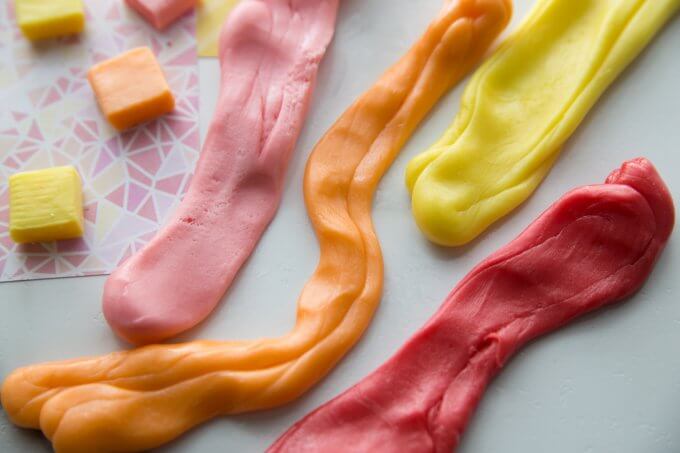
This starburst slime will be stiffer but still very stretchy and more like putty!
Taste Safe Slime Safety
With all our taste-safe slime recipes, we recommend that you DO NOT CONSUME them in large quantities. Please consider them as more of a non-toxic material and don’t encourage sampling if possible.
Some of our edible or taste-safe slime recipes use ingredients like chia seeds or Metamucil which would not be good if eaten in large quantities. These are digestive aids only! Additionally, edible slime can contain a huge amount of cornstarch or sugar.
Edible Slime Recipe Tips
- Cooking oil can help to loosen the slime so that it’s more fluid or stretchy. It can also help if the slime seems a bit dry. Add just a few drops at a time!
- Edible slime tends can be messy to make. So be prepared for clean up.
- The slime won’t last as long as regular slime. Keep in a sealed container overnight and you may get another day of play.
- Each edible slime will be unique! Yes, each slime has its own texture.
- A borax-free slime needs to be kneaded! These types of slimes are very hands-on and do well with the warmth from your hands.
- The slime may feel like soft play dough. It won’t ooze everywhere, but it will spread and squish!
Click here to get your FREE slime camp plan!

Starburst Slime Recipe
Three simple pantry ingredients turn into a colorful recognizable stretchy slime that little hands can’t wait to get into.
Ingredients:
- 1 bag starburst candy
- Powdered sugar
- Coconut or vegetable oil

How To Make Edible Starburst Slime
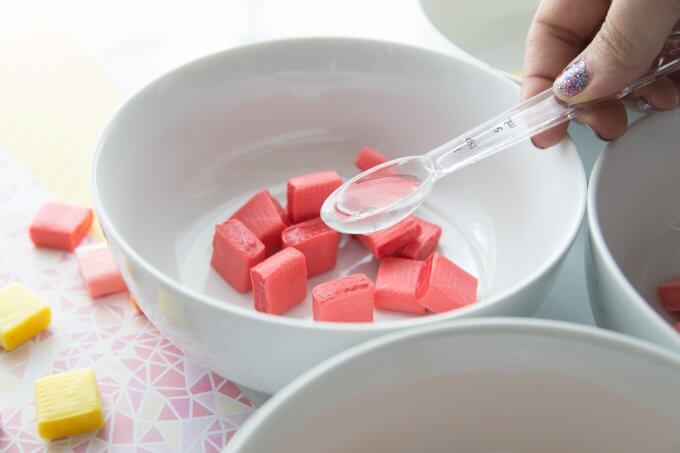
STEP 1: Unwrap your starburst candy and place one color at a time in a glass bowl, I had about 12-15 per bowl.
STEP 2: Add 1 teaspoon coconut oil or cooking oil to each bowl.
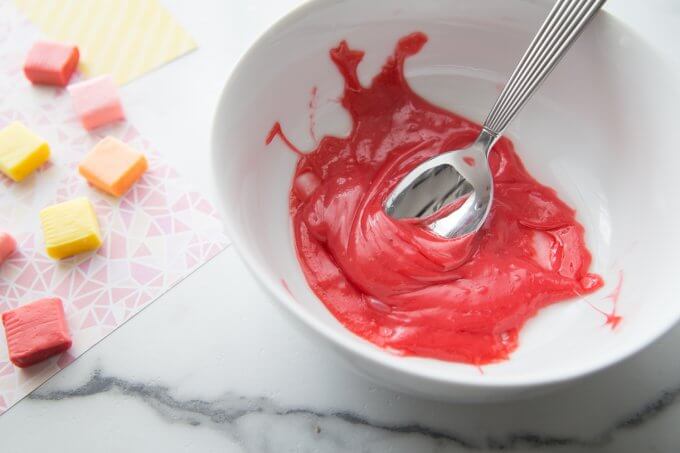
STEP 3: Heat 1 bowl in 20-second increments in the microwave, stirring each time until melted. Repeat with each color. 40- 60 seconds should do the trick.
WARNING: Adult supervision and assistance highly recommended with heating candy.
STEP 4: Sprinkle ½ cup powdered sugar onto a smooth surface. Pour each color candy out onto the powdered sugar covered surface. Allow the candy to cool until you are able to touch it comfortable with your hands.

STEP 5: Roll and knead the mixture into powdered sugar, pulling and working it in as you go. You want to spend at least 5 minutes actively working at getting air into it much the way you would when pulling taffy.
Stop mixing in powdered sugar when your candy mixture is no longer sticky but still pliable and loose.
TIP: You can allow one color to cool as you are working on the next.


More Fun Slime Recipes To Try
If your kids love playing with slime, why not try more favorite homemade slime ideas…
Make Easy DIY Slime With Your Kids!
Click on the image below or the link for more fun borax-free slime recipes.


One Comment
Comments are closed.