

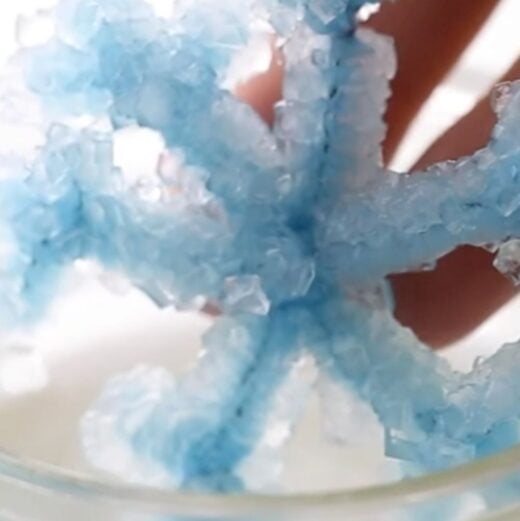
Growing crystal snowflakes is a fun, hands-on science activity that combines creativity with real chemistry. As kids make these sparkling crystal snowflake ornaments, they observe how crystals form, explore crystal growth over time, and learn how supersaturated solutions work.
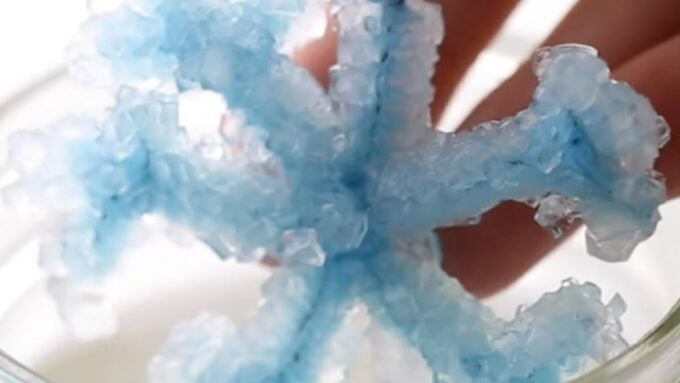
Before starting, it helps to understand what crystals are and why they grow in repeating patterns. If crystal science is new to your students, our What Are Crystals? guide provides a simple explanation of crystal structure and formation.
This crystal snowflake experiment uses simple materials like borax, pipe cleaners, and hot water, making it an easy and engaging winter science activity for home or the classroom.
💡 We love winter science activities for kids because they pair seasonal creativity with real scientific concepts.
How to Make Crystal Snowflakes
Since this experiment uses very hot water, adult supervision is required. My son observed while I measured, stirred, and poured the solution. Older children may be able to help more independently.
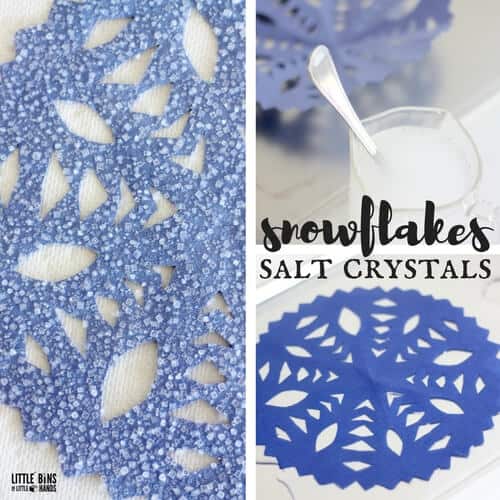
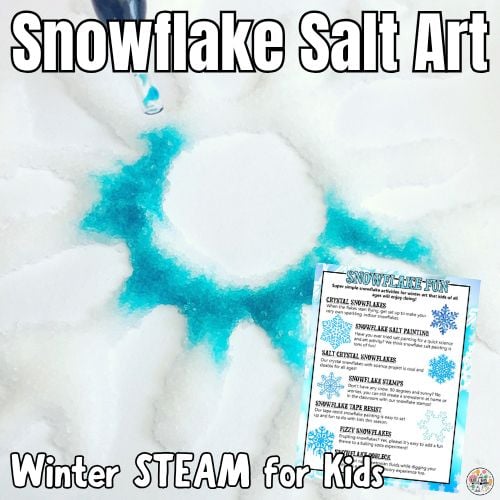
If you’d like a hands-on crystal option without boiling water, try our salt crystal snowflakes instead.
Supplies
- Borax (found in the laundry detergent aisle)
- Water
- Glass jars or vases
- Craft sticks or pencils
- String or ribbon
- Pipe cleaners
Step 1: Make a Pipe Cleaner Snowflake
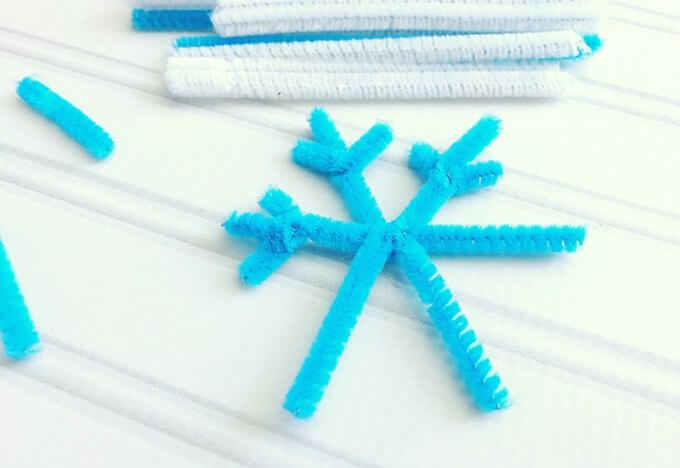
Cut one pipe cleaner into thirds. Stack the pieces, twist them in the center, and spread the six arms to form a snowflake.
Cut six small 1½-inch pieces of pipe cleaner and twist one onto each arm to add more detail to the snowflake.
Step 2: Add the String
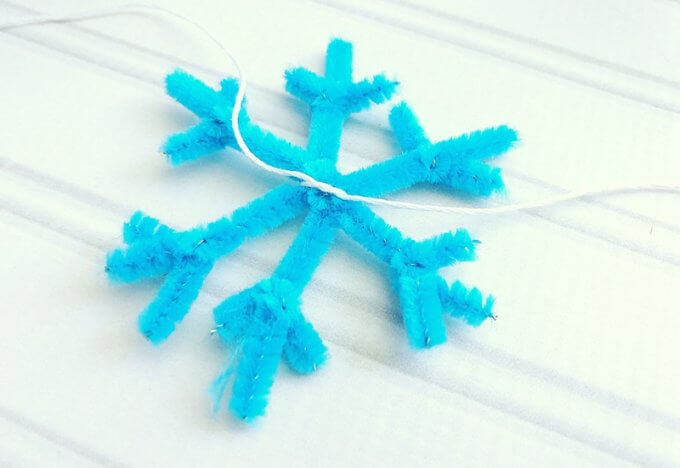
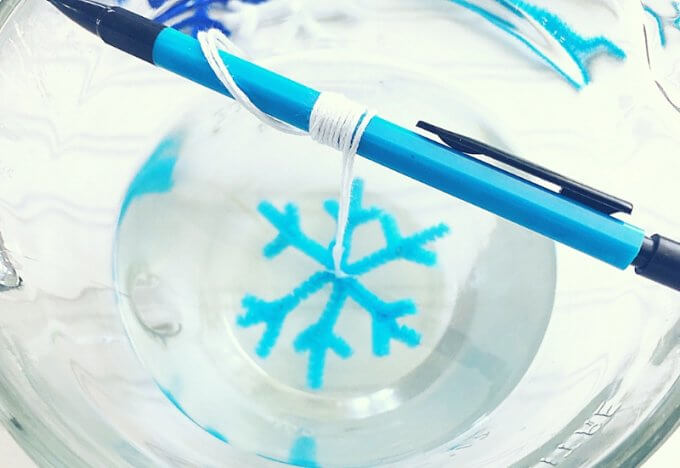
Tie a long piece of string to the center of the snowflake and wrap the other end around a pencil or craft stick.
For icicles, wrap the pipe cleaner around a marker to create a spiral shape. Any design works well — we’ve even made crystal gingerbread men by wrapping pipe cleaners around cookie cutters.
🔎 Want to learn more about snowflakes? Check out these snowflake facts.
Crystal Snowflake Tips
- Check jar size first. Make sure your snowflake fits easily inside the jar before lowering it in.
- Adjust string length. The snowflake should hang freely without touching the sides or bottom of the jar.
Step 3: Make the Borax Solution
Dissolve 3 tablespoons of borax powder for every 1 cup of boiling water. This creates a supersaturated solution, which is essential for crystal growth.
🛑 Adult assistance is required for this step.
When water is heated, its molecules move farther apart, allowing more borax to dissolve than would be possible at room temperature. As the solution cools, the excess borax particles begin to come out of solution and attach to available surfaces.
🔎 This crystal growth is a physical change, meaning no new substance forms — the borax particles simply rearrange into a crystal structure.
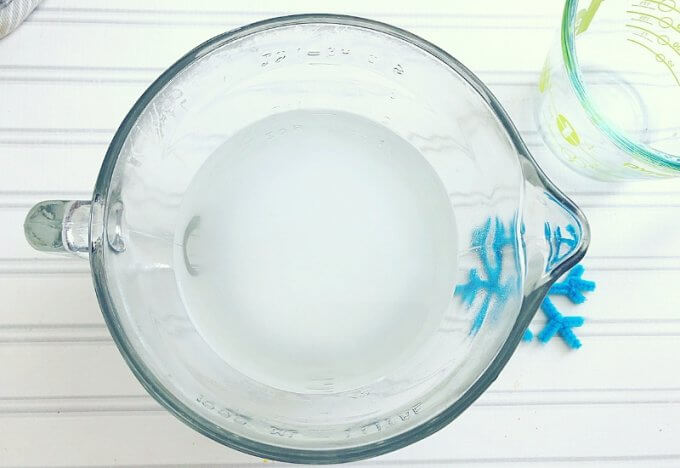
Step 4: Grow Your Crystal Snowflakes
Carefully lower the snowflake into the jar so it is fully submerged but not touching the sides or bottom.
Place the jar in a quiet, undisturbed area. Do not stir, move, or tug on the string. Crystal growth works best when the solution remains completely still.
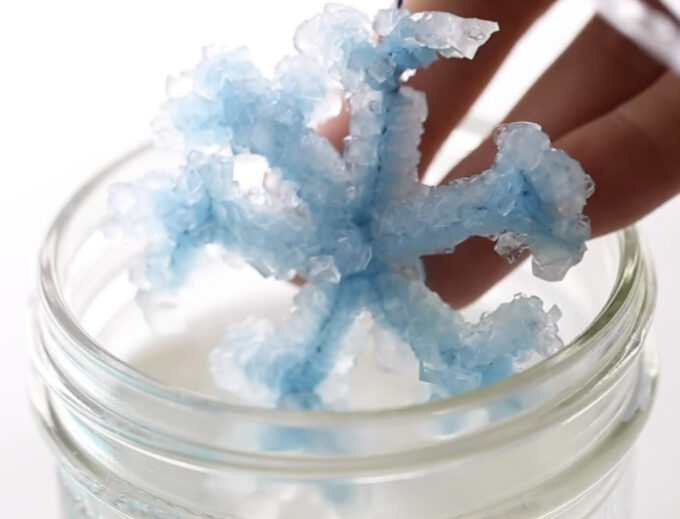
Within a few hours, you’ll start to see crystals forming. Leave the jar undisturbed for 24 hours to allow the crystals to fully grow.
Step 5: Dry the Crystal Ornaments
The next day, gently lift the crystal snowflake out of the solution and place it on paper towels to dry for about an hour.
Once dry, hang your crystal snowflake ornaments on a tree, in a window as a sun catcher, or use them as winter decorations.
Tips for Growing Crystals in the Classroom
This activity works well in classrooms with a few adjustments. When we made crystal hearts in a 2nd-grade classroom, we used very hot (not boiling) water and plastic party cups.
Plastic containers cool faster than glass, which can cause crystals to form more quickly but less evenly. While this may lead to smaller or less perfect crystals, students can still clearly observe the crystal growth process.
🔎 Remind students not to touch or move the cups once the experiment begins. Crystals need time and stillness to form properly.
The Science of Growing Borax Crystals
This experiment begins with a supersaturated solution, meaning the liquid holds more dissolved material than it normally can at room temperature.
As the solution cools, the excess borax particles leave the solution and attach to the pipe cleaner. Over time, these particles arrange themselves into repeating patterns, forming visible crystals.
Slow cooling produces larger, more defined crystals, while faster cooling can trap impurities and create smaller crystal structures.
🔎 This crystal snowflake activity is one example of crystal growth. Explore more hands-on crystal experiments for kids to compare different materials, shapes, and growth conditions.
Field: Physical Science — Matter & Its Interactions
Grades: 2–5
Concepts Explored:
Matter can change form without becoming a new substance; crystals form through physical changes; temperature affects how materials dissolve and crystallize; patterns in nature can be observed and explained.
Snowflake Science Extension Activities
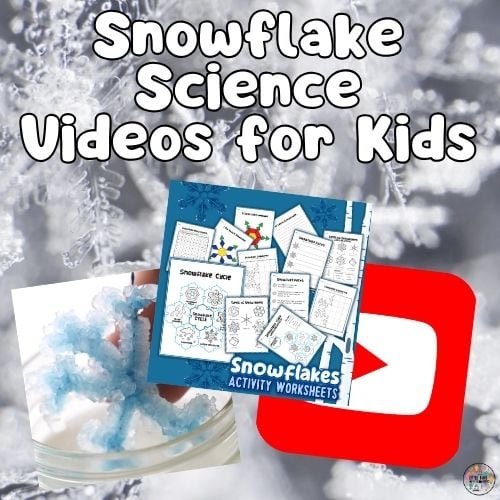
Reinforce crystal and snowflake concepts with hands-on worksheets that help students observe patterns, symmetry, and crystal shapes found in real snowflakes.
Our Snowflake Activity Worksheets include:
- The snowflake cycle (how snowflakes form)
- Types of snowflakes (plates, dendrites, columns, and more)
- Snowflake symmetry activities
- Snowflake facts pages
- Writing and observation prompts
These activities pair perfectly with crystal snowflake experiments and are ideal for classroom science centers, winter units, or homeschool lessons.
🔎 Grab the Snowflake Activity Worksheets here.

More Crystal Projects to Try
More Snowflake Activities to Try
Looking for structured snowflake science activities? Our Snowflake Activity Worksheets help kids explore snowflake formation, crystal shapes, and symmetry.
- Snowflake Oobleck
- Snowflake Slime
- Salt Painting Snowflakes
- Snowflake Salt Crystals
- 3D Paper Snowflakes
- Pollock Snowflakes
- Snowflake Science Videos
Extend Your Winter Learning
If your kids enjoyed this winter activity, explore our Winter STEM Pack—a collection of hands-on winter science and STEM activities with printable instructions, recording pages, and extension ideas. It’s perfect for homeschool, classroom centers, or seasonal learning.

What can I use as a substitute for borax. I see someone posted alum. How can I do this?
I have seen alum used but it is expensive in bulk. You can also use salt. We have salt crystal snowflakes too.