Have you ever dreamed of launching your bottle rocket high into the sky? You can create a thrilling rocket launch demonstrating Newton’s Laws of Motion with a soda bottle, water, and air pressure! Perfect for curious kids and budding scientists, this experiment combines hands-on fun with real rocket science.

The Science Behind Bottle Rockets
Rockets, whether real or homemade water bottle rockets, work because of Newton’s Third Law of Motion: For every action, there is an equal and opposite direction reaction. When air pressure forces water out of the bottle, the bottle is pushed upwards with an equal and opposite force.
- Air Pressure: Pumping air into the bottle builds PSI (pounds per square inch) inside.
- Acceleration: As pressure increases, water is forced out, launching the bottle quickly.
- Altitude: The amount of water, the angle of the launch pad, and the fins all affect how high your rocket reaches.
Grade Level Recommendation: Ideal for Grades 3–6, with supervision for younger students.
Supplies:
- 1 empty plastic bottle (2-liter soda bottle works best)
- Water
- Cork or rubber stopper
- Bicycle pump with needle attachment
- Launchpad (a sturdy stand or DIY support)
- Duct tape
- Pencils (to act as stabilizers)
- Cone nose (made from paper or foam)
- Scissors
- Optional: Fins for stability, a parachute for a soft landing
- Journal Pages (free below)
💡 Try this Alternative Chemical Reaction Bottle Rocket (Baking Soda and Vinegar)
How to Make a Bottle Rocket
🛑 Safety Tips:
- Perform this experiment outdoors in an open area.
- Never stand directly over the rocket.
- Wear safety goggles.
- Make sure your launch pad is stable.
- Adults should always supervise the activity and assist as needed.
Prepare the Rocket Body:
- Clean your empty plastic bottle. You can also add fins at this point or at the end as shown below.
Fill with Water:
- Pour water into the bottle until it’s about 1/3 full.

Insert the Cork and Needle:
- Push the needle attachment of your bike pump through the cork or rubber stopper.
- Insert the cork tightly into the bottle opening.

Attach fins made from cardboard and a cone nose to improve flight. Use duct tape to secure them.

Set Up the Launch Pad:
- Place the bottle upside down on your launch pad, angled slightly away for safety.
- Use pencils taped to the sides to stabilize the legs if needed. Cement blocks are also a useful material for a launch pad.

Build Air Pressure:
- Start pumping air into the bottle using the bicycle pump. Watch as the pressure builds!
- When the pressure becomes too much, the cork will pop, water will shoot out, and your rocket will blast skyward in the opposite direction.

Variables to Explore:
💡 Adding variables and creating a hypothesis is a great way to incorporate the scientific method into this project.
- Does more water or less water make the rocket fly higher?
- How does changing the angle of the launch pad affect the flight path?
- What happens if you add fins or a parachute?

Bottle Rocket Extension Activities:
- Measure Altitude: Estimate how high the rocket flies using a measuring tape or estimation tool.
- Air Resistance Experiment: Add a parachute to slow the rocket’s descent.
- Variables Challenge: Test with different amounts of water or PSI levels.
More Ways To Explore Newton’s Laws
💡Find more ways to explore Newton’s Laws here or click on the photos and links below.
- Balloon Rockets: Use balloons to demonstrate air resistance and propulsion.
- Vinegar and Baking Soda Rockets: Explore chemical reactions using these common household ingredients.
- DIY Parachute Challenge: Create parachutes to see how they slow descent.


Helpful Science Resources
Here are a few resources to help you introduce science more effectively to your kids or students and feel confident presenting materials. You’ll find helpful free printables throughout.
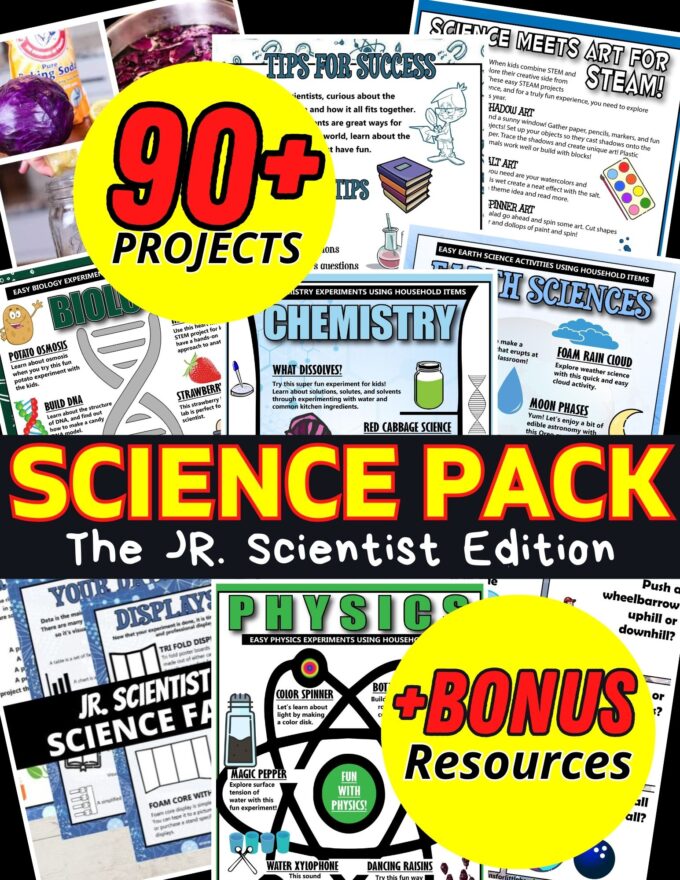
- Printable Science Project Pack 👇
- Best Science Practices (as it relates to the scientific method)
- Science Vocabulary
- All About Scientists
- Free Science Worksheets
- DIY Science Kits
- Science Tools for Kids
- Scientific Method for Kids
- Citizen Science Guide
- Join us in the Club