Can you really make your drawing float? This dry erase marker experiment turns ordinary ink into a floating masterpiece—and it’s all thanks to science! Discover how different materials behave in water with this hands-on science activity that explores density, solubility, and surface tension.
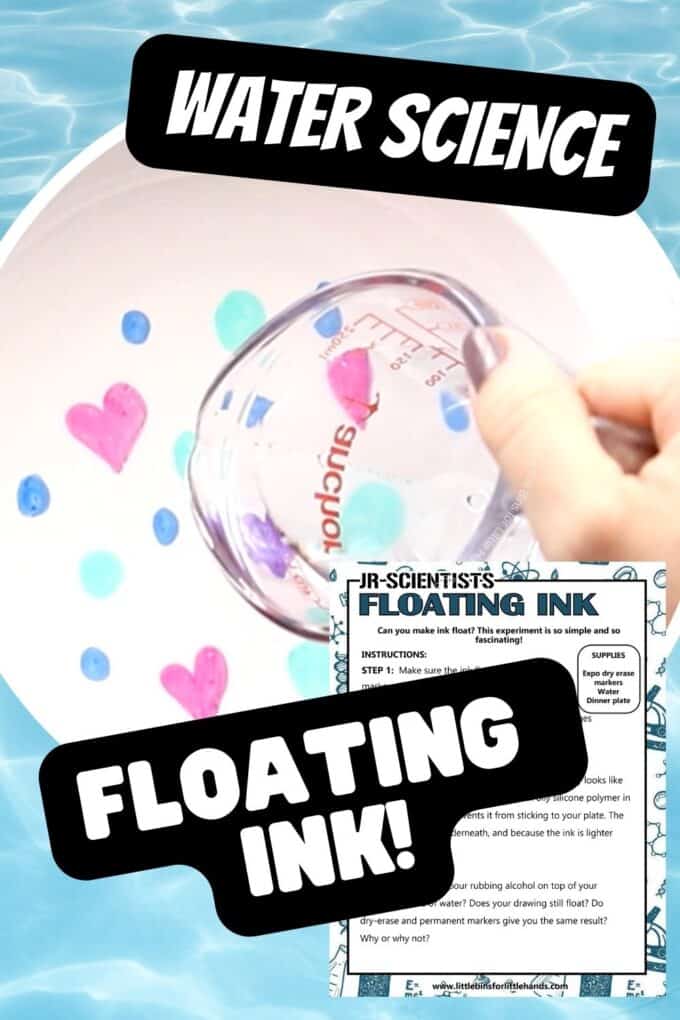
Floating Dry Erase Marker Experiment
This fun chemistry experiment is perfect for curious kids and makes a great addition to your classroom, homeschool, or kitchen science lab. It’s quick to set up, easy to clean up, and sure to impress!
- Field of Science: Chemistry, Physical Science
- Grade Level: K–5
- Concepts Explored: Properties of materials, solubility, density, surface tension
NGSS-Aligned Questions (Simplified)
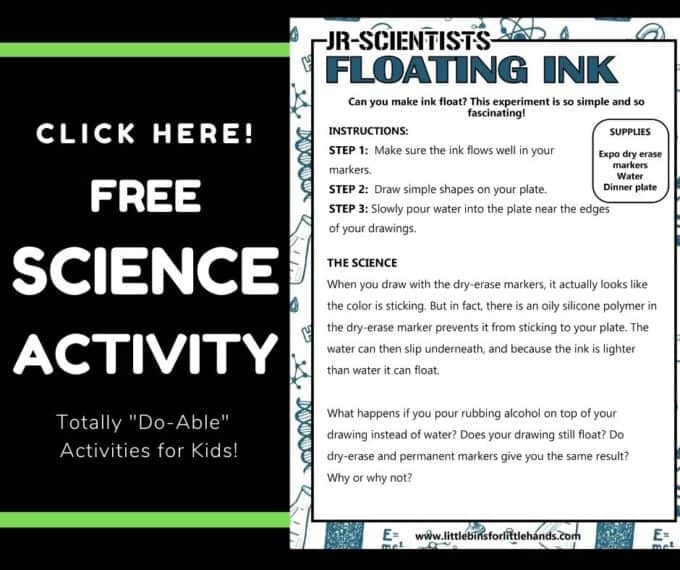
- What happens if…? What happens when you draw on a plate with a dry erase marker and add water?
- How can we test it? Try different marker types and surfaces to compare results.
- What did we learn? We observed how the dry erase ink separates from the plate and floats due to its unique properties.
Supplies Needed
- Expo or other dry erase markers
- Water
- Smooth ceramic plate (glazed surface)
- Optional: cotton swab or small piece of paper

Floating Drawing How-To Instructions
Prep the marker: Make sure your dry erase marker has strong ink flow.
Draw: On a completely dry ceramic plate, draw simple shapes (stick figures, hearts, stars, etc.).
Pour the water: Gently pour water near the edge of the drawing—not directly on top.
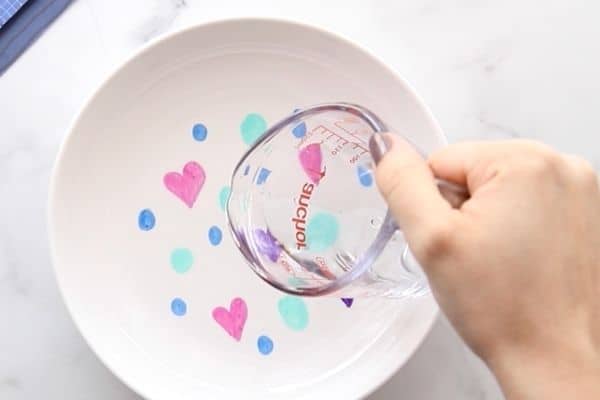
Tilt and observe: Watch your drawings lift off and float! Gently tilt the plate to encourage lifting if needed.
Optional: Touch the floating drawing with paper or a cotton swab. What happens?

Tips for Floating Dry Erase Drawings
- Use new, juicy markers for best results.
- Small, simple shapes float more easily than large or complex drawings.
- The plate must be completely dry before starting.
- Use a glazed ceramic plate—paper plates won’t work. You can also test glass or plastic for comparison!
- Don’t flood the plate—less water is more effective.
How Does It Work?
This experiment works because of the chemical makeup of dry erase ink. Unlike washable markers that dissolve in water, dry erase markers contain an oily silicone polymer that keeps the ink from sticking tightly to smooth surfaces.
When water is added, it slides under the ink, lifting it off the plate. Because the ink is less dense than water, it floats!
You’re also observing surface tension, which helps keep the ink drawing intact as it floats. This is a simple but powerful way to explore how materials interact with water.
Related science concepts:
Make It a Science Project
Turn this activity into a full experiment by asking questions like:
- What happens if you use washable or permanent markers instead?
- Do different surfaces (glass, plastic, metal) change the result?
- How do temperature and water amount affect the outcome?
Record predictions and observations in a science journal, and compare results to draw conclusions!
🔎 This is a great opportunity to explore the scientific method, learn how to write a hypothesis, and choose variables!
Download the Free Floating Ink Science Printable
📥 Click here to download the printable instructions and observation sheet
Includes full directions and a simple recording page for student use!
More Fun Floating and Density Experiments
- Floating M Experiment – Make the “M” from an M&M float!
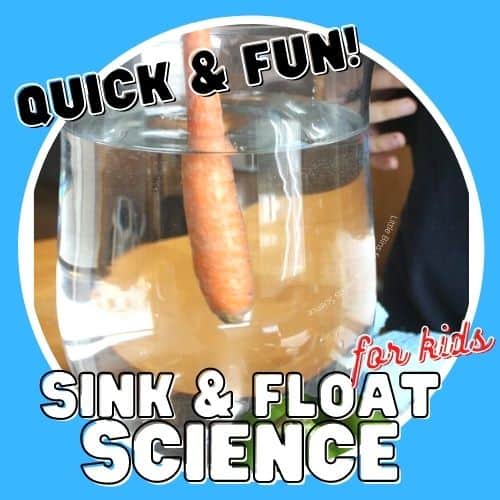
- Sink or Float Test – Explore density with everyday items.
- Shark Buoyancy – Learn how sharks float!
- Foil Boat Challenge – How many pennies can your boat hold?
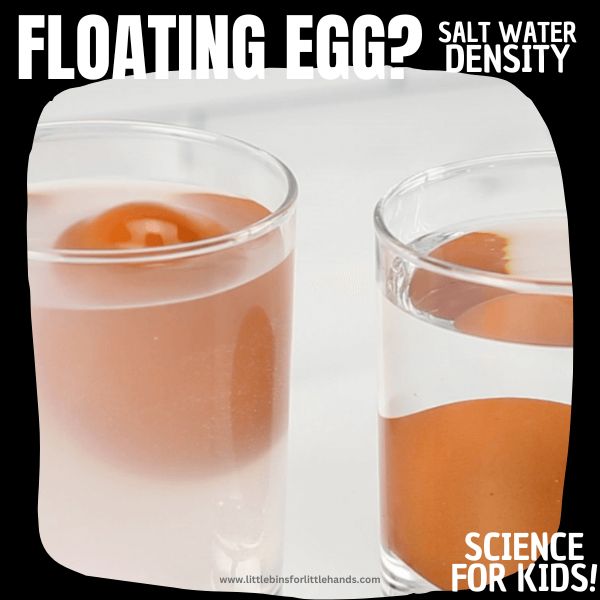
- Salt Water Egg Float – Discover how salt affects buoyancy.
- Density Tower – Stack liquids based on their densities.
- Coffee Filter Flower – Watch how water moves through marker ink with this colorful solubility experiment.