

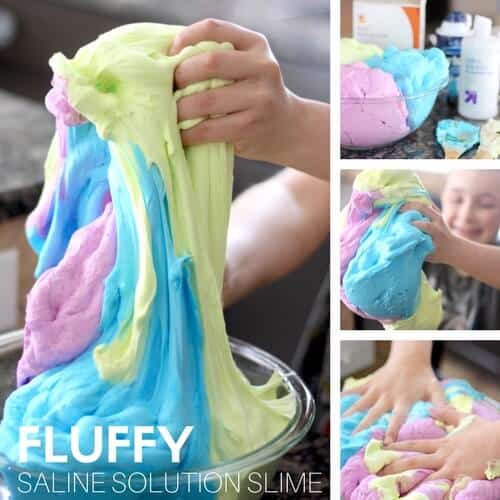
Slime-making is a fun, hands-on activity that’s perfect for kids! It’s also a fantastic way to teach kids about chemistry and sensory play. In this post, we’ll show you how to make the best saline solution slime with simple ingredients like white glue, baking soda, and saline solution. Follow our slime recipe and enjoy the transformation into a stretchy, non-Newtonian fluid!
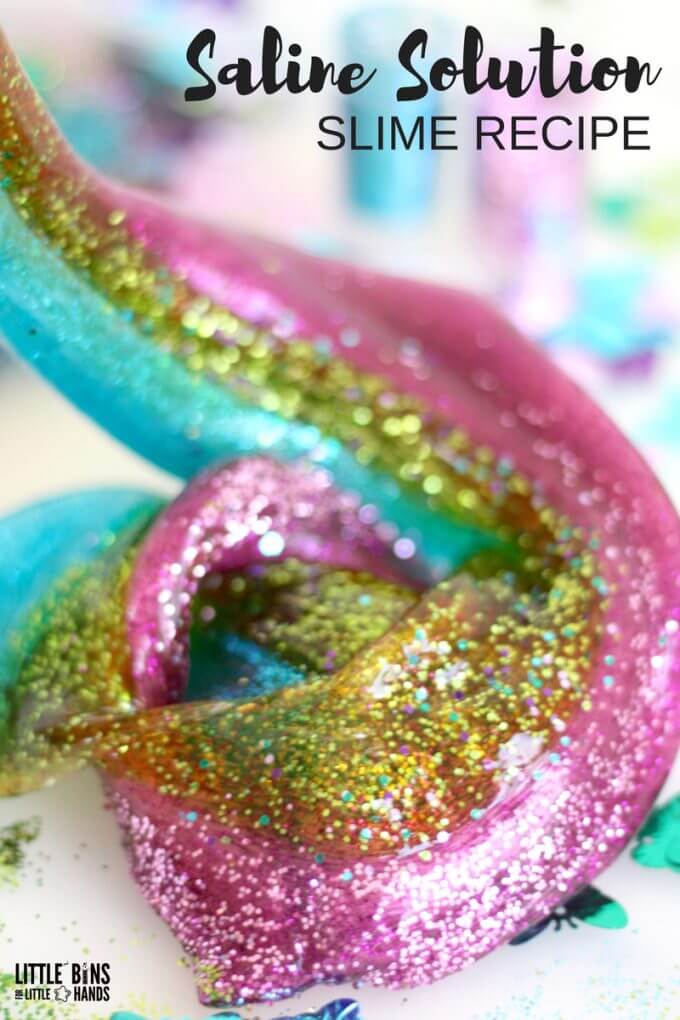
Why Use Saline Solution in Slime?
When you make slime with a saline solution, the borate ions (such as boric acid and sodium borate) act as a slime activator, helping the glue mixture transform into the stretchy texture we love. It’s the best way to make slime without using harsh chemicals or borax powder.
👉 Get the Printable Slime Recipe Below
Saline Solution Slime Recipe
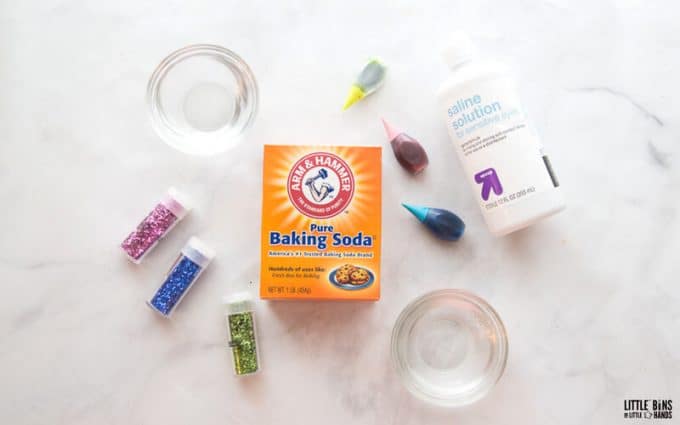
Ingredients:
- 1/2 cup Clear Glue (PVA or Elmers glue works great)
- 1 tablespoon Saline Solution (must contain boric acid and sodium borate)
- 1/2 cup Water
- 1/4-1/2 tsp Baking Soda
- Glitter, foam beads, glitter glue, or other fun mix-ins (optional)
- Liquid food coloring (for different colors)
💡 Note: You cannot use a homemade saline solution. Use a saline solution containing boric acid and sodium borate for optimal results. Avoid using contact lens solution as it is not interchangeable with saline solution in this recipe.
How to Make Saline Solution Slime: Step-by-Step Guide
Step 1: Mix the Glue and Water
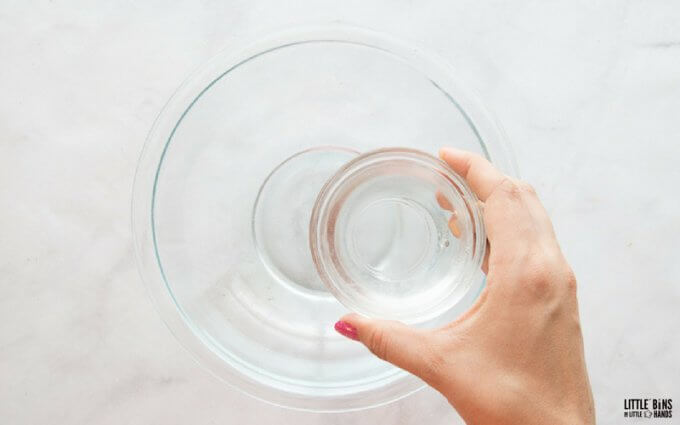
In a bowl, combine 1/2 cup clear glue with 1/2 cup of water. Stir well until completely mixed. This is your base slime mixture.
Step 2: Add Fun Colors and Glitter
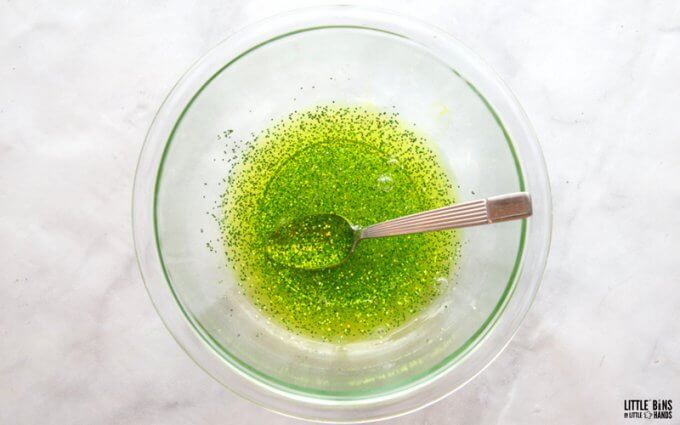
Get creative by adding glitter, liquid food coloring, or even foam beads to your mixture! Keep in mind that white glue will create lighter colors, while clear glue will give you richer, jewel-toned shades.
Step 3: Add Baking Soda
Stir in 1/4 to 1/2 teaspoon of baking soda. The baking soda helps to firm up the slime and adds to its stretchier texture. Experiment with the amount to reach your desired consistency.
💡 Baking Soda Tip: If you’re using clear glue, you won’t need as much baking soda as when using white glue.
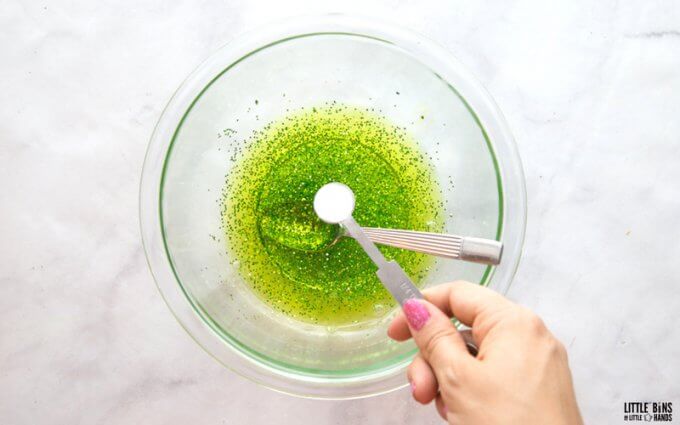
Step 4: Add the Saline Solution
Next, slowly pour in 1 tablespoon saline solution while stirring. As you mix, the slime will begin to form and pull away from the sides of the bowl. Be sure to use saline solution that contains boric acid and sodium borate for the best result.
💡 Tip for Stickiness: If your slime still feels sticky, add a few more drops of saline solution and knead it with your hands. Don’t add too much at one time or the slime will become hard and rubbery.
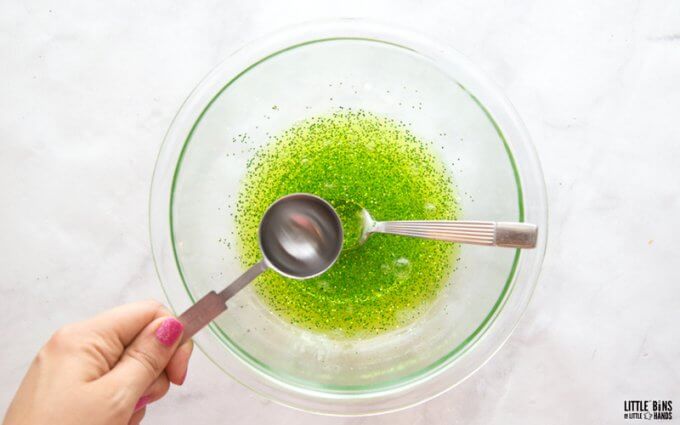
Step 5: Knead the Slime
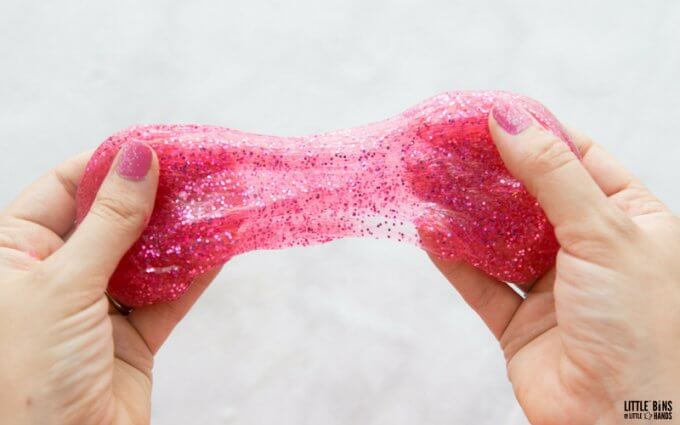
Once your slime starts to come together, knead it in your hands for 3-5 minutes. At first, it might look stringy, but as you work it, it will become more stretchy and smooth.
💡 Slime Tip: The more you knead your slime, the less sticky it will become. Kneading improves texture, but you can also make slime stretchy with these tips.
The Science Behind Saline Solution Slime
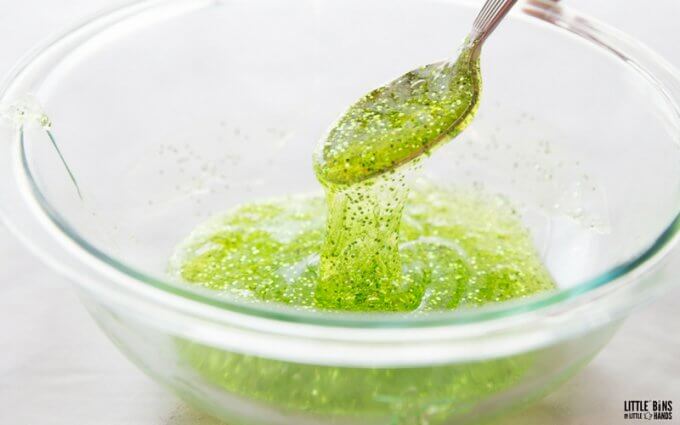
When making slime, you’re creating a non-Newtonian fluid! This means that slime acts like a liquid when poured slowly but behaves like a solid when pressure is applied quickly. The borate ions in saline solution bond with the long polymer chains in glue, causing the mixture to thicken and transform into a stretchy slime. The result is a fun, science-filled sensory play activity!
💡Learn more about slime science and setting up a slime science experiment here. Perfect for science fairs, too.
Explore Slime Science
Want to take slime-making further?
Grab our free Slime Science Starter Lab to explore polymers, slime activators, non-Newtonian fluids, and hands-on slime investigations.
Includes:
- STEM challenges
- Observation pages
- Slime science
- A 5-day slime chemistry lab
👉 Download the Free Starter Lab
Troubleshooting Slime:
- Sticky Slime:
If your slime is too sticky, slowly add a bit more saline solution or baking soda, and knead it well. - Too Hard or Rubber-like:
If your slime is too stiff, add a few more drops of water to soften it.
💡 Read more on how to fix slime here!
Fun Slime Variations to Try:
💡 You’ll find all of our homemade slime recipes here.
- Fluffy Slime
- Clear Slime
- Galaxy Slime
- Glow In The Dark Slime
- Cloud Slime
- Ultraviolet Slime
- Thermochromic Slime
- Crunchy Slime
FAQs About Saline Solution Slime:
- Can I Use Contact Lens Solution Instead of Saline Solution?
No, contact solution is not the same as saline solution and may not work the same way. For best results, always use saline solution with boric acid and sodium borate. - How Do I Store My Slime?
Store your slime in an airtight container to keep it fresh for weeks! Avoid leaving it exposed to air, as it can dry out.
Extend the Learning with Slime
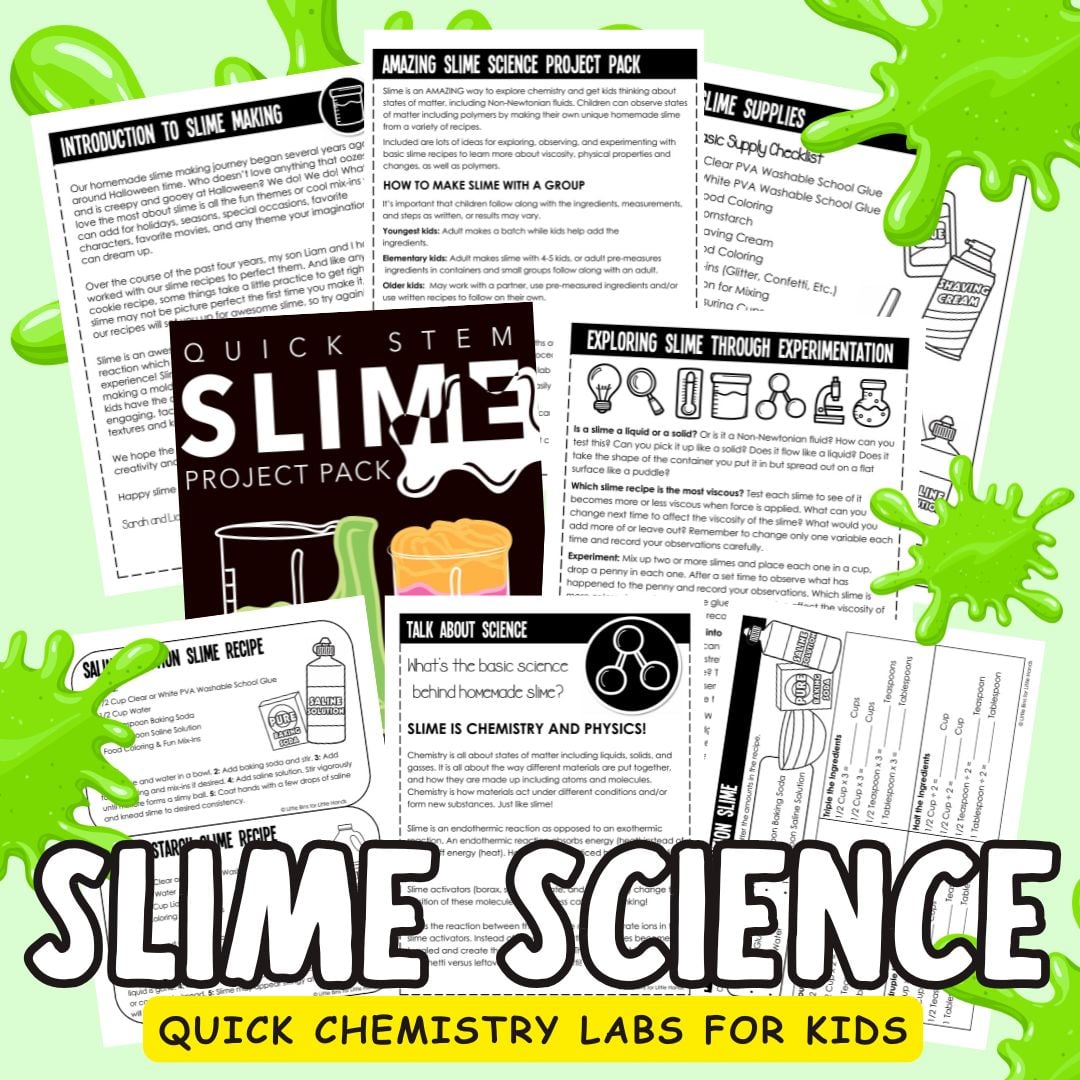
Our printable Slime Activity Pack includes step-by-step recipes, observations pages, challenges, and science extensions — perfect for home or classroom use.


Love this!! Just made it with the kiddos and it turned out perfectly! Thank you!
Best slime recipe we have found!!! Thank you!! Shared!
Awesome thank you!
Followed the instructions to a T… did not work as advertised. Added alittle more baking soda and the correct contact solution in small increments. Finally got a decent slime. My 3 year old was satified but my wife and I were not. Other ingredients are much simpler and call for 1/2 TBS of baking soda & 1 1/2 TBS of contact solution.
Yes it’s 1/2 tsp of baking soda and about a tablespoon of contact solution. I made it exactly this way this morning. Make sure to check the active ingredients on your saline solution if you aren’t getting good results.
Feel free to email me sarah@littlebinsforlittlehands.com
hi im sanchana!i love your recipe very much!!!!!!!!!!i got the easiest recipe and thanx!!!!!!!!!!!!!!!!!!amazing!!!!!!!!!!!!it really works!!!!!@@
!!!!!!!!
it realy work.ilove it
This is a great step by step insteuction complete with videos. Mine doesn’t turn out perfectly but I am guessing this is just a difference of brand used in each ingredient.
May I suggest that you put a description of what each ingredient’s purpose is to the slime? This is so we’d know which imgredient to add or reduce if we want to get a particular texture? (E.g., Too watery, too rubbery, easily hardens/breaks, doesn’t stay slimy in just a few hours)
Thanks in advance.
And thanks for sharing your slime expertise.
How do i avoid making a watery slime? Which ingredient should I add or reduce?
Or is a slime really supposed to have a watery feel? (As in wets my hands like a wet wipes)
I still enjoyed kneading it though a little wet.
But I also noticed that once it forms (though still a little watery) while kneading it, in just a few hours, it gets more rubbery and breaks if I pull it a little too fast, and in just a few more minutes or hour of playing with it, it gets too rubbery and hard.
How do I make it last for2 months?
Best. Slime EVER!!
We had a blast making this tonight! It worked perfectly with very little effort. Hours of fun in store for the kids!!
My daughter is already asking for different colours and glitter variances!!
RECIPE WAS A WASTE OF MONEY!!! I live in Singapore where Elmer’s glue is three times what it costs in the US. When you write a recipe, please be clearer. No where in your recipe do you state what needs to be in contact solution. I grabbed what was cheapest not knowing I had to read for specific ingredients.
My kids are really ticked off at me and I’m erked.
What SPECIFIC brand of solution do you recommend? Is there more than one?
I just watched the attached video and looked at the recipe again, apologies, you do have specifics of solution. However, the video calls for baking powder while your recipe says baking soda. Which is it?
Yes, thank you we found a typo and it should be baking soda!
Sorry you seem so angry. Did you click the link under supplies to see what brand we use? Make sure that the solution contains some form of borons like boric acid or sodium borate. I have since updated the recipe. Thank you for pointing it out.
I just tried this slime recipe with my kids and it came out perfect. We used green food coloring and glitter to make Christmas slime. They are currently using tree cookie cutters and beads to decorate their creations. Thanks for the great recipe!
Love it! Keep making slime!
I made a batch of slime for the first time today. At first it was too sticky, so I looked up what to do to make it less so. I saw adding baking soda as a suggestion, so I added about a half a teaspoon… and it immediately caused the water and polymer to separate! Now I have a bowl of liquid with a hard, rubbery mass in the middle. Do you know what happened, chemically? And more importantly, do you know how to fix it?
I think I should specify that I used a glue and contact solution (containing borax) to prepare the slime.
Did you follow our recipe exactly with the right ingredients from the start? Please feel free to email me sarah@littlebinsforlittlehands.com