

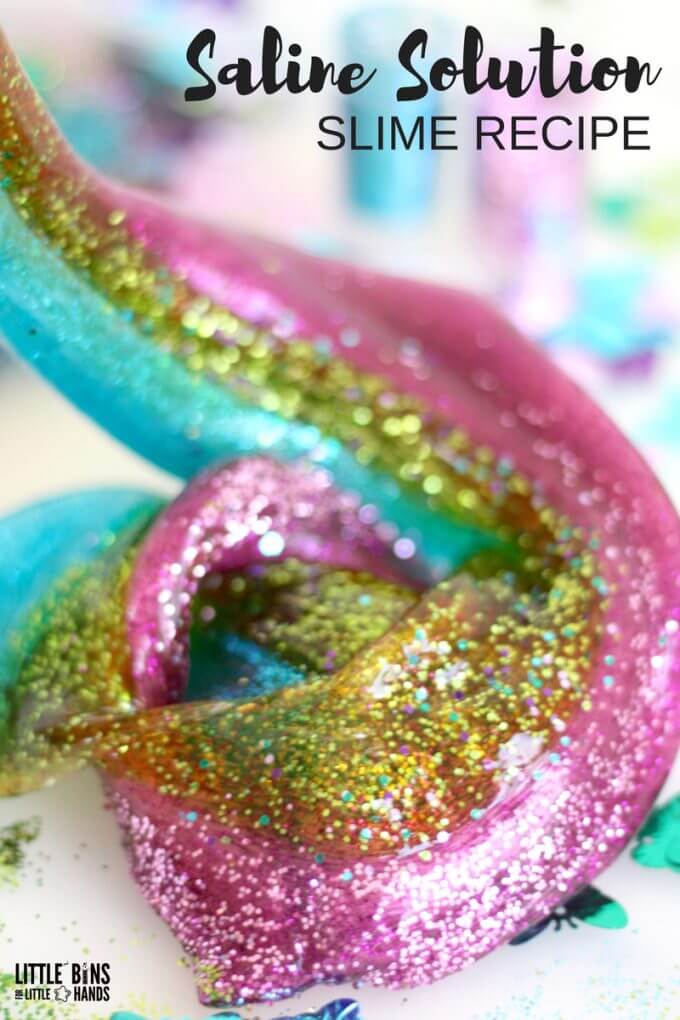
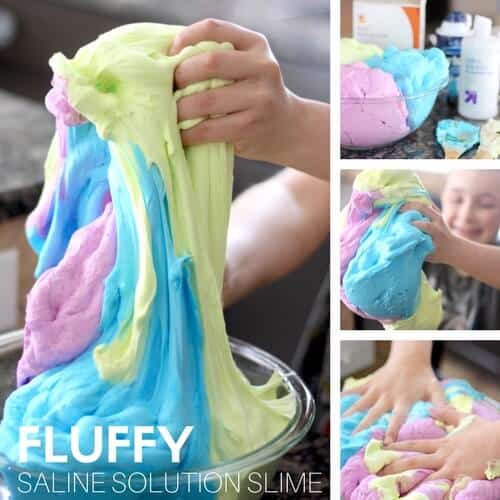
Slime-making is a fun, hands-on activity that’s perfect for kids! It’s also a fantastic way to teach kids about chemistry and sensory play. In this post, we’ll show you how to make the best saline solution slime with simple ingredients like white glue, baking soda, and saline solution. Follow our slime recipe and enjoy the transformation into a stretchy, non-Newtonian fluid!
Why Use Saline Solution in Slime?
When you make slime with a saline solution, the borate ions (such as boric acid and sodium borate) act as a slime activator, helping the glue mixture transform into the stretchy texture we love. It’s the best way to make slime without using harsh chemicals or borax powder.
👉 Get the Printable Slime Recipe Below
Saline Solution Slime Recipe
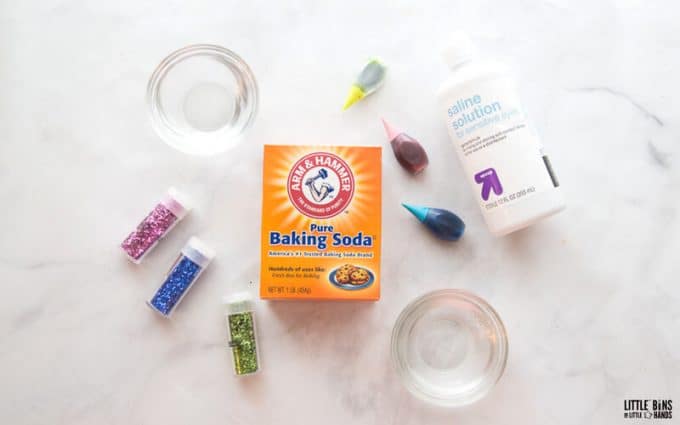
Ingredients:
- 1/2 cup Clear Glue (PVA or Elmers glue works great)
- 1 tablespoon Saline Solution (must contain boric acid and sodium borate)
- 1/2 cup Water
- 1/4-1/2 tsp Baking Soda
- Glitter, foam beads, glitter glue, or other fun mix-ins (optional)
- Liquid food coloring (for different colors)
💡 Note: You cannot use a homemade saline solution. Use a saline solution containing boric acid and sodium borate for optimal results. Avoid using contact lens solution as it is not interchangeable with saline solution in this recipe.
How to Make Saline Solution Slime: Step-by-Step Guide
Step 1: Mix the Glue and Water
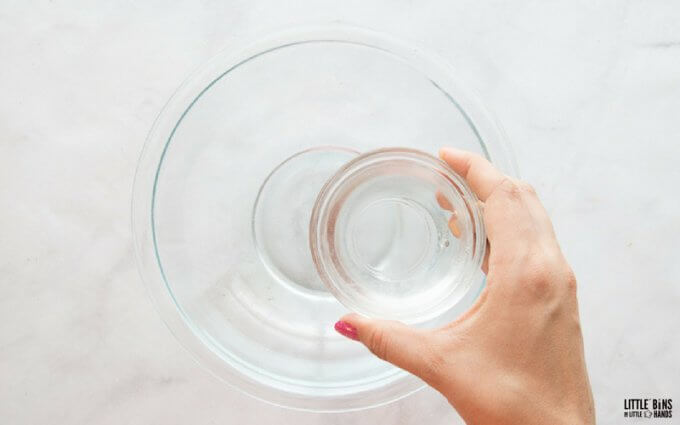
In a bowl, combine 1/2 cup clear glue with 1/2 cup of water. Stir well until completely mixed. This is your base slime mixture.
Step 2: Add Fun Colors and Glitter
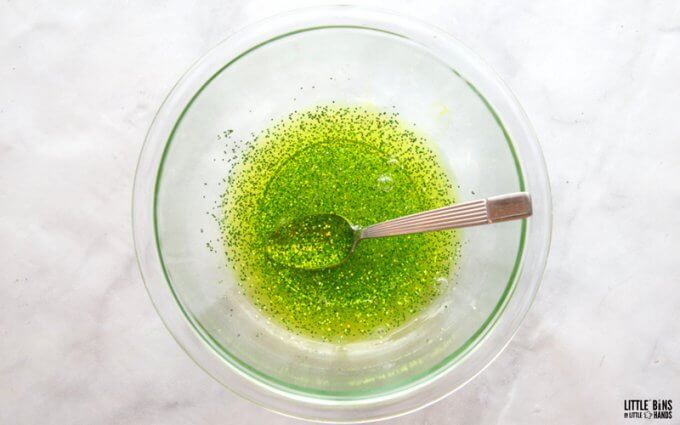
Get creative by adding glitter, liquid food coloring, or even foam beads to your mixture! Keep in mind that white glue will create lighter colors, while clear glue will give you richer, jewel-toned shades.
Step 3: Add Baking Soda
Stir in 1/4 to 1/2 teaspoon of baking soda. The baking soda helps to firm up the slime and adds to its stretchier texture. Experiment with the amount to reach your desired consistency.
💡 Baking Soda Tip: If you’re using clear glue, you won’t need as much baking soda as when using white glue.
Step 4: Add the Saline Solution
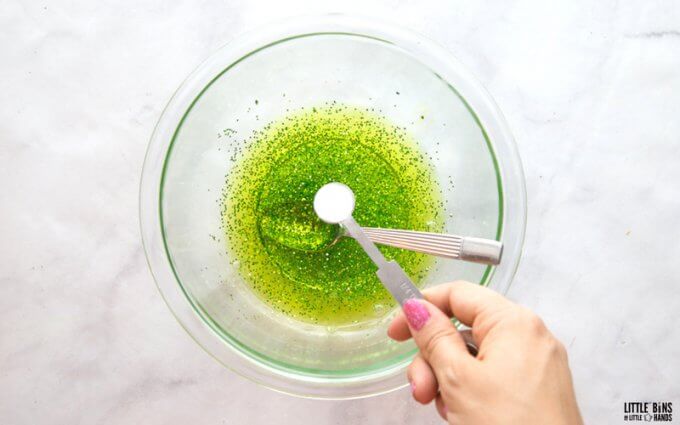
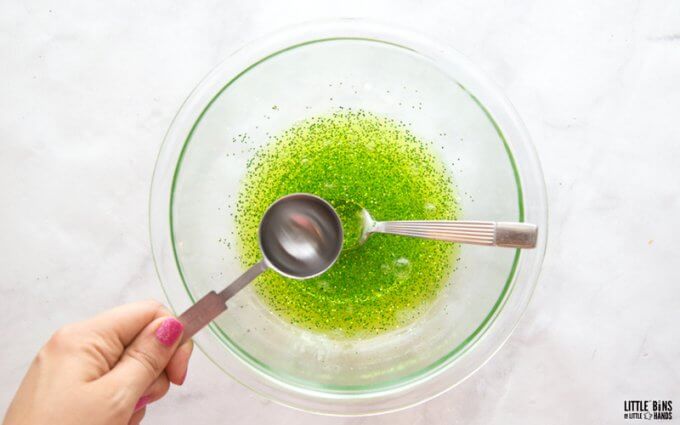
Next, slowly pour in 1 tablespoon saline solution while stirring. As you mix, the slime will begin to form and pull away from the sides of the bowl. Be sure to use saline solution that contains boric acid and sodium borate for the best result.
💡 Tip for Stickiness: If your slime still feels sticky, add a few more drops of saline solution and knead it with your hands. Don’t add too much at one time or the slime will become hard and rubbery.
Step 5: Knead the Slime
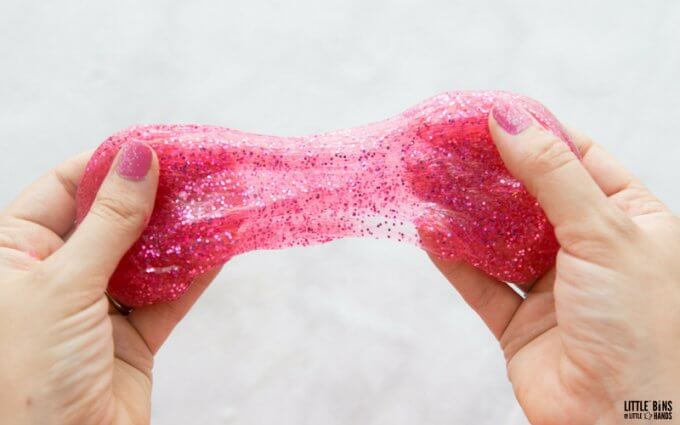
Once your slime starts to come together, knead it in your hands for 3-5 minutes. At first, it might look stringy, but as you work it, it will become more stretchy and smooth.
💡 Slime Tip: The more you knead your slime, the less sticky it will become. Kneading improves texture, but you can also make slime stretchy with these tips.
The Science Behind Saline Solution Slime
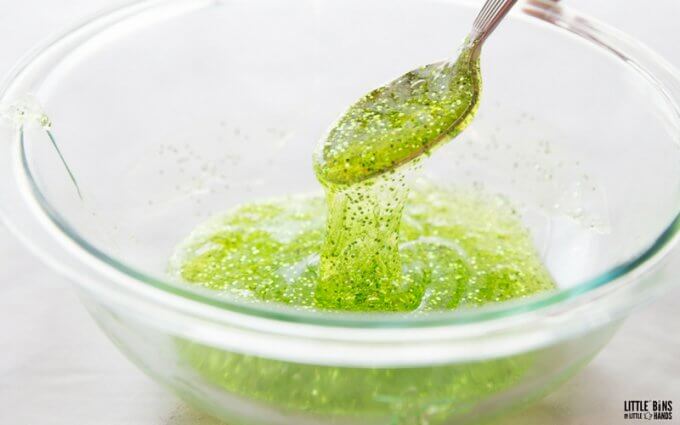
When making slime, you’re creating a non-Newtonian fluid! This means that slime acts like a liquid when poured slowly but behaves like a solid when pressure is applied quickly. The borate ions in saline solution bond with the long polymer chains in glue, causing the mixture to thicken and transform into a stretchy slime. The result is a fun, science-filled sensory play activity!
💡Learn more about slime science and setting up a slime science experiment here. Perfect for science fairs, too.
Explore Slime Science
Want to take slime-making further?
Grab our free Slime Science Starter Lab to explore polymers, slime activators, non-Newtonian fluids, and hands-on slime investigations.
Includes:
- STEM challenges
- Observation pages
- Slime science
- A 5-day slime chemistry lab
👉 Download the Free Starter Lab
Troubleshooting Slime:
- Sticky Slime:
If your slime is too sticky, slowly add a bit more saline solution or baking soda, and knead it well. - Too Hard or Rubber-like:
If your slime is too stiff, add a few more drops of water to soften it.
💡 Read more on how to fix slime here!
Fun Slime Variations to Try:
💡 You’ll find all of our homemade slime recipes here.
- Fluffy Slime
- Clear Slime
- Galaxy Slime
- Glow In The Dark Slime
- Cloud Slime
- Ultraviolet Slime
- Thermochromic Slime
- Crunchy Slime
FAQs About Saline Solution Slime:
- Can I Use Contact Lens Solution Instead of Saline Solution?
No, contact solution is not the same as saline solution and may not work the same way. For best results, always use saline solution with boric acid and sodium borate. - How Do I Store My Slime?
Store your slime in an airtight container to keep it fresh for weeks! Avoid leaving it exposed to air, as it can dry out.
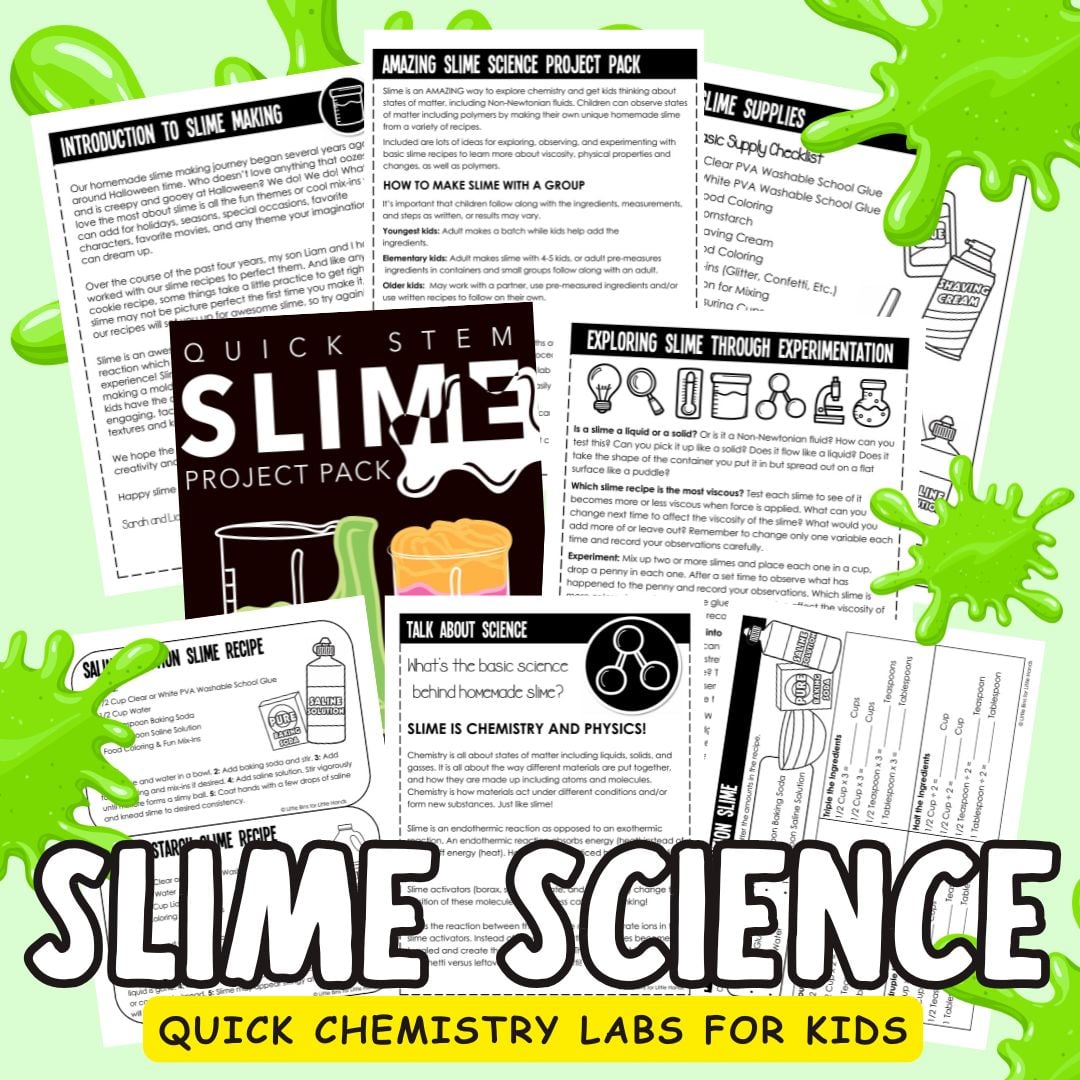
Extend the Learning with Slime
Our printable Slime Activity Pack includes step-by-step recipes, observations pages, challenges, and science extensions — perfect for home or classroom use.



The recipe works perfectly and my daughter loves it. Thank you for the post.
Yay! Terrific!
I tried the” Elmers” recipe from their website and got a ball of something half way in between slime and silly putty. Then i found little bin, and tried your recipe, and it worked perfectly the first time. It’s pretty wet though, and keeps leaking water into the bowl that my daughter is using to mix it in and play with it in. Any suggestion why it is so wet? I followed the instructions for the order and about of the ingredients to be mixed together.
Definitely transfer to a clean dry container. I have only had the leaky issue once. How much and what color food coloring did you add?
I find that when I make slime it fails anyways but I measured everything quite nicely this time and I don’t know if I’m using the right saline solution but I did measure everything properly and it still didn’t work!
Feel free to email me at sarah@littlebinsforlittlehands.com and we can discuss your ingredients and the recipe.
No it is not. Many positive reviews. I have been making it daily to complete my newest book. Please let me know if you need some help.
CAn you add sparkly things after you make clear slime? I want to put small dishes of glitter, sequins, food color, etc so that kids can make choices of what they want to add to their bag of clear slime.
I am sorry to be replying on someone’s question but I can’t find a comment button on this post?
The slime recipe worked great! We stored it in an airtight container and the next morning it was no longer slime, but had a thin layer of liquid on top and was no longer stretchy. Any suggestions to fix it?
I’m hearing this a lot more now and I need to figure out a good answer because this doesn’t seem to happen to us. What type of container are you storing it in? Feel free to email me or message on Facebook to discuss.
Email me sarah@littlebinsforlittlehands.com and we can work on it together!
I made this with my granddaughter and it worked perfectly AND very quickly! We used the Equate brand of Saline Solution for sensitive eyes and it had sodium chloride in it. Worked beautifully and she is one happy little girl.
Awesome to hear! Thank you for letting me know!
Worked great! We love it! Found a Walmart, equate brand, contact lens solution with the correct ingredients. We’ll be making this again!
Awesome! Make sure to sprinkle some on your hands after you have stirred it well! Helps to pick the slime and make it less sticky as you knead it!
I made the recipe with my 3 year old today, it was our first time and it came out great but we did have to add a little more of the lenses cleansing solution. I wish I could post a picture! We are making more tomorrow, it kept her entertained for a long time, so that’s a win on my book. I used the white Elmer’s glue because that’s what we had handy, the color is less bright but still pretty.
That’s awesome to here! Yes, depending on the solution you could need a bit more but a tablespoon is a good place to start. I suggest squeezing some onto your hands when kneading it to help reduce the stickiness.
Making the slime is fine and is great fun, my child can play with it, however after about 30+mins or storing it for longer periods of time (overnight) in an air tight container at room temp it starts to lose water, when i open the container there is a lot of water surrounding the slime, it also changes consistency and not be as stretchy and tears a lot easier than being elastic as it originally was.
Is it normal to have that much water come out of it? I can just drain the water but is there something I’m doing wrong in the making of it? Not sure what I’m doing wrong to cause this to happen.
This is not a usual occurrence. It may have to do with climate but I am not sure. I have had this happen once with my monster eyes slime but I also had 3 other containers sitting out with the same recipe and nothing happened to them. What color was the slime?