You stick out your tongue, close your eyes, and tilt your head up to the sky as big fat snowflakes start to fall. Let it snow, let it snow! That’s what my son has been saying for the last month now. I’m ok with waiting a little longer before I see the flakes fly. Whether you love or hate snow or live somewhere where there will never be snow, you can still learn how to make homemade winter slime with the kids! Making slime is an awesome winter theme activity.
HOW TO MAKE HOMEMADE SNOWFLAKE SLIME
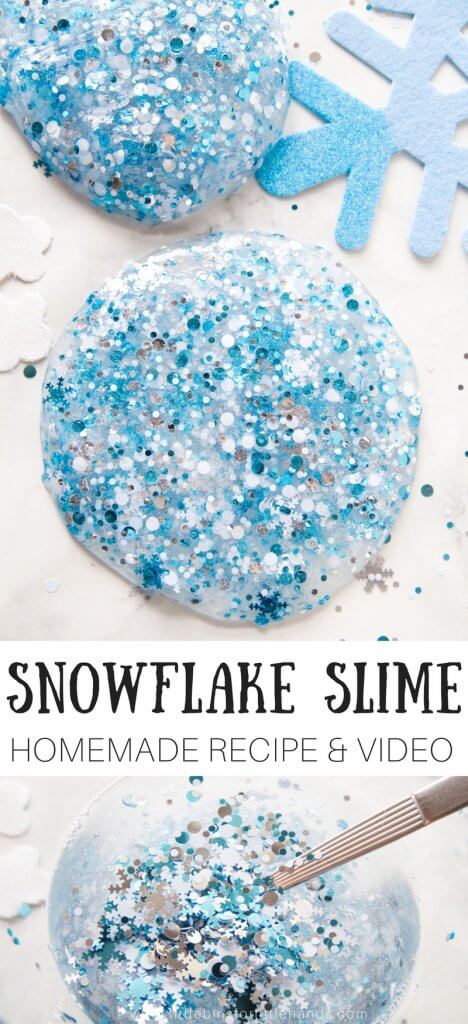
SLIME FALLING FROM THE SKY
A newly fallen blanket of snow, big fluffy flakes falling steadily through the air, and a favorite homemade slime recipe are perfect for a winter afternoon activity. Don’t have any snow, 80 degrees and sunny? No worries, you can still create a snowstorm in the kitchen or classroom with our homemade snowflake slime recipe!
Slime making is even more fun when you add in creative winter themes like snowflakes. We have quite a few snow slime recipes to share, and we are always adding more. Our Glitter Snowflake Slime Recipe is yet another AMAZING slime recipe we can show you how to make.
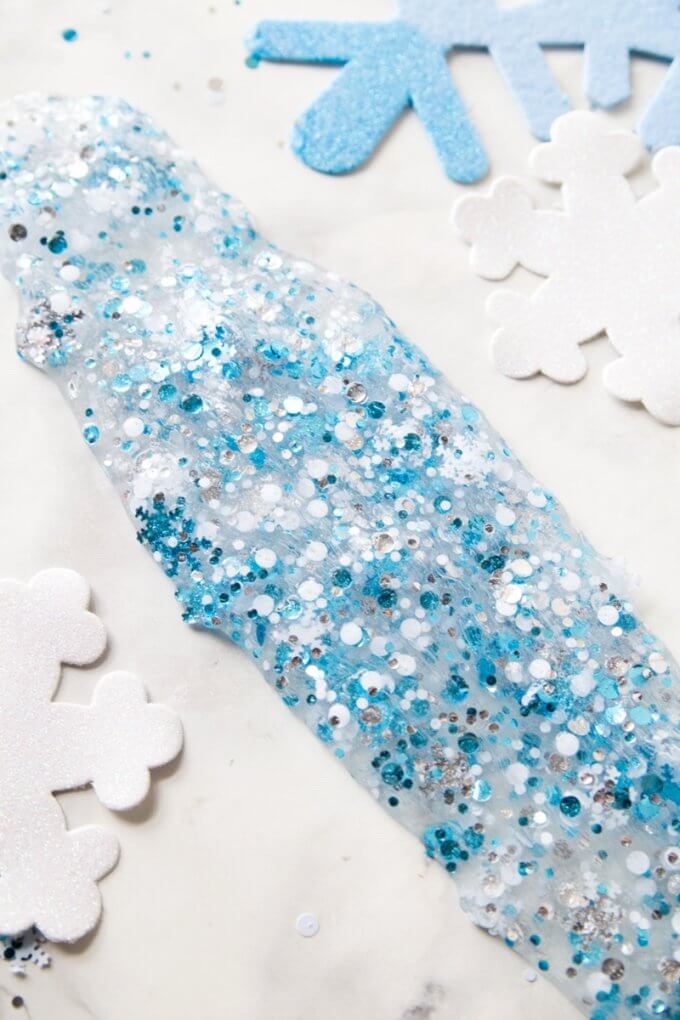
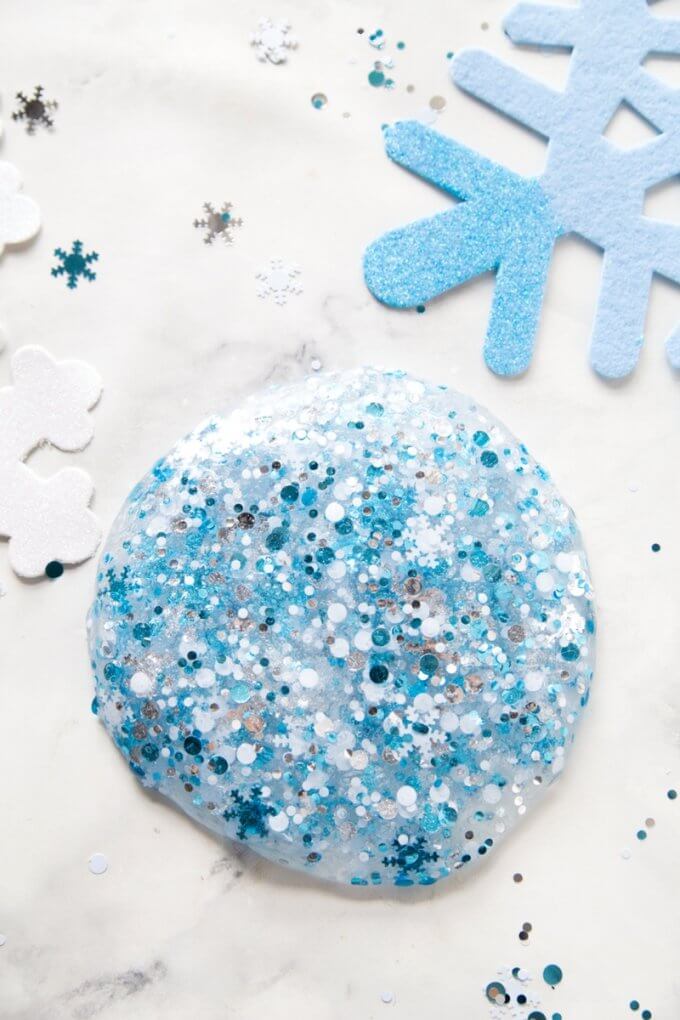
GLITTER WINTER SLIME
This fun snowflake themed winter slime uses borax powder as the slime activator. Now if you want to use liquid starch or saline solution instead, you can use one of our other basic recipes using liquid starch or saline solution.
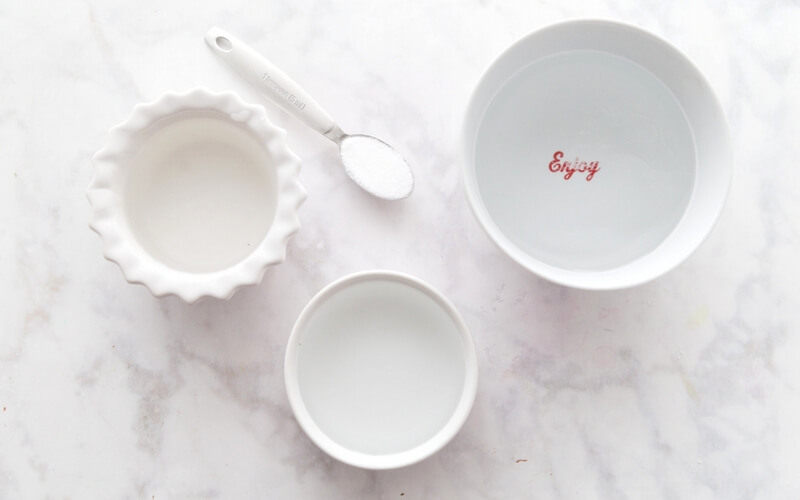
SUPPLIES:
- 1/4 tsp Borax Powder {found in laundry detergent aisle}.
- 1/2 cup Clear Washable PVA School Glue
- 1 cup of Water divided into 1/2 cups
- Glitter, Snowflake Confetti
HOW TO MAKE SNOWFLAKE GLITTER SLIME
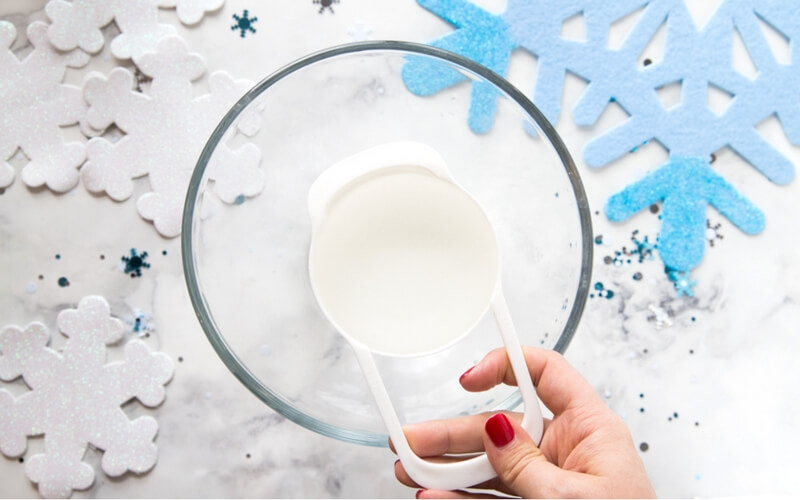
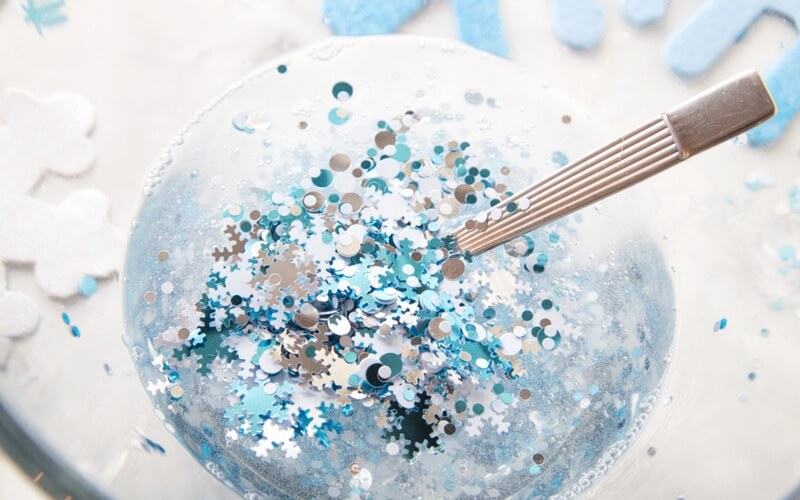
STEP 1. Add glue and 1/2 cup of water to a bowl and mix together.

STEP 2. Mix in a healthy amount of snowflake confetti and glitter if desired. Make sure to not add too much otherwise your slime will be more likely to break apart due to the confetti getting in the way.
Got a Frozen fan? This is perfect to go along with a favorite movie too!
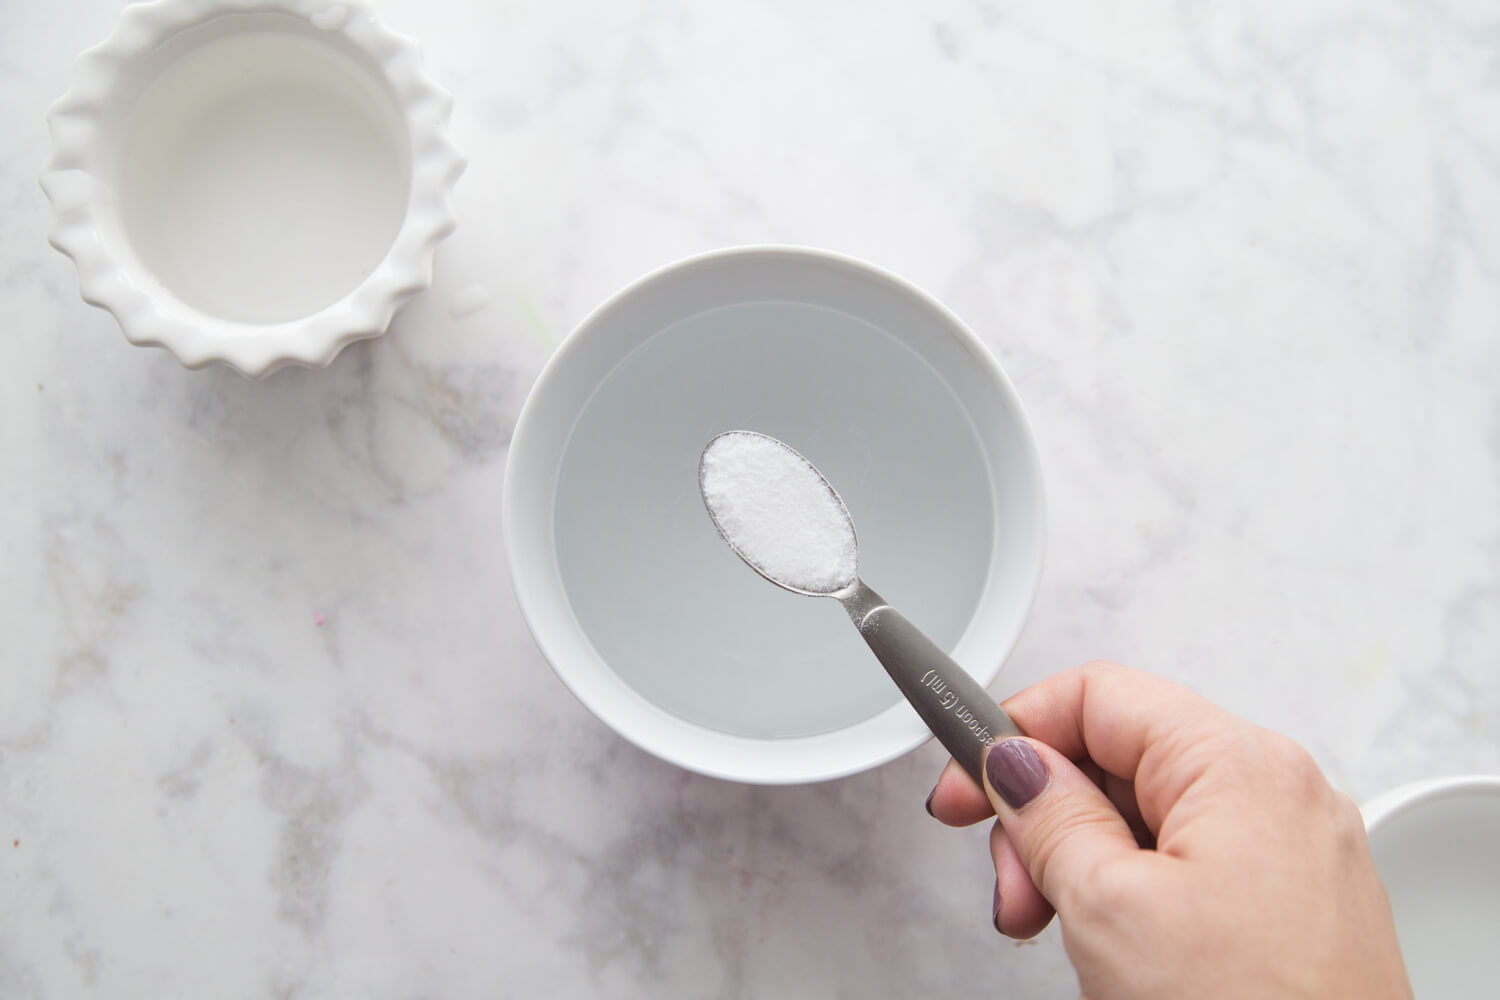
STEP 3. Mix 1/4 tsp of borax powder into a 1/2 of warm water to make your slime activator solution.
Borax powder mixed with hot water is the slime activator that creates the rubbery, slimy texture you can’t wait to play with! It’s super easy to whip up this homemade slime recipe once you get the hang of it.
STEP 4. Add the borax solution to the water and glue mixture. Combine well.
You will see it come together right away. It will seem stringy and clumpy, but that’s ok! Remove from bowl and spend a few minutes kneading the mixture together. You may have leftover borax solution which you can discard.
We always recommend kneading your slime well after mixing. Kneading the slime really helps to improve it’s consistency.
TOO STICKY? If your slime still feels too sticky, you may need a few more drops of borax solution. You can always add but you can’t take away. The more activator solution you add, the stiffer the slime will become over time. Make sure to spend extra time kneading the slime instead!
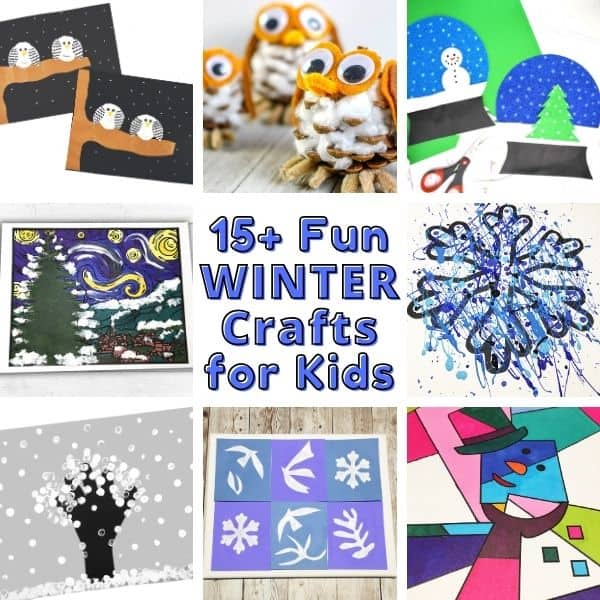
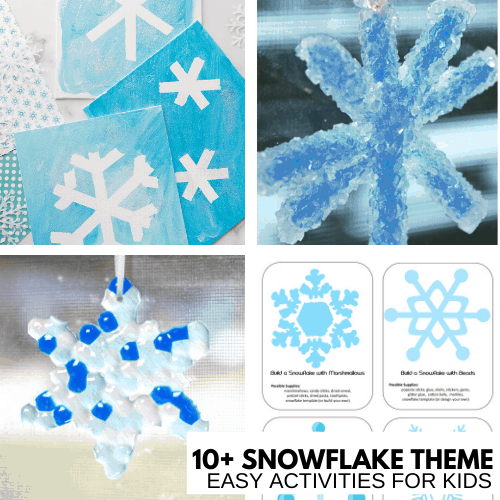
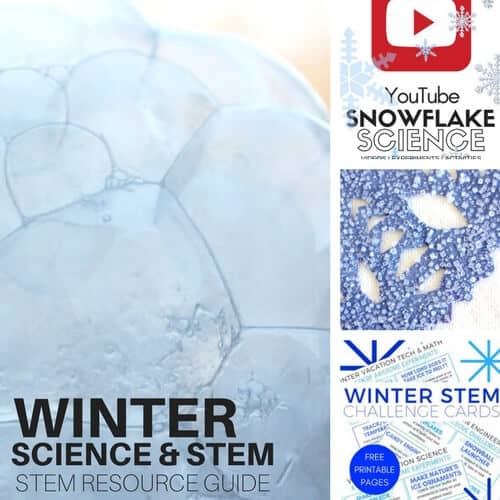
Click on the photos below for more awesome winter ideas for the kids.


This is beautiful and I want to make some for my kids as Christmas gifts, how long does the slime last?
We get about a week or so with it! Glad you like it! We make it all the time now.
Mine didn’t turn out clear?? It’s white and the glitter doesn’t show up very much.
Where do you buy liquid starch? thanks
Did you use clear glue? If you use white glue it won’t be clear.
I don’t believe you can buy in UK but maybe off of Amazon. Do you have powdered borax. Our bat slime uses borax.
How do you store the slime? I’m thinking about using it in a library program but I will have to make it ahead of time. Thanks
You can store it loosely covered in a upper ware or plastic container. It keeps for a week or more but check on it, turn it over, play with it to keep it moist and pliable.
I’ve tried this recipe twice now, and both times all I got was viscous water. I’m getting frustrated as the starch doesn’t seem to be binding with the glue at all and I’m just wasting supplies. Is there an order of operations that is needed for this to turn into slime or am I just unable to do chemistry?
Are you using the exact same elders clear washable school glue mixed with 1/2 cup of water and then add that mixture to 1/2 cup of liquid starch {as fund in laundry aisle, not cornstarch} Immediately when you add the glue/water to starch it should start to form and then use your hands for a few minutes to work it around. Our mix becomes completely absorbed. Feel free to message me on the FB page and include a photo. That might help.
I just wanted to let you know that the slime came out fantastic for my library program! It’s so easy and quick to make and it was a huge hit with all the kids!
My daughter and I just made this for the boys in her kindergarten class for valentine’s day. She had a blast! It turned out great. We used white glue and added a little bit of glow in the dark paint. She kept the leftover slime and I am sure we will be making this many more times!
this is awesome. thank you so much for posting this. I want to make this for the kids at church. they will love this.
Awesome glow in the dark paint is a great addition.
Does the water have to be warm?
We use room temperature water!
does the glue have to be clear
No it does not. It will just have a different appearance but be just as fun!
Would love to,find the actual recipe, jumped thru all the hoops, lol the links still can’t find it….
You need to click on the black button and scroll down to the end of the page to see all the details and step by step pictures.