Learn how to melt crayons in the oven to make colorful homemade crayons with silicone molds. This fun activity is also a simple way to explore physical changes, heat transfer, and states of matter with kids.
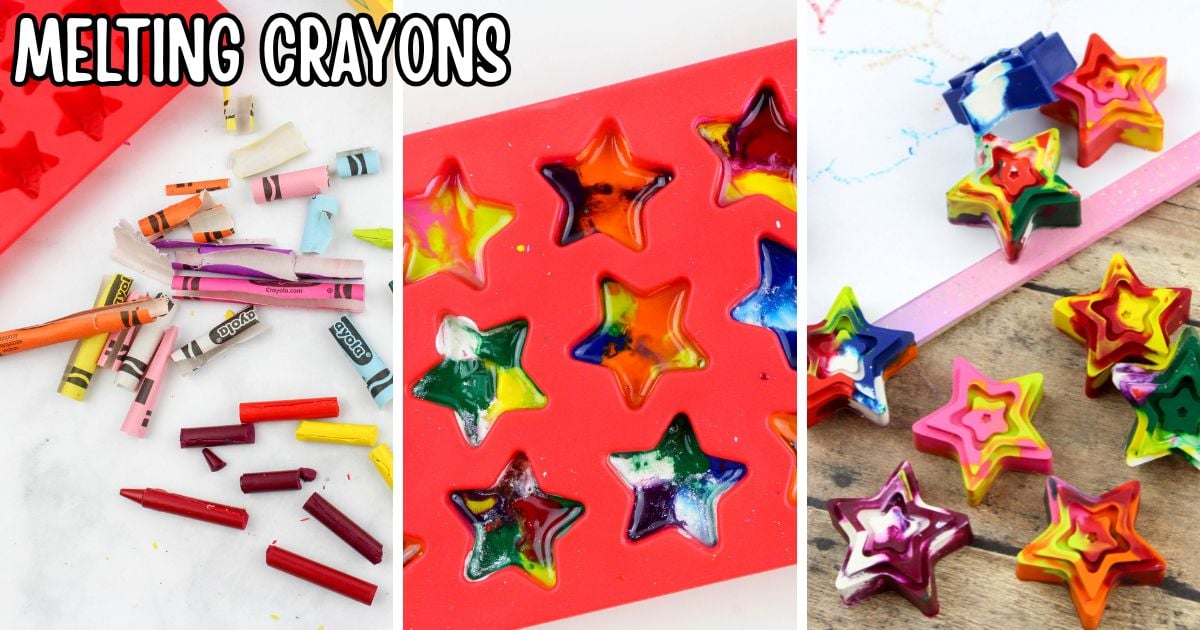
Melt Crayons In The Oven
Reuse broken crayons or test fun color combinations while exploring how heat changes solid wax into liquid and back again. This easy kitchen chemistry and STEAM activity combines creativity, chemistry, and art in one hands-on project.
👉 Learn more about Kitchen Chemistry Projects here and STEAM Projects for Kids here.
Field: Chemistry—Physical Changes
Grades: PreK–3
Concepts Explored: States of matter, melting and cooling, reversible changes, heat transfer, and color mixing.
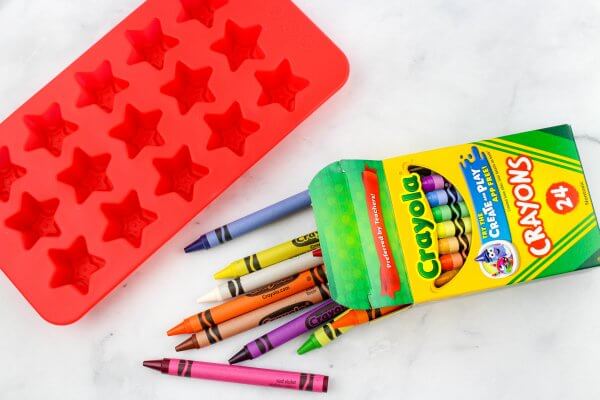
Supplies Needed:
- Silicon Mold
- Crayons
- Baking Sheet or Tray
- Oven mitt
Melting Crayons Tutorial
🛑 Adult supervision is highly recommended. The melted crayons will get very hot! 🛑
STEP 1. Preheat oven to 275 degrees.
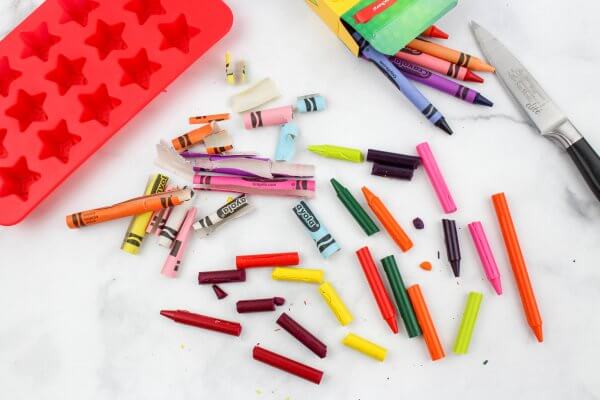
STEP 2. Peel the paper wrappers off the crayons and cut the crayons into tiny pieces.
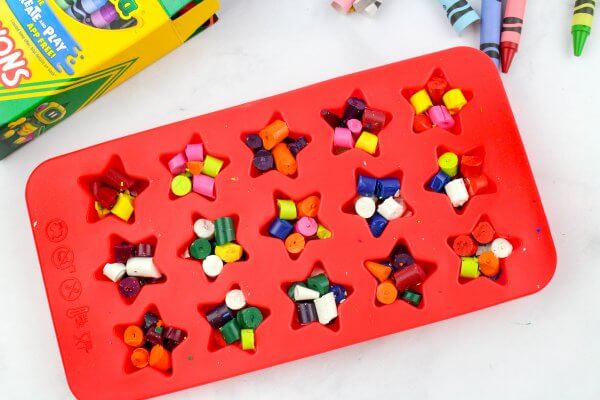
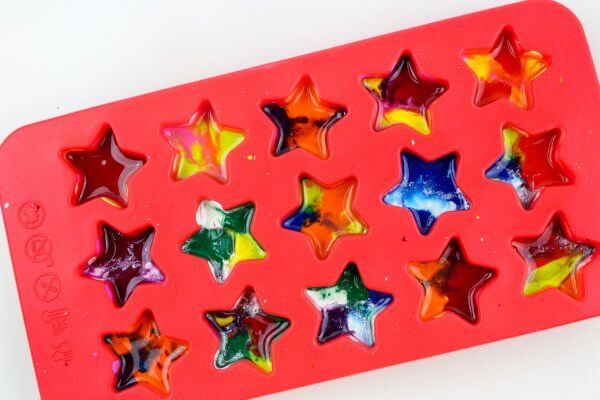
STEP 3. Fill each crayon mold with different colors; anything goes! Similar shades will create a nice effect, or try color mixing by combining blue and yellow!
STEP 4. Place in the oven on a baking sheet for 7-8 minutes or until the crayons are completely melted.
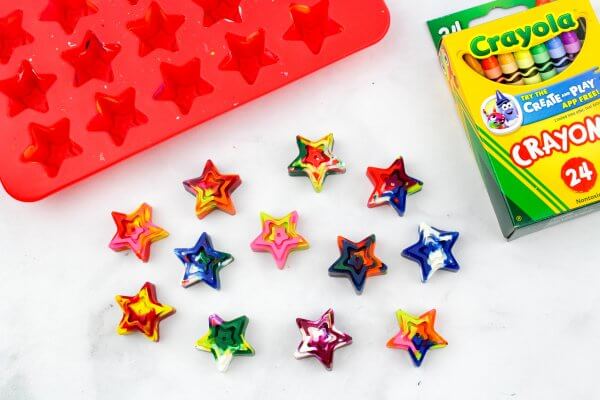
STEP 5. Remove the mold carefully from the oven and let it cool completely.
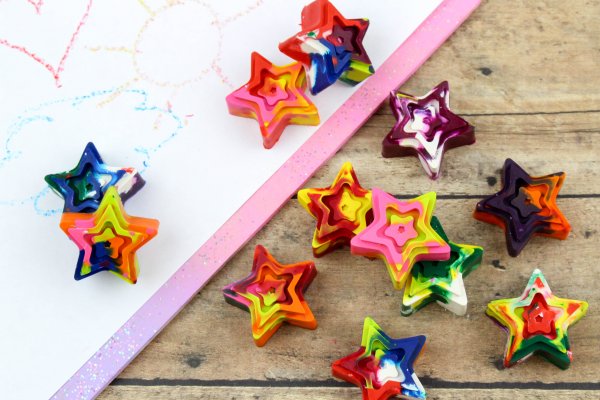
STEP 6. Once cooled, pop out of molds and have fun coloring! You can try out our reverse coloring art project here.
How To Melt Crayons In The Microwave
🛑 Adult supervision is highly recommended. The materials will be hot! 🛑
STEP 1. You will still want to peel off the paper wrappers and break the crayons into pieces. However, your best bet is to separate by color since you will use a melt-and-paste style to make crayons here.
STEP 2. Place the crayon pieces in paper cups and heat on high in the microwave. Ours took about 5 minutes, but depending on the microwave, you may want to start checking around four minutes.
STEP 3. Then, pour the melted crayons into your silicone molds! This is when you can combine colors if desired.
STEP 4. Place molds in the freezer to speed the cooling process! 30 minutes should do the trick.
Melting Crayon FAQs
1. Can you melt crayons without a mold?
Yes! You can use muffin tins, cookie cutters, or even small containers to mold the melted crayons. Just be sure to spray the containers with cooking spray to make the crayons easier to remove once they cool.
2. Can you melt crayons in muffin tins instead?
Absolutely! You don’t need silicon candy molds to make crayons. Spray the muffin tins first with cooking spray and use them the same way you would with molds.
3. What about melting crayons in the oven with cookie cutters?
This is another great alternative to melting crayons in candy molds. Line a baking tray with parchment paper. Lightly spray metal cookie cutters and place them on the tray. Add crayons and pop in the oven!
4. How long do you bake crayons in the oven?
Typically, it takes about 7-8 minutes to melt crayons at 275°F in the oven. Keep an eye on them to ensure they don’t overheat or burn. Once they’re fully melted, remove them and let them cool completely before popping them out of the molds.
5. Can you use crayon stubs for melting?
Absolutely! Crayon stubs are perfect for melting. Just break them into smaller pieces and use them in your molds for a fun way to recycle old crayons.
6. Can you melt crayons in the microwave?
Yes! You can microwave crayon pieces in paper cups for about 4-5 minutes. Just be sure to keep an eye on them as microwaves can vary in strength. Once melted, pour into molds and let cool.
7. Can melted crayons be used for other crafts?
Definitely! After you’ve melted your crayons, you can use the colorful crayon shapes for arts and crafts, such as decorating greeting cards, creating textured artwork, or even making crayon candle holders!
8. What colors can I make by mixing crayons?
Mixing colors is a great way to make custom crayon shades! Combine primary colors like blue and yellow to make green, or red and blue to make purple. The possibilities are endless!
The Science Of Melting Crayons
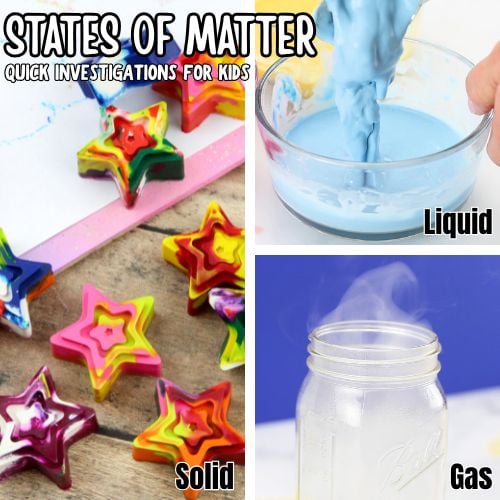
Melting crayons is a simple way to explore physical changes and states of matter. When crayons heat up, the solid wax changes into a liquid. As the wax cools, it hardens back into a solid again.
A physical change happens when a material changes shape, size, or form but stays the same substance. Even though the crayons melt, the wax itself does not become something new. You can melt it, reshape it, and use it again!
This is called a reversible change because the change can be undone. Melting ice into water and freezing it again is another example of a reversible change.
An irreversible change happens when a material changes permanently and cannot return to its original form. Cooking an egg or baking a cake are examples of irreversible changes.
Melting crayons is also a fun way to explore heat transfer, color mixing, and how materials respond to temperature changes.
Can you think of other examples of reversible and irreversible changes?
🔎 Also check out: States of Matter Experiments and more Examples of Physical Change!
Explore Physical Changes With Kids
Want to keep exploring physical changes and states of matter? Grab our free printable Physical Changes Mini Pack filled with simple science activities, challenge pages, and hands-on examples using everyday materials.
Inside you’ll find:
- Printable physical change activities
- Simple science explanations
- Real-world examples of reversible and irreversible changes
- Fun observation and discussion pages
- Easy experiments using household supplies
Perfect for preschool through elementary-age kids at home or in the classroom.
Try More Physical Change Activities
Explore more activities that show how heat and temperature can change materials from one state to another.


Explore More Kitchen Chemistry
Continue the fun with our Kitchen Chemistry Pack featuring printable experiments, reusable investigation pages, science explanations, and easy hands-on activities using everyday kitchen supplies.
Perfect for home or classroom science with activities focused on:
reactions, mixtures, crystals, surface tension, polymers, and color-changing chemistry.


How do you generally clean the silicone molds?
Warm, soapy water and then in the dishwasher if they are dishwasher safe.