Looking for a simple Christmas craft kids can color, cut, and build? This 3D Christmas tree paper craft is perfect for home or classroom holiday fun. Using just a few supplies, kids can create a standing paper tree decorated with ribbons, stockings, holly, candy canes, and more. Add it to your Christmas crafting plans or pair it with our other printable 3D paper projects below!
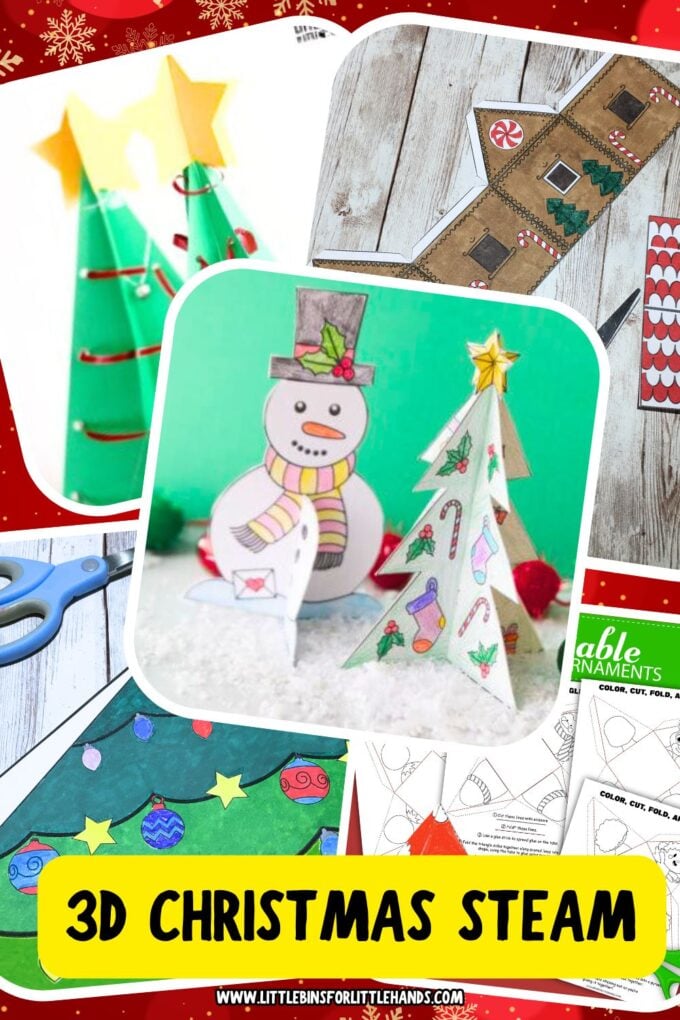
Make a 3D Christmas Tree This Holiday Season
This easy 3D Christmas tree craft is a great December activity for kids. Once the triangles are cut and assembled, the tree stands on its own—ready for decorating! It’s simple enough for younger kids but engaging enough for older ones who want to personalize their trees with patterns, decorations, or color schemes.
🎨 Explore more than 50 Christmas Crafts with simple materials here.
Supplies Needed
- Green card stock or heavy construction paper
- Yellow card stock
- Ribbon, yarn, string, or jingle bells
- Ruler
- Pencil
- Scissors
- Tape
- Hole punch
- Crayons, markers, or colored pencils
How to Make a 3D Christmas Tree
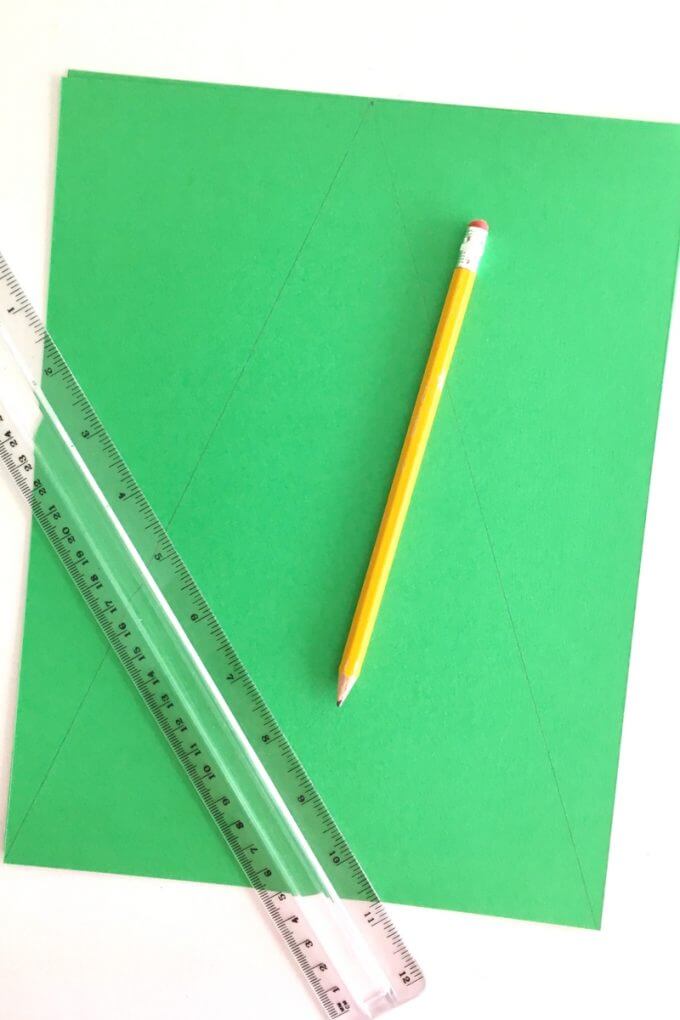
Step 1: Create Two Matching Triangles
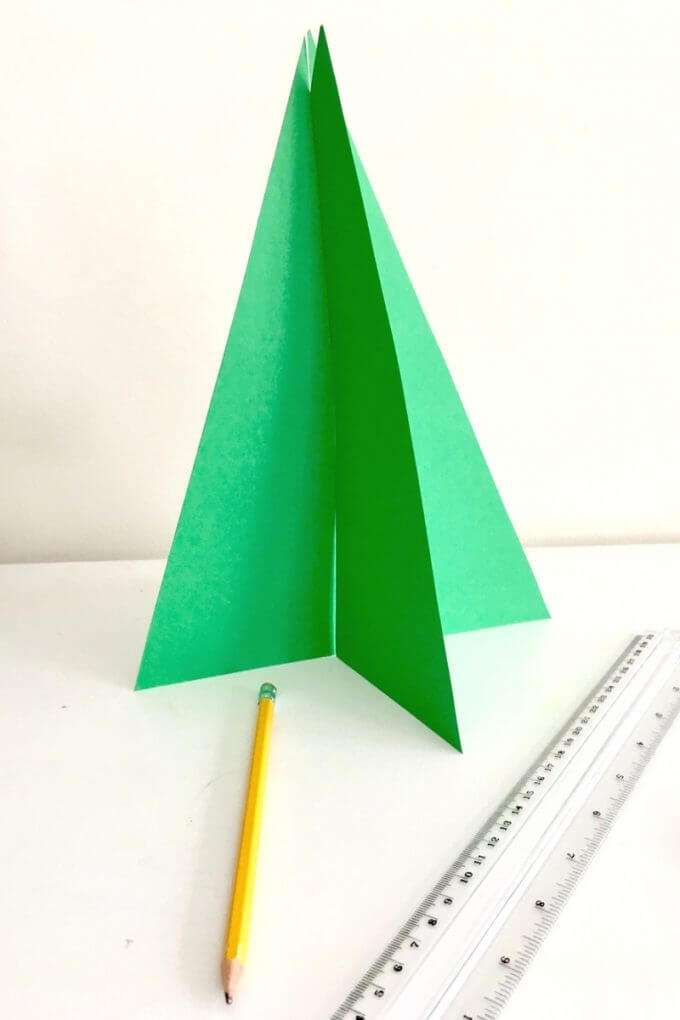
Use a ruler to mark the center of the top of your paper. Draw straight lines to the bottom corners to create a triangle. Cut out two identical triangles.
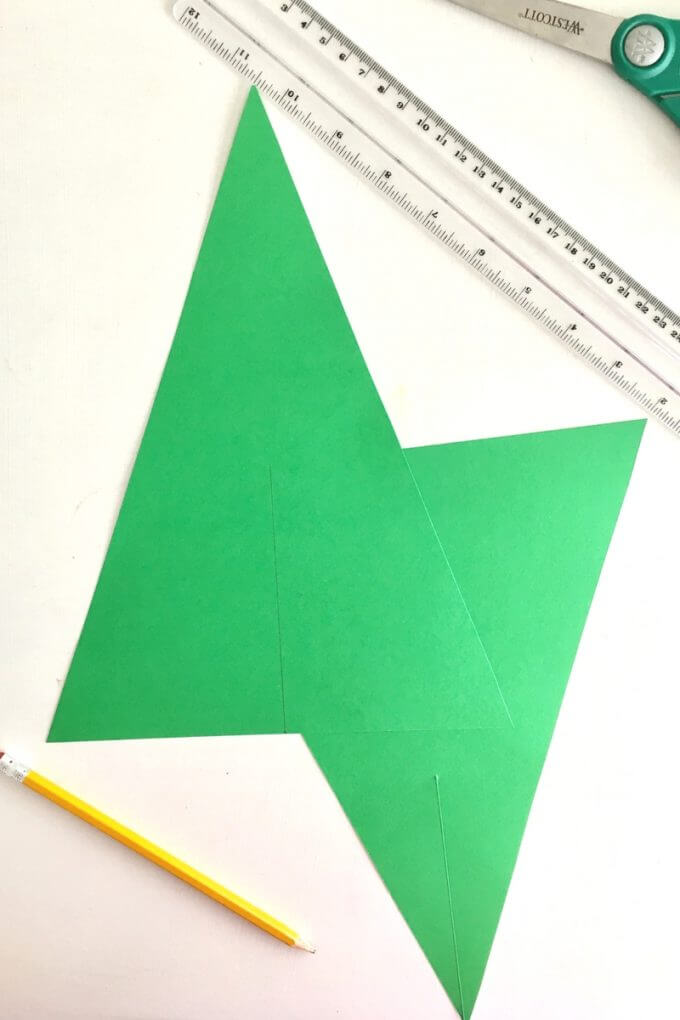
Step 2: Cut the Slots
To make the tree stand:
- Cut one triangle halfway up from the bottom.
- Cut the other triangle halfway down from the top.
Slide the two pieces together so the slits interlock.
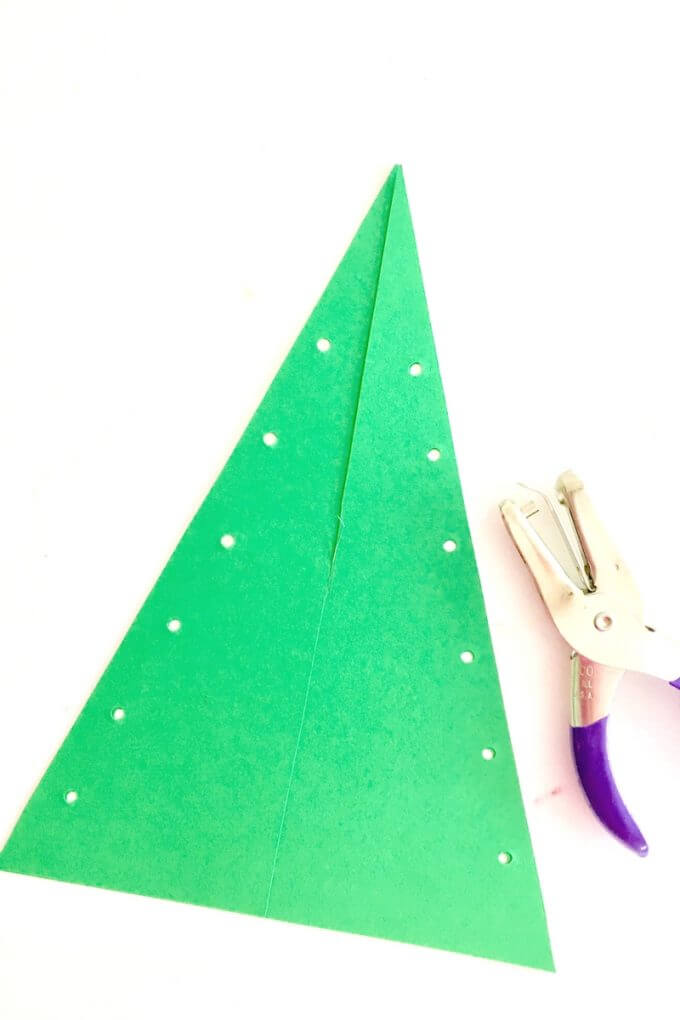
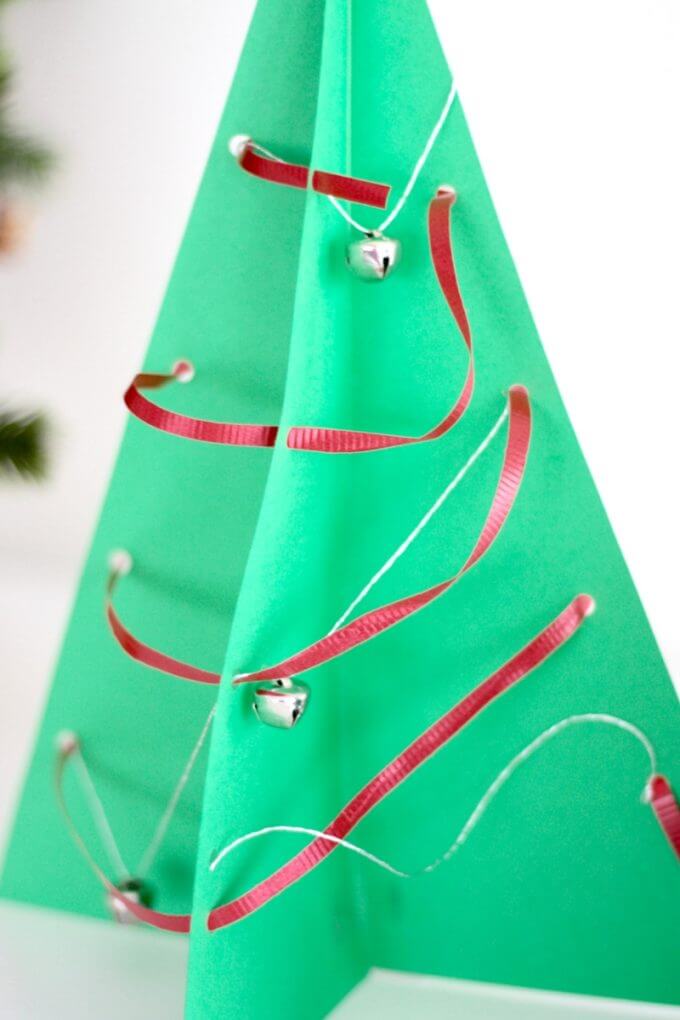
Step 3: Punch Holes for Ribbon
Stack the triangles and punch matching holes along both sides.
Kids can weave ribbon or yarn through the holes like garland.
Step 4: Assemble the Tree
Slide the triangles together again and secure the top and bottom with small pieces of tape.
Step 5: Decorate
Add ribbon, stickers, sequins, bells, or draw your own ornaments.
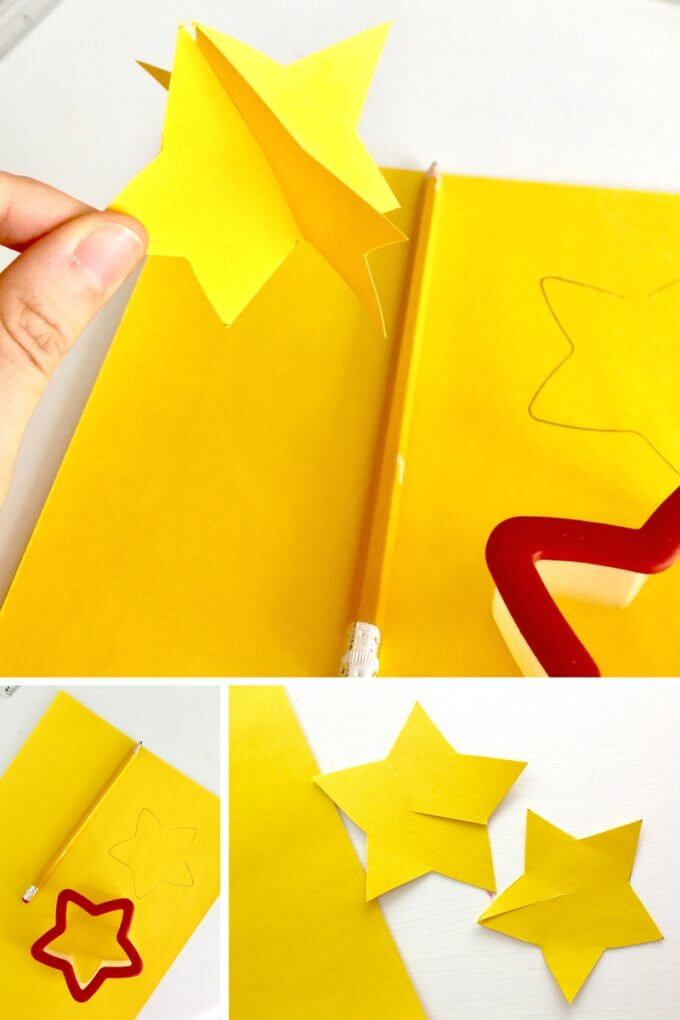
Step 6: Make the Star
Cut out two matching stars from yellow card stock.
Make a small slit in each star and slide them together to create a 3D topper.
Step 7: Add the Star
Place the star on top of your tree to complete the craft.
More 3D Christmas Paper Crafts (Free Printables!)
Looking for more easy 3D paper crafts for kids? These printable projects pair perfectly with the standing 3D Christmas tree. Click on titles for more information.
- Printable 3D Christmas Ornaments Craft: Simple 3D DIY paper ornaments kids can make and decorate! Free printable templates.
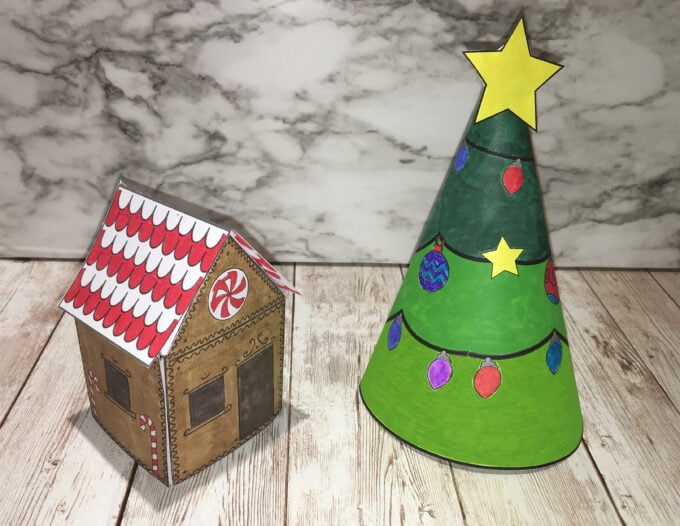
- Printable 3D Cone Christmas Tree Craft: Kids color the half-circle template, cut it out, roll it into a cone, and add the star topper.
- Printable 3D Gingerbread House Craft: Color, cut, fold, and assemble this simple gingerbread house with printable roof pieces.
3D Christmas Cards (Free Printables)
These two printable cards stand up on their own and make an adorable pair with your 3D Christmas tree craft. Click on titles for more information.
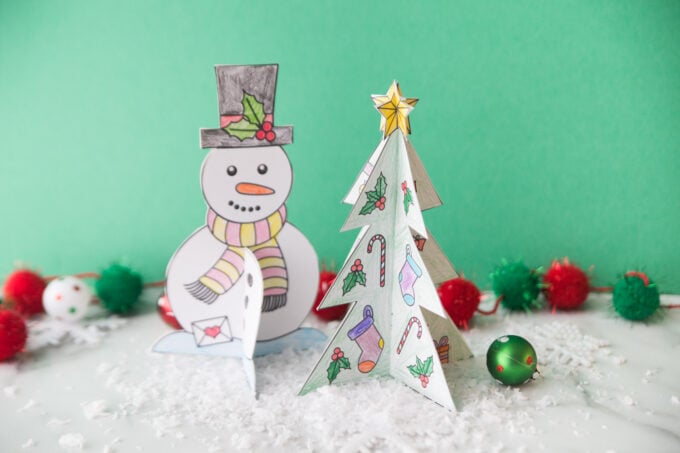
- 3D Snowman Card: Kids color the snowman, cut along the center slit, and slide the pieces together to make a standing 3D snowman card. Shown in your added photo.
- 3D Christmas Tree Card: This printable Christmas tree card includes ornaments, stockings, holly, and decorations for kids to color and assemble into a standing 3D tree.
Try These Fun Christmas Tree Activities Next
- 3D Christmas Tree Template and Christmas Card Idea
- Mondrian Christmas Tree Ornament
- Christmas Tree Zentangle
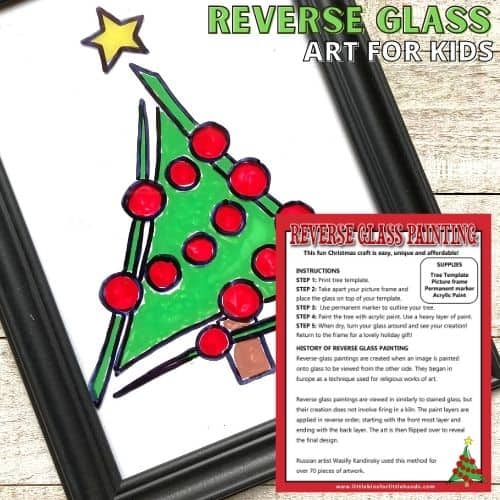
- Christmas Tree Reverse Glass Painting
- 3D Paper Craft Tree (look for the gingerbread house as well!)
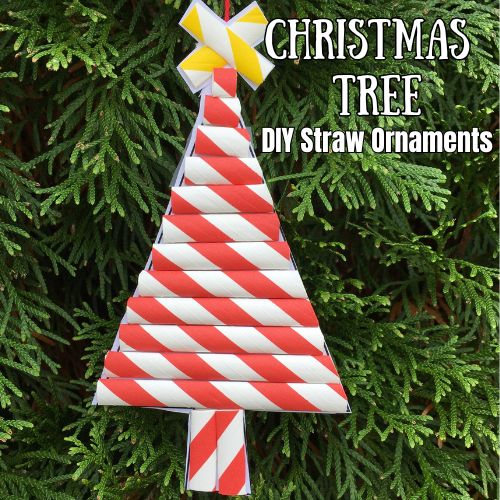
- Christmas Tree Straw Ornament
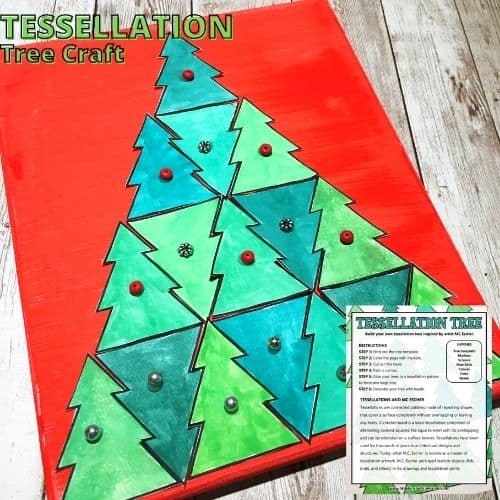
- Christmas Tree Tessellations
More Fun Christmas Activities for Kids
- Christmas STEM Activities
- Christmas Math Worksheets
- Christmas Art Activities
- Christmas Jokes for Kids
- Christmas Games for Kids
Grab these Christmas Project Packs
Visit our SHOP for easy-to-print STEM and science lesson plans for the whole year. Or join us in the Little Bins Club.


3 Comments
Comments are closed.