This DIY water pipeline is easy to make with just a few simple materials. Exploring how you use gravity to move water through a pipeline is a great STEM project. Play with engineering, science, and a little math too! Gather a few items for your Junior Engineer building project and let’s get started!

How Does A Water Pipeline Work?
Two millennia ago, the ancient Romans built large aqueducts to transport fresh water to highly populated areas. The water was transported from higher elevations by building the aqueducts in graduated segments, allowing gravity to push the water along until it reached its destination.
Hundreds of these were built throughout Europe and elsewhere, and along with flour mills, they were considered the lifeline of the Roman Empire. The ancient Chinese also used channels and pipe systems for public works.
Make a pipeline using an incline to transport water from the main tank to a smaller tank. For the water to travel through a pipeline, one end must be higher than the other to allow gravity to pull the water down.
You must also carefully connect the pipes and make sure those connections are watertight. Download our free printable project below and let’s get started!
Free Printable Jr Engineer Pipeline Project!

Build A Pipeline
This suggested use was provided by a teacher: “I have done this with 62 kids today. I showed a quick clip on water pollution and they were all in. These kids are in kindergarten and first grade. (I was once a homeschool mom also). Thanks so much!
This activity is suitable for Kindergarten or age 5 through even middle school depending on how you structure it to fit your theme. Older kiddos, of course, may need less adult assistance and can extend the activity through journaling. Perfect for large groups on a budget!
STEM Club: Join us in the library for a variety of engineering, STEM, and science projects including journaling pages, challenges, and so much more. Click here to join.
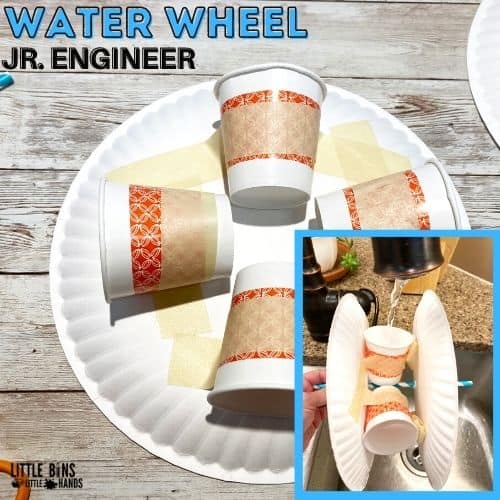
Supplies:
- Styrofoam cups
- Plastic bendy straws
- Masking tape
Instructions:
STEP 1: Poke a small hole in the bottom side of one cup and another hole at the top of another cup.

STEP 2: Figure out a way to build a stand for one cup, so that it is higher than the other. Use the straws and tape. Be creative.

STEP 3: Connect the two cups together using a straw pipeline. Poke a bendy straw through one hole and then through the hole in the other cup.


STEP 4: Pour water into the higher cup and watch it flow into the lower cup. Plug any leaks with tape. If your first try doesn’t work, try a different design.

STEM Questions For Reflection
These STEM questions for reflection are perfect to use with kiddos of all ages to talk about how the project went and what they might do differently next time around.
Use these questions for reflection with your kids after they have completed the STEM challenge to encourage discussion of results and critical thinking. Older kiddos can use these questions as a writing prompt for a STEM notebook. For younger kiddos, use the questions as a fun conversation!
- What were some of the challenges you discovered along the way?
- What worked well and what did not work well?
- What part of your model or prototype do you really like? Explain why.
- What part of your model or prototype needs improvement? Explain why.
- What other materials would you like to use if you could do this challenge again?
- What would you do differently next time?
- What parts of your model or prototype are similar to the real-world version?
STEM Resources To Get You Started
Here are a few resources that will help you introduce STEM more effectively to your kiddos or students and feel confident yourself when presenting materials. You’ll find helpful free printables throughout.
More Fun Things To Build
You can find tons more fun engineering projects here, including…

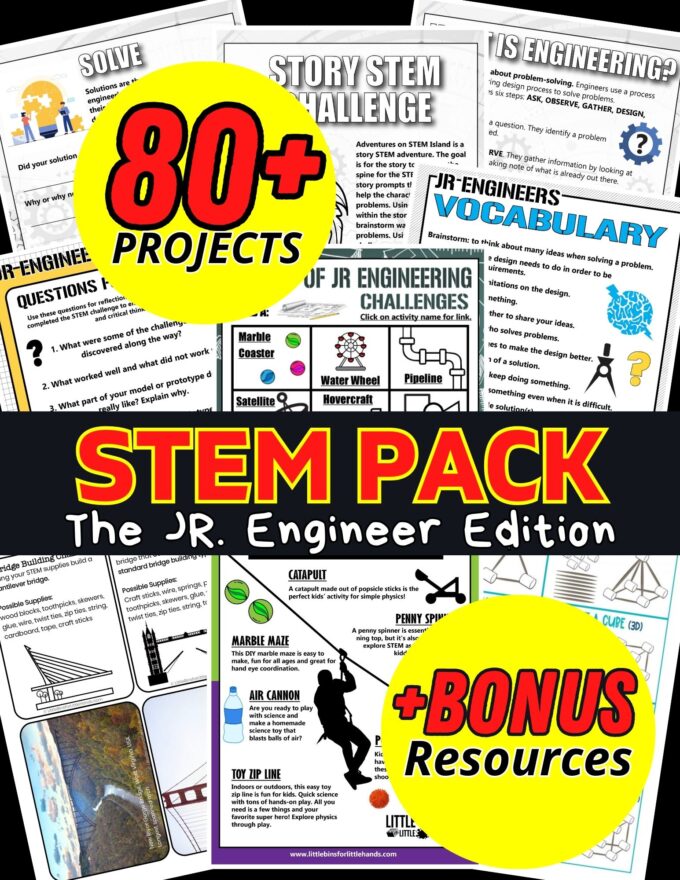
Printable STEM Pack For Kids
80+ Doable Engineering Projects in one convenient pack!
- Full instructions with sample images
- Activity-specific instruction sheets
- Data Collection Sheets
- Questions for Reflection
- Architecture Building Cards: Try the tallest tower challenge
- Bridge Building Cards: Explore different types of bridges to build your own.
- Paper Chain STEM Challenge: Who can make the longest chain? Great icebreaker or quick challenge!
- 3 Little Pigs Architectural Pack: Design a house that won’t blow away!
- Great marshmallow challenge: A classic challenge kids love!
- Real-world STEM challenge lesson but don’t know where to start? Our easy-to-follow template shows the steps!
- What’s the difference between a scientist and an engineer?
- Crossword and word search with engineering vocabulary.
- Engineering vocabulary cards
- Design a one-of-a-kind invention and write about it with this 5-page activity!