
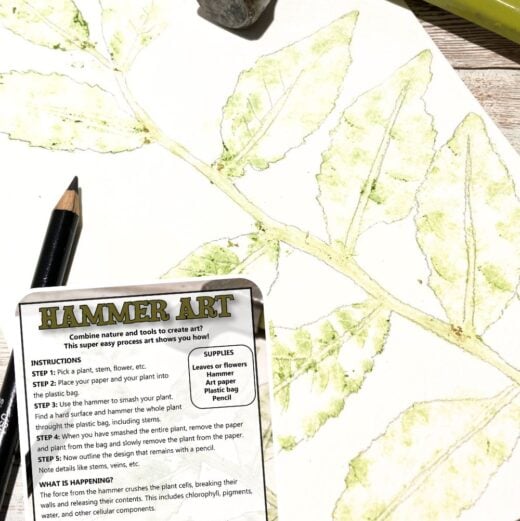
Create beautiful nature hammer prints while exploring the science hidden inside plants! This easy outdoor STEAM activity uses leaves, flowers, and a hammer to transfer natural pigments onto paper. Kids will love collecting plants, creating one-of-a-kind artwork, and discovering how plant cells and pigments work.
Whether you’re learning about plants, adding art to your nature study, or looking for a creative outdoor activity, nature hammer prints are simple to set up and fun for kids of all ages.
Download the free printable instruction sheet below, or keep reading to learn the science behind this colorful plant investigation.
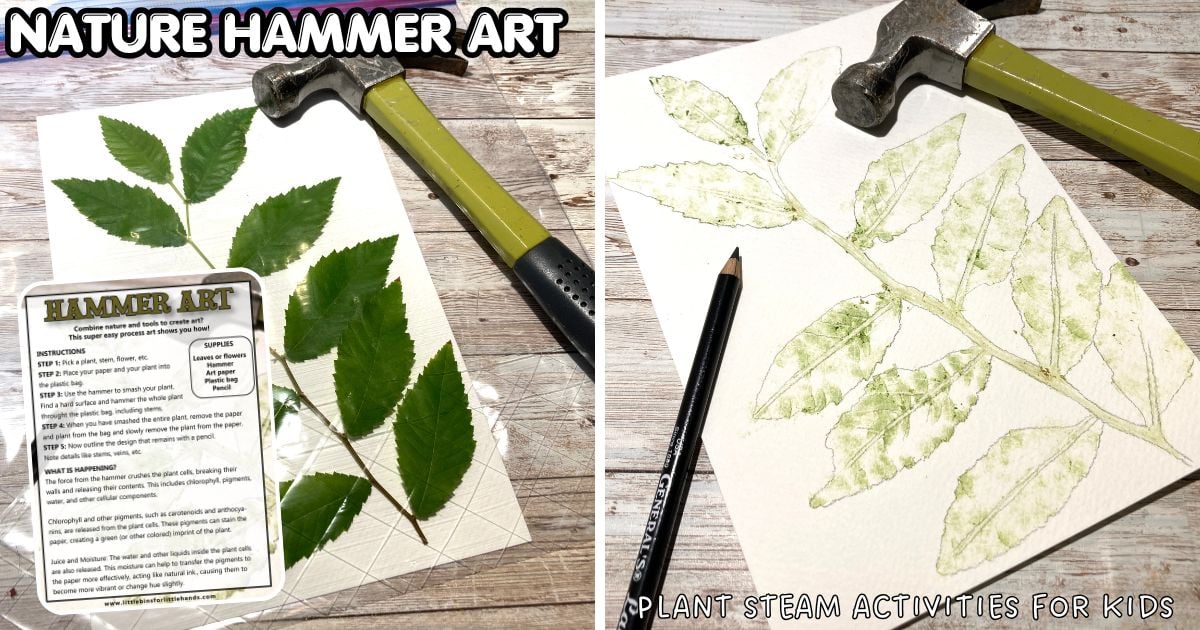
Why Try Nature Hammer Prints?
Nature hammer prints combine science, art, and outdoor exploration in one simple activity. As children collect leaves and flowers, they begin noticing different colors, textures, shapes, and plant structures before creating beautiful botanical prints.
This activity encourages kids to slow down, observe carefully, and discover that plants contain natural pigments that can be transferred directly onto paper.
What Kids Will Learn
This activity introduces several plant science concepts through hands-on exploration.
Kids will explore:
- Plant cells
- Chlorophyll and plant pigments
- Leaf veins and plant structure
- Observation skills
- Scientific investigation
- Texture and pattern
- Process art
- Fine motor skills
Supplies
- Fresh leaves or flowers
- White cardstock or watercolor paper
- Hammer or rubber mallet
- Plastic zip-top bag or parchment paper
- Pencil (optional)
- Hard work surface
How to Make Nature Hammer Prints
STEP 1
Go on a nature walk and collect a variety of fresh leaves, flowers, grasses, or small plants. Choose plants with interesting shapes, textures, or colors.
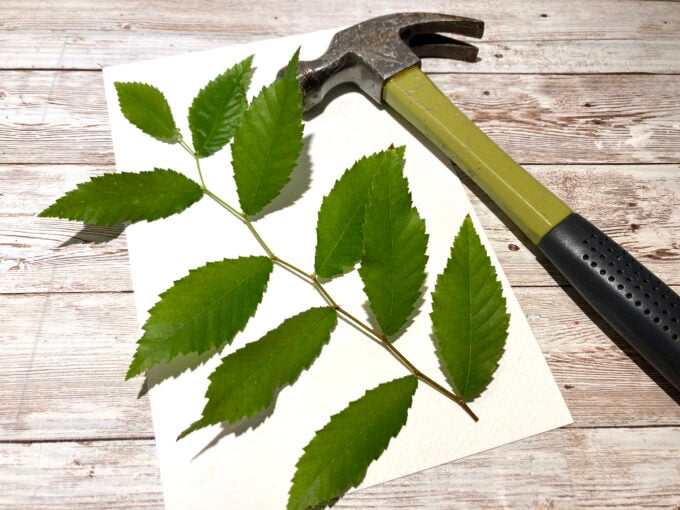
STEP 2
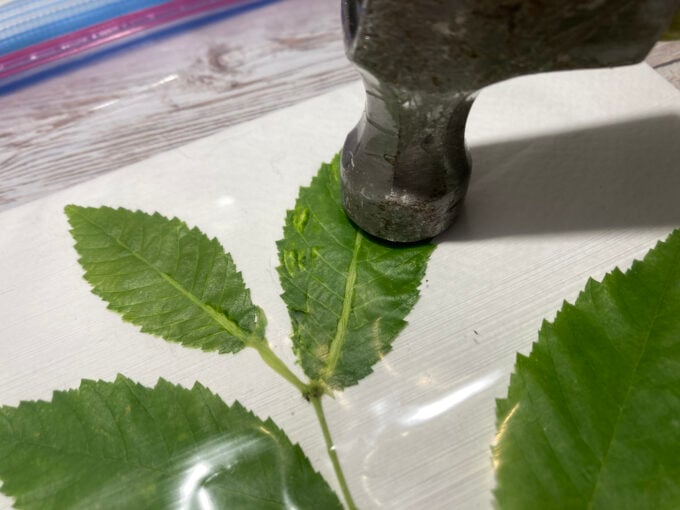
Arrange the plant on a piece of paper. Cover it with a plastic bag or parchment paper to keep everything in place and prevent plant juices from splattering.
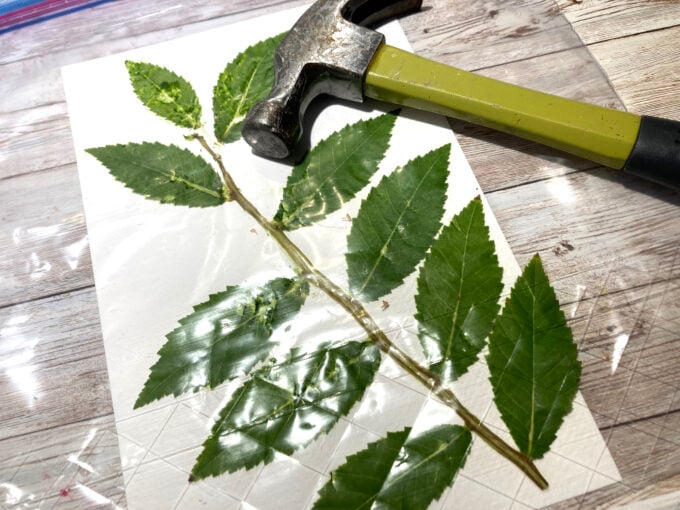
STEP 3
Using a hammer, gently tap across the entire plant. Continue until all parts of the plant have been pressed into the paper.
STEP 4
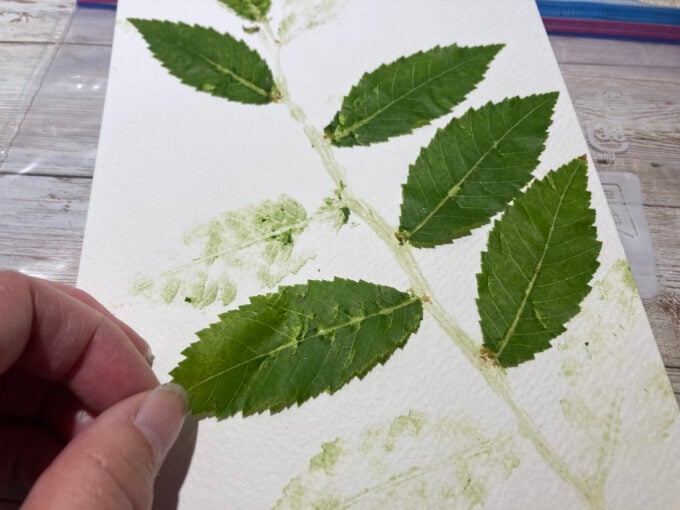
Carefully lift away the plant material. You should see a beautiful print made from the plant’s natural pigments.
STEP 5
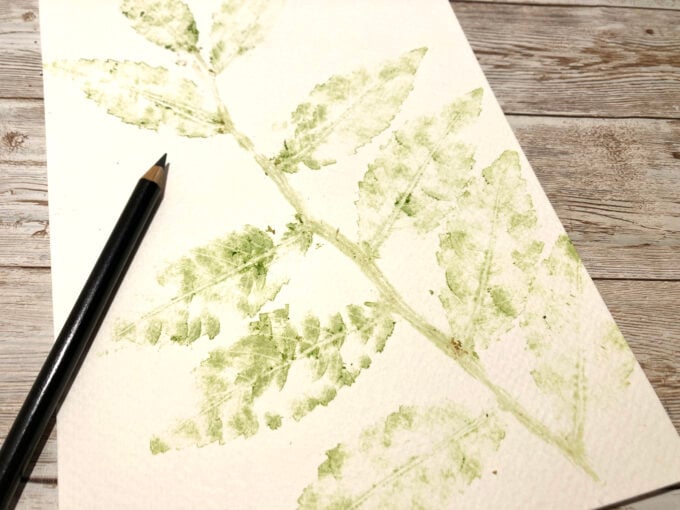
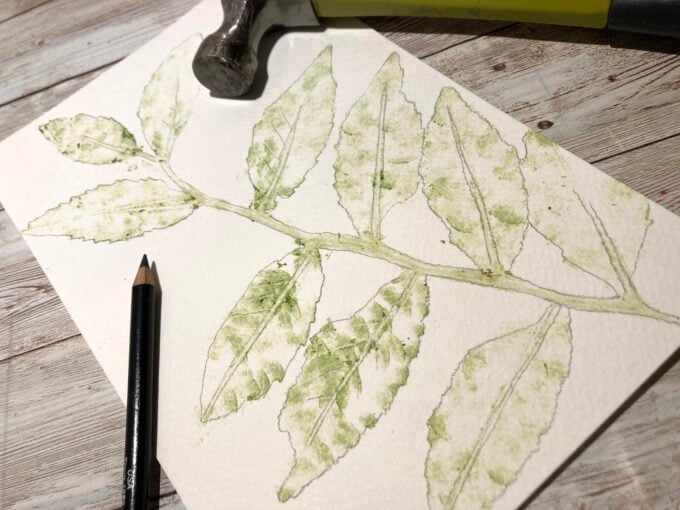
Allow the print to dry completely. Display your artwork or compare prints made from different leaves and flowers. Optional: Outline the print with colored pencil.
The Science Behind Nature Hammer Prints
When you hammer the leaves or flowers, the force breaks open the tiny plant cells.
Inside these cells are natural pigments, water, and other plant materials. As the cells break apart, these pigments transfer onto the paper, creating a detailed botanical print.
Green leaves contain chlorophyll, the pigment plants use during photosynthesis to capture energy from sunlight. You can try another fun variation with spinach leaves and a rolling pin.
Some plants also contain other colorful pigments, including yellow, orange, red, and purple pigments that become visible depending on the type of plant you use.
The veins and textures of the leaves often leave beautiful patterns behind, giving each print its own unique design.
👉 Explore more: Plant Science Experiments here
Think Like a Botanist
Botanists study plants by carefully observing their structures and comparing different species.
As you create your prints, encourage kids to ask questions such as:
- Which plants made the brightest print?
- Did flowers or leaves transfer more color?
- Which leaves had the most visible veins?
- Why do you think some plants contain different colors?
- What patterns do you notice?
Scientists often make careful observations before drawing conclusions.
👉 Learn about: Maria Merian and Scientific Illustrations
🔎 Extend the Learning
Try experimenting with different natural materials.
- Compare leaves from different trees.
- Hammer flower petals instead of leaves.
- Use colorful autumn leaves.
- Make a nature journal using your prints.
- Label the parts of each leaf after the print dries.
- Compare smooth leaves with fuzzy leaves.
👉 Ask: Why Do Leaves Change Color?
Free Printable Nature Activity
Download the printable Nature Hammer Prints instruction sheet to take this activity outdoors or use it in the classroom.
More Outdoor Plant Science Activities
Continue exploring how plants work with these hands-on investigations:
- How Do Plants Breathe?
- How Do Plants Drink?
- Transpiration Experiment
- Grow Grass in a Cup
- Leaf Rubbings
Frequently Asked Questions
What plants work best for hammer prints? Fresh leaves and flowers with plenty of moisture usually produce the best prints. Thin leaves and colorful flower petals often create the brightest results.
Why didn’t my print transfer well? Plants that are dry or thick may not release as much pigment. Try using fresher plants and tap evenly across the entire leaf or flower.
Can I use flowers? Yes! Flowers often create beautiful prints because they contain colorful natural pigments.
What science does this activity teach? Kids learn about plant cells, chlorophyll, natural pigments, plant structure, and observation while creating nature-inspired art.
What age is this activity best for? Nature hammer prints are great for preschoolers through elementary-aged children with adult supervision while using the hammer.
Build a Week of Nature Learning
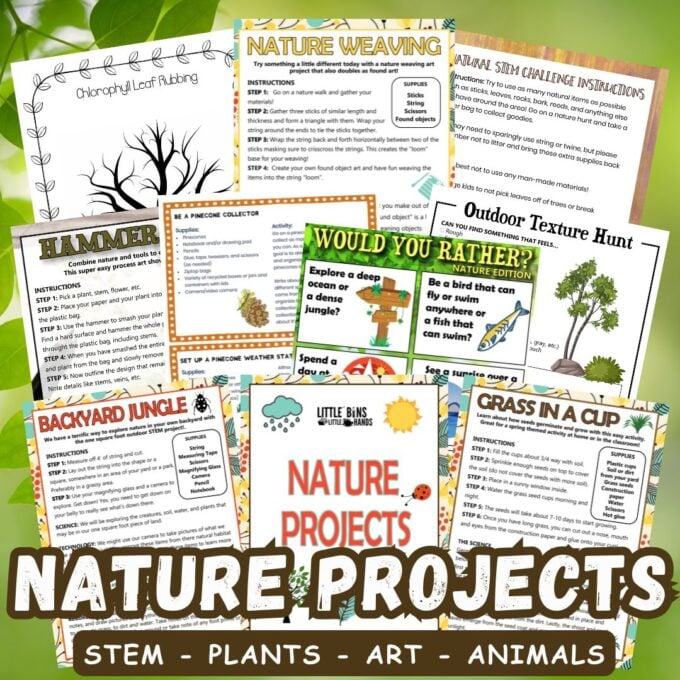
Turn one activity into a whole week of outdoor exploration with our Printable Nature Activities Pack!
From plant science and backyard investigations to STEM challenges, nature journaling, and outdoor art, this printable pack makes it easy to keep kids learning through hands-on discovery.
Whether you’re planning a Nature Summer Camp, homeschool unit, classroom theme, or simply looking for screen-free outdoor fun, you’ll have everything you need in one printable resource.
👉 Explore the Nature Activities Pack here.
More Outdoor Science Activities
- Nature Activities for Kids
- Outdoor Art Projects
- Outdoor STEM Projects
- Summer Science Activities
- Nature Summer Camp
- 7 Day Flower STEAM Investigation Lab