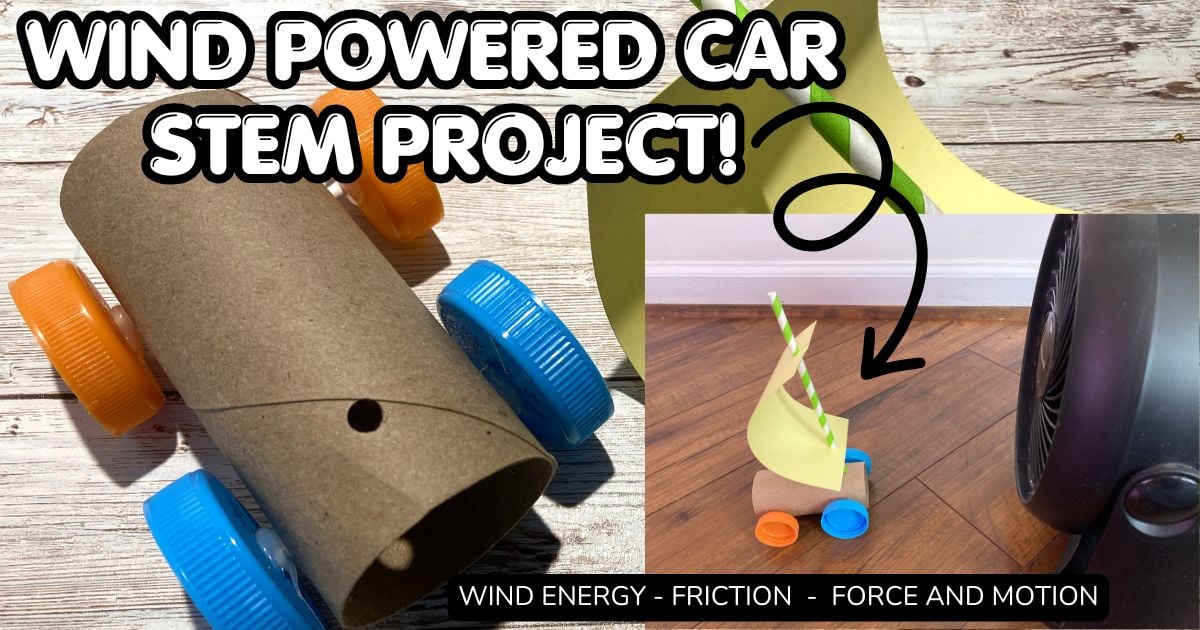
Can you build a car powered by the wind? This wind-powered car STEM project challenges kids to design, build, and test a vehicle that moves using airflow instead of batteries or motors.
As students experiment with different sail designs, they can explore force, motion, friction, energy transfer, and engineering design through hands-on learning. It’s a simple project that encourages creativity, problem-solving, and critical thinking while introducing real-world renewable energy concepts.
Whether you’re exploring force and motion in the classroom, homeschooling, or looking for an engaging engineering challenge, a wind-powered car is a fun way to investigate how moving air can create motion.
👉 Explore more force and motion engineering activities here
Science Concepts
Learn how to build a wind-powered car with simple materials while exploring force, motion, aerodynamics, friction, and renewable energy. A fun engineering activity for grades 2–6.
- Field of Science: Physics & Engineering
- Recommended Grade Level: Grades 2–6
- Concepts Explored: Engineering Design, Wind Energy, Force and Motion, Aerodynamics, Friction, Energy Transfer, and Renewable Energy
Materials:
- Toilet Paper Tube: This will be the body of your car.
- Plastic Bottle Caps (4): These will serve as the wheels.
- Paper: For the sail to catch the wind.
- Straws or Wooden Skewers: To create the axles for the wheels and mast for the sail.
- Tape or Glue: To assemble the car.
- Scissors: For cutting materials.
- Fan: To provide the wind power.
Wind Powered Car Instructions
Note: You have the flexibility with this activity to build the car any way you want or follow our simple instructions. This is a great way to scale the activity for ages and abilities. It’s also a great opportunity to allow for creativity and critical thinking.
1. Prepare the Wheels and Axles
- Gather Your Wheels: Collect four plastic bottle caps. These will be your car’s wheels.
- Create Axle Holes: Carefully poke a hole in the center of each bottle cap. You can use a nail or a small drill bit for this step.
- Attach Axles: Insert a straw or wooden skewer through each pair of bottle caps to create two axles. Ensure the wheels can spin freely but are secure on the axles.
🛑 Safety first: Adult supervision and assistance is required for some steps!
2. Build the Car Body
- Prepare the Tube: Take the toilet paper tube, which will serve as your car’s chassis.
- Attach Axles: Make two parallel sets of small holes near the bottom of the tube, one set near the front and one near the back. These holes should be large enough to fit the straws or skewers.
- Insert Axles: Slide the axles with wheels through the holes in the toilet paper tube. The car should now have four wheels and be able to roll smoothly.
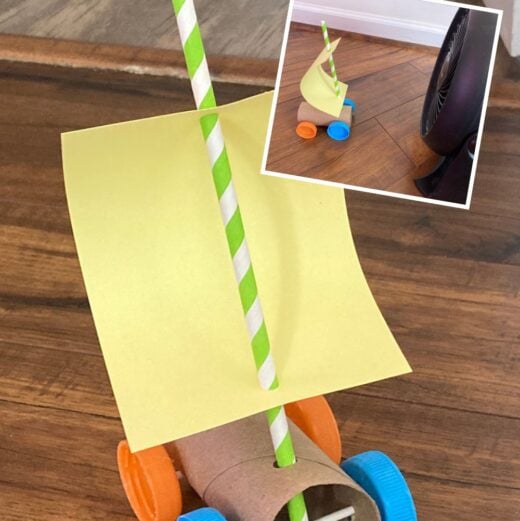
3. Create the Sail
- Cut the Sail: Cut a piece of paper into a rectangle. The size can vary, but something around 6×8 inches should work well.
- Attach the Sail: Tape or glue the bottom edge of the paper sail to the middle of a straw or skewer. This will be the mast of your sail.
- Mount the Sail: Attach the mast to the top of the toilet paper tube. Make a small hole in the top of the tube and insert the mast, securing it with glue or tape.

4. Test Your Wind-Powered Car
- Position the Fan: Place your fan at one end of a smooth surface, like a table or floor.
- Place the Car: Position your wind-powered car in front of the fan.
- Turn on the Fan: Switch on the fan and watch as your car catches the wind in its sail and starts to move!
- Race a Friend: Build two cars and see which one is faster!
💡Is it a windy day? Take your wind powered car outside and see how it does! Do you need to make some adjustments?

Tips for Success:
- Adjust the Sail: Experiment with the angle and size of the sail to see how it affects the car’s speed and direction.
- Smooth Surface: Ensure your surface is smooth and flat for the best performance.
- Balance: Make sure your car is balanced and the axles are straight to avoid it veering off course.
Wind Powered Car Science
A wind-powered car demonstrates how moving air can transfer energy and create motion. As the wind pushes against the sail, a force is applied to the car, causing it to move forward.
Wind Energy
Wind is moving air. When wind hits the sail, it transfers energy to the car. The larger the surface area of the sail, the more wind it can potentially capture.
Force and Motion
The wind exerts a force on the sail. This force causes the car to accelerate and move across the surface.
Different sail sizes, shapes, and angles can affect how efficiently the car moves.
👉 Explore more: Force and Motion Engineering Activities
Friction
Friction occurs where the wheels touch the surface and where the axles rotate. Too much friction can slow the car down and reduce the distance it travels.
Try testing your car on different surfaces to see how friction affects performance.
👉 Explore more: Friction Science Experiment
Renewable Energy
Wind power is a renewable energy source because it is naturally replenished by weather patterns. Engineers use wind energy to power sailboats, wind turbines, and other technologies around the world.
👉 Explore more: Renewable Energy Activities for Kids
Engineering Connections
Engineers test and improve designs to make them perform better. Small changes to a sail, wheel, or axle can have a big impact on how far or how fast a wind-powered car travels.
👉 Learn more: Engineering Design Process for Kids
Free Wind Powered Car STEM Challenge
Grab the free printable wind-powered car challenge pack, including build instructions and a test-and-improve recording sheet.
Test and Improve Your Wind Powered Car
Engineers rarely stop after building their first prototype. Testing and improving designs are important parts of the engineering process.
Try changing one variable at a time and compare your results.
Test:
- Sail size
- Sail shape
- Sail angle
- Vehicle weight
- Wheel size
Measure:
- Distance traveled
- Speed
- Ability to travel in a straight line
Ask:
- What would you redesign next?
- Which sail design worked best?
- Which car traveled the farthest?
- What changes improved performance?
Think Like an Engineer
A wind-powered car is a great example of the engineering design process in action. Students can brainstorm ideas, build a prototype, test performance, and improve their designs based on results.
As they experiment with different sail designs and vehicle configurations, students learn that successful engineering often requires multiple rounds of testing and redesign.
👉 Learn more about the Engineering Design Process for Kids.
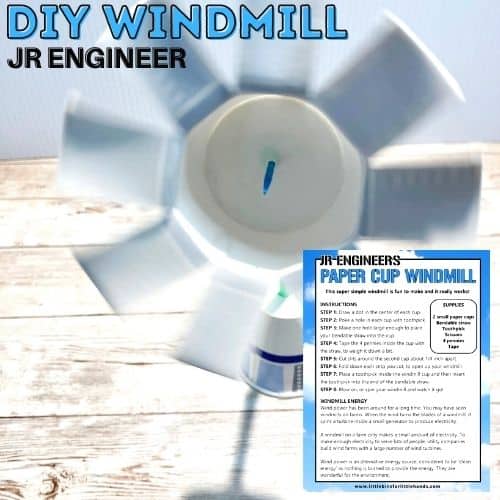
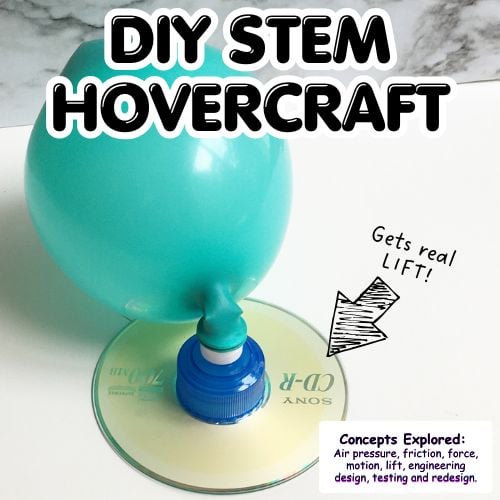
Related Force and Motion Activities
Wind Power Car FAQ
How does a wind-powered car move?
A wind-powered car moves when air pushes against the sail, creating a force that causes the car to roll forward.
What science concepts does a wind-powered car demonstrate?
Students explore wind energy, force and motion, friction, aerodynamics, renewable energy, and engineering design.
What age is appropriate for a wind-powered car project?
This activity works well for grades 2–6 and can be adapted for different skill levels.
Can a wind-powered car be used as a science fair project?
Yes. Students can test variables such as sail size, sail shape, vehicle weight, wheel size, or surface type.
Why won’t my wind-powered car move?
Check that the wheels spin freely, the axles are straight, and the sail is large enough to catch the airflow.
More STEM Resources
- Engineering Activities for Kids
- Force and Motion Activities
- Renewable Energy Activities
- Physics Experiments for Kids
- Potential and Kinetic Energy
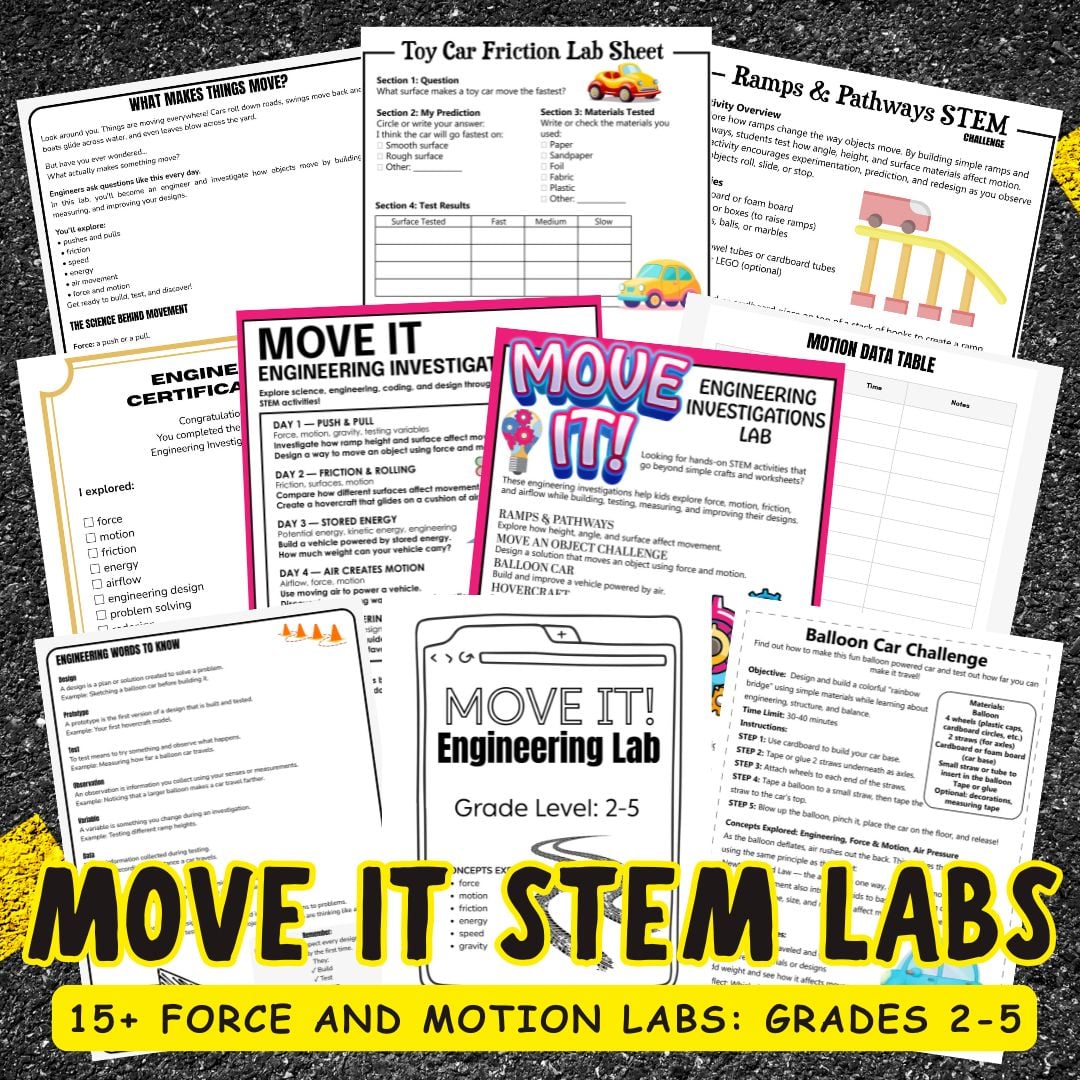
Move It! Engineering Investigations Lab
Help kids explore force, motion, friction, airflow, and energy through hands-on engineering challenges that encourage them to build, test, measure, and improve designs.
✔ Engineering investigations that go beyond worksheets
✔ 5-day STEM plan included
✔ Engineering notebook and planning pages
✔ Build, test, redesign, and improve challenges
✔ Grades 2–5
👉 Get the Complete Lab


