Learn how to make paper airplanes with three printable instructions. This activity offers a creative outlet and is an easy STEM (Science, Technology, Engineering, and Mathematics) challenge for kids that teaches the principles of aerodynamics and physics.

Supplies Needed For A Paper Plane STEM Challenge
Making paper planes is a classic kids’ activity that is so much more! You can explore basic concepts in physics, such as gravity and air resistance, and incorporate the scientific method, variables, and engineering design principles.
Materials Needed:
- Paper: Regular 8.5 x 11 inch printer paper works best. You can experiment with different types of paper for various flight results.
- Scissors
- Ruler
- Markers or Crayons: Optional for decorating your airplanes before you fly them.
- Printable Instructions and Templates (see below)
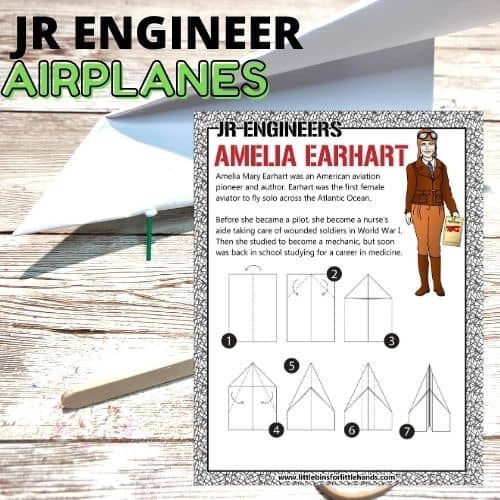
💡 You can also create a paper airplane launcher [here] and learn a little about Amelia Earhart. Find more paper airplane instructions, too.
How To Make A Paper Airplane (3 Ways!)
Get the printable airplane templates below to make these paper airplane designs.
Paper Airplane Design 1: The Classic Plane
This classic design is easy to make and flies well in most conditions. This plane is perfect for flying over a distance. Throw gently for distance, and for a fun twist, throw hard and up for overhead loops!
- Prepare the Paper: Flip the paper over so that the printed fold lines are facing down.
- First Fold: Crease and open back up along both diagonal lines. Also fold back on the horizontal line and reopen.
- Tuck the Folds: Pull and tuck the folds together as shown in the first two drawings on your instruction sheet.
- Fold the Corners: Fold the corners of each triangle up, almost to the center line.
- Nose Fold: Fold the nose of the plane back.
- Final Wing Fold: Fold up along the center line and then fold down each wing.
Paper Airplane Design 2: The Fast Flyer
This plane is designed for speed and distance, making it an excellent choice for outdoor flights.
- Prepare the Paper: Flip the paper over so the printed fold lines face down.
- Corner Folds: Turn the corners to the outside fold lines and crease. Repeat for the next set of folds.
- Center Fold: Fold up along the center line so the text is inside and graphics are on the outside.
- Wing Fold: Finally, fold down each wing.
Paper Airplane Design 3: The Glider
This glider design is perfect for long, smooth flights.
- Prepare the Paper: Flip the paper over so that the printed fold lines are facing down.
- Fold the Corners: Fold the corners up along the outside fold lines and crease down. Repeat for the next set of folds.
- Nose Fold: Fold the nose back, as shown in the diagram.
- Final Wing Fold: Fold up along the center line so the lines and graphics are on the outside.
Once your planes are ready, it’s time to test them out! Find an open space like a park or a large room and see which plane flies the farthest. Try adjusting your throwing technique to see how it affects the flight. For example:
- Throwing gently may result in a longer, smoother flight.
- Throwing with more force could give your plane a higher trajectory.
(Optional) Adjust The Flight By:
- Adjustable Flaps: Cut along the sides of the plane to create adjustable flaps. Fold up to make the plane rise or down to make it drop.
- Stick-Up Tail: Bring the two angled fold lines together to create a stick-up tail for more stability.
- Fastening Clip: Cut on the sides to create a fastening clip that helps keep your plane’s wings in place.
Free Printable Paper Plane Instructions

How Does A Paper Airplane Fly
A paper airplane flies over a distance due to the principles of aerodynamics, which include lift, thrust, drag, and gravity.
Lift: When you throw a paper airplane, the air underneath the wings pushes upward, helping to keep the plane in the air. The wings are designed to create lift as air flows over them. The angle at which the plane’s wings meet the air, known as the angle of attack, is crucial in how much lift is generated. The airplane may stall and fall quickly if the angle is too steep. The plane might not generate enough lift to stay airborne if it’s too shallow.
Thrust: The force you apply when you throw the airplane forward is called thrust. This pushes the plane through the air.
Drag: As the airplane moves, air resistance (drag) works against the forward motion, slowing it down.
Gravity: Gravity pulls the airplane toward the ground, but if the lift is strong enough, it can help the plane stay in the air for a longer distance before landing.
By balancing these forces, a well-made paper airplane can glide smoothly through the air for a considerable distance. The design, weight, and how you throw it all affect how far and well the airplane will fly.
Make it a Science Fair Project!
To turn this into a science fair project, you can explore how different factors affect the flight of paper airplanes. Start by choosing one variable to test, such as the type of paper, the design of the airplane, or adding weight like paper clips.
💡 Learn more about setting up a paper airplane science fair project!
Helpful Resources:
Fun Paper Airplane Challenges
- Target Practice: Create a bullseye target on a cardboard or paper. Aim your airplane at the target and score points based on where it lands.
- Obstacle Course: Set up a course with household items. Fly your airplane through tunnels, loops, and under tables without hitting any obstacles.
- Distance Challenge: See whose airplane flies the farthest. Measure the distance and experiment with different designs and throwing techniques.
- Paper Airplane Races: Mark a race track and see which airplane can reach the finish line first. Hold head-to-head races or a tournament.
- Decorate and Customize: Use markers, stickers, or tape to decorate your airplane. Create themed planes and see if the added designs affect the flight.
- Paper Airplane Science Experiment: Test how different papers, folding styles, or added weights affect flight. Record your results to find the best design.
- Make a Paper Airplane Launcher: Design a paper plane launcher to test your designs and see how far they can fly!
💡 Learn how the scientific method works [here] and apply it to a paper plane science experiment.
Tips for Throwing a Paper Airplane
Elbow Position: Keep your elbow at a 90-degree angle and close to your body as you prepare to launch the airplane. Your elbow acts as a hinge, allowing for a smooth motion as you pull the airplane back. This position helps maintain control and precision.
Arm Motion: As you pull the airplane back on the launcher, make sure your forearm is aligned with the direction you want to launch. Extend your entire arm forward quickly and smoothly in a snapping motion. This should mimic the motion of throwing a dart, where your arm and wrist provide the final burst of energy.
Release Timing: Nextt, extend your arm and release the airplane. Make sure your release point is just above shoulder height, as this provides the optimal angle for the airplane to gain lift.
Angle of Launch: Experiment with the angle at which you launch the plane. A slight upward angle (around 10-15 degrees) usually produces the best results, as it allows the plane to catch the air and generate lift.
More Fun With Physics
Check out the complete list of physics experiments, including…
- Make A Parachute
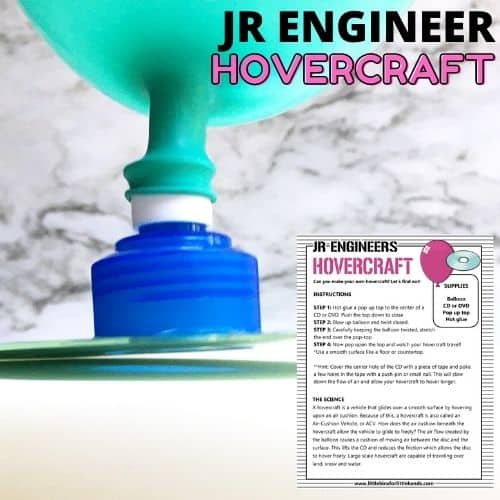
- Build a Hovercraft
- Airplane Launcher
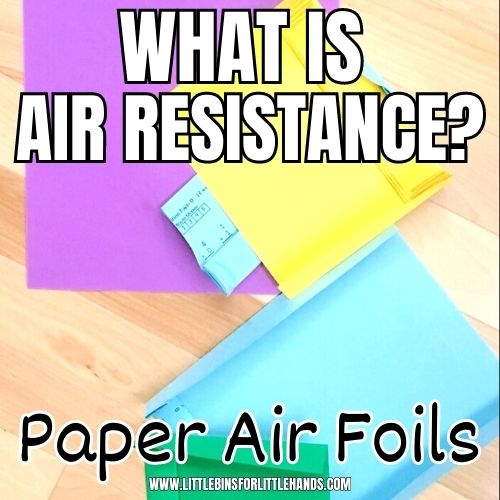
- Air Resistance Experiment
- Make A Paper Helicopter
- Make a Balloon Rocket

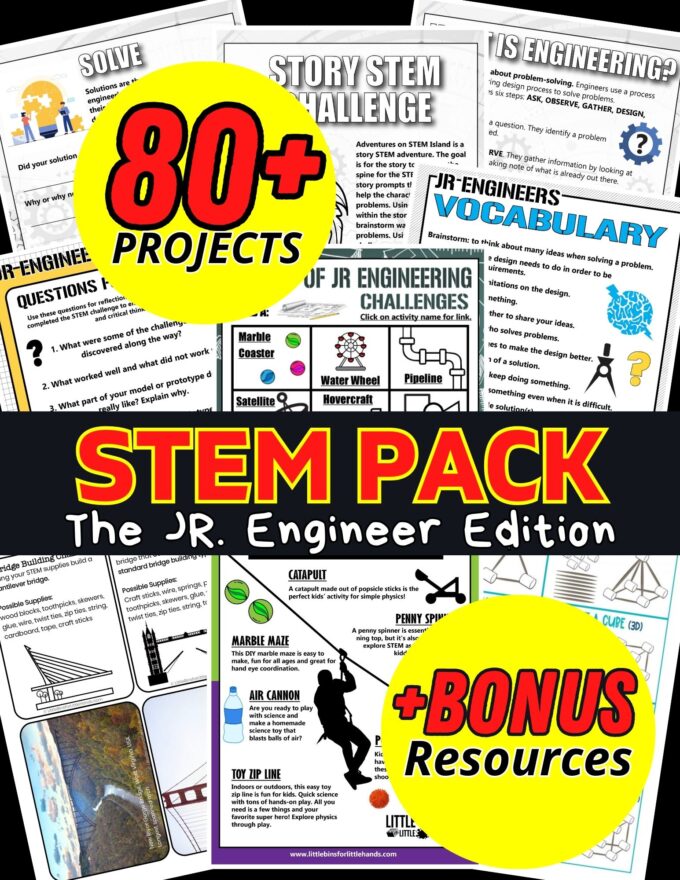
Printable STEM Pack for Kids
80+ Doable Engineering Projects in one convenient pack!
- Full instructions with sample images
- Activity-specific instruction sheets
- Data Collection Sheets
- Questions for Reflection
- Architecture Building Cards: Try the tallest tower challenge
- Bridge Building Cards: Explore different types of bridges to build your own.
- Paper Chain STEM Challenge: Who can make the longest chain? Great icebreaker or quick challenge!
- 3 Little Pigs Architectural Pack: Design a house that won’t blow away!
- Great marshmallow challenge: A classic challenge kids love!
- Real-world STEM challenge lesson but don’t know where to start? Our easy-to-follow template shows the steps!
- What’s the difference between a scientist and an engineer?
- Crossword and word search with engineering vocabulary.
- Engineering vocabulary cards
- Design a one-of-a-kind invention and write about it with this 5-page activity!