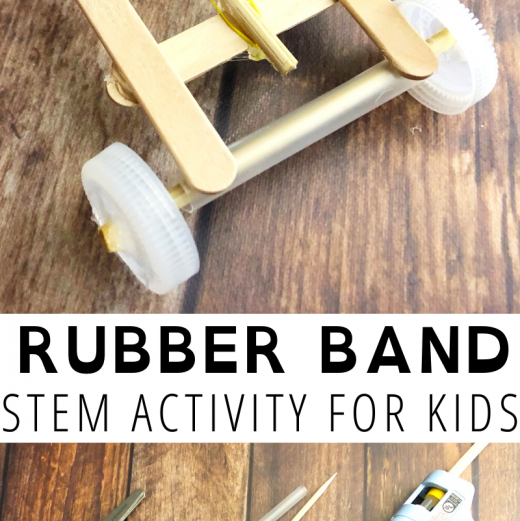
Kids love building things that move! This rubber band car STEM project challenges students to design, build, and test a vehicle powered entirely by stored energy. Using simple materials, kids can explore force, motion, friction, and energy transfer while thinking like real engineers.
The best part? No batteries or motors required. A stretched rubber band stores energy that is released to power the car forward. Students can test different designs, compare results, and improve their vehicles to see which one travels the farthest or moves the fastest.
Whether you’re exploring force and motion in the classroom, at home, or in a STEM club, this rubber band car is a fun engineering challenge that encourages creativity, problem-solving, and hands-on learning.
👉 Explore more force and motion engineering activities here
Science Concepts
Learn how to make a rubber band car with simple materials while exploring force, motion, friction, and energy. This hands-on STEM project encourages kids to build, test, and improve their own vehicle designs.
- Field of Science: Physics & Engineering
- Grade Level: Grades 2–6
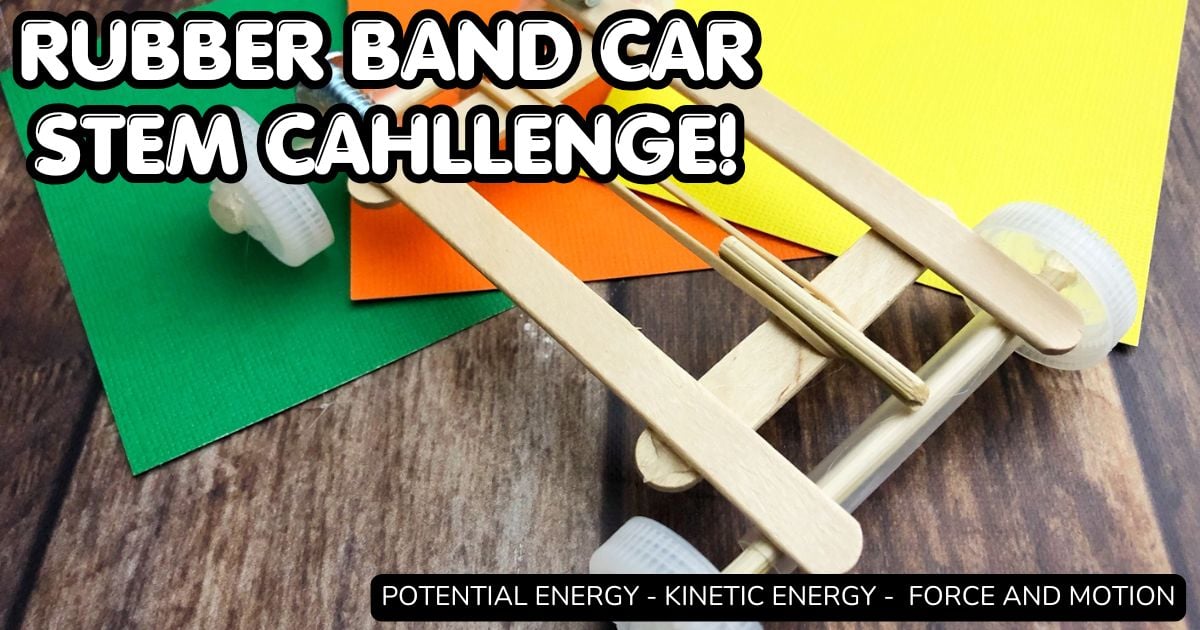
- Concepts Explored: Potential Energy, Kinetic Energy, Force and Motion, Friction, Momentum, Engineering Design
💡The challenge: Build a car with four wheels powered solely by a rubber band! How far and fast can it go? Can you improve its design for better performance?
Supplies:
- Craft Popsicle sticks
- Mini craft sticks
- Rubber bands
- Heavy screws or bolts (for weight)
- Large plastic bottle caps (or other round items for wheels)
- Wooden skewers (or dowels)
- Straws
- Hot glue gun
- Scissors
How To Make A Rubber Band Car
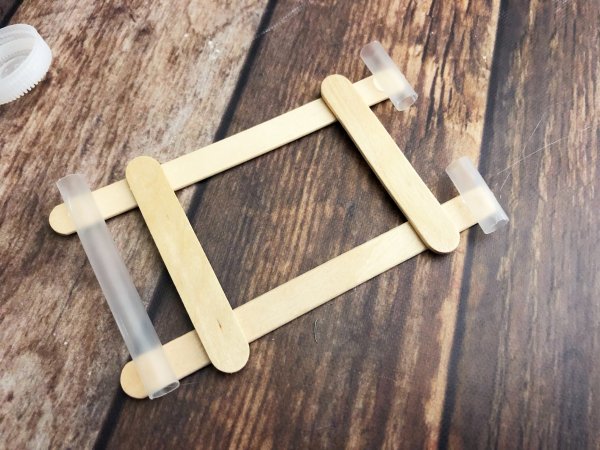
STEP 1. Build the Frame: Place two craft sticks side by side and carefully hot glue one miniature craft stick about 1” from each end.

STEP 2. Cut two 1/2” straws and glue horizontally to the two longer craft stick ends (facing the same way as the miniature craft sticks).
Cut a piece of straw about 2.6” long and glue it horizontally to the opposite end of the 1” straws.
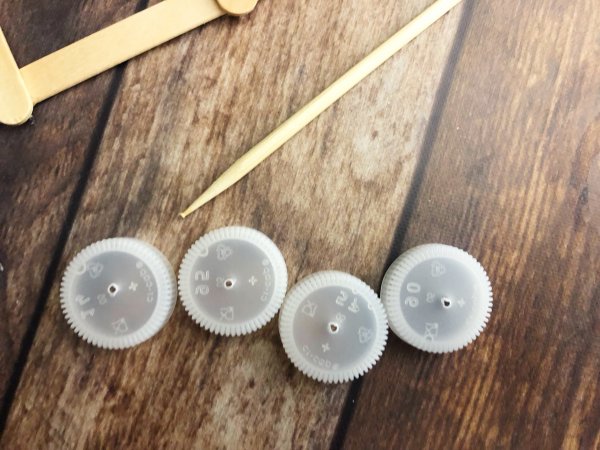
STEP 3. Attach the wheels: Use the pointy end of a skewer to poke a hole through the center of each bottle cap.
STEP 4. Cut two 3.6” skewers and place one through the straws. Place the caps onto the ends of the skewers and hot glue to secure.
STEP 5. Cut a 1” and 1/2” skewer, glue the 1” piece to the miniature craft stick on the front of the car (the end with the long straw), like pictured. Glue the 1/2” on the back skewer of the car.
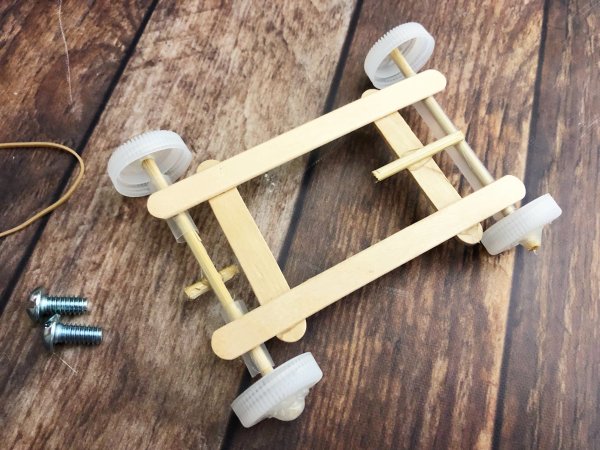
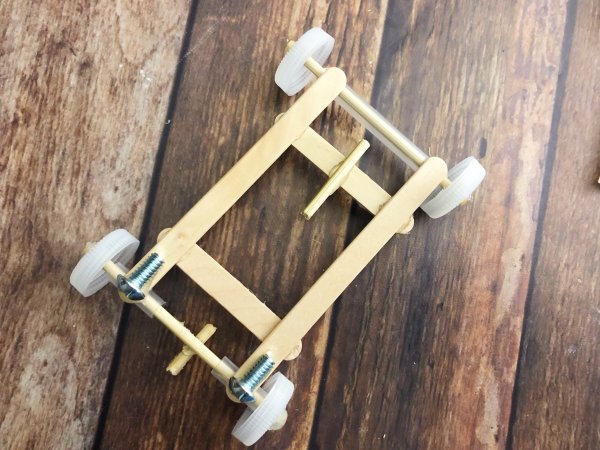
STEP 6. Glue a heavy bolt on each long craft stick on the back of the car.
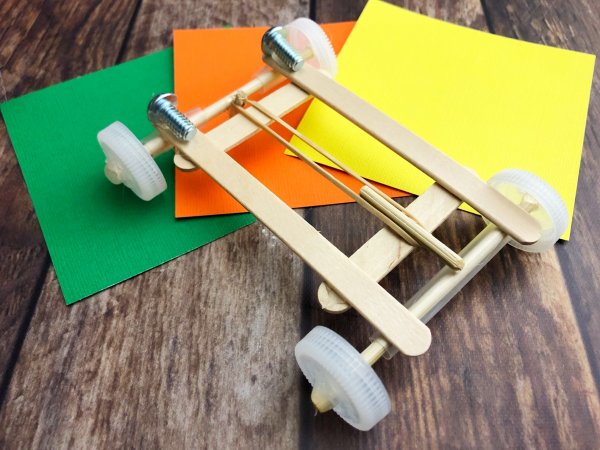
STEP 7. Attaching the Rubber Band: Wrap a rubber band under the front of the 1” skewer and carefully dab a little hot glue to hold in place.
Pull the rubber band and wrap the other end around the back, underneath side of the 1/2” skewer and secure with glue.
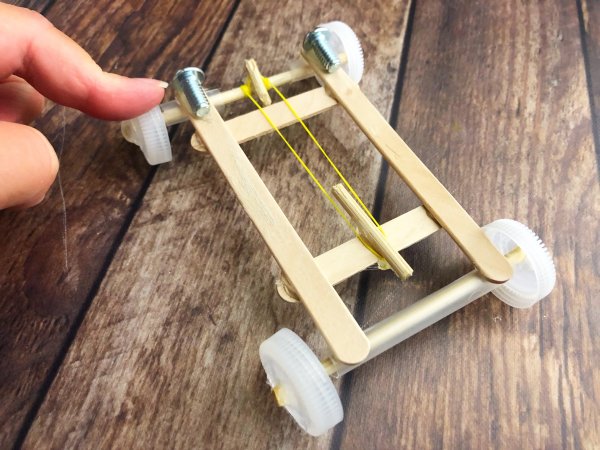
Carefully pull the car back, wrapping the rubber band around the back skewer. Once tightly wound, let go and watch your car go!
💡Alternatively, you can build a LEGO rubber band vehicle!
Free Move It! STEM Starter Guide
Ready to get started?
Grab the free Move It! STEM Starter Guide and get a preview of the engineering investigations, a 5-day STEM plan, and printable investigation planner pages that help students think like engineers.
How Does A Rubber Band Car Work
This rubber band car demonstrates elastic potential energy. When the rubber band is wound tightly, it stores energy. Releasing it transforms the energy into kinetic energy, propelling the car forward. Factors like friction and the car’s weight affect its speed and distance.
Concepts explored:
- Potential Energy: Stored energy in the stretched rubber band.
- Kinetic Energy: The energy of motion as the rubber band unwinds.
- Friction: Resistance from the wheels and surfaces the car moves on.
- Momentum: How the car continues to move after the rubber band unwinds.
👉 Learn more about Potential and Kinetic Energy here.
Extension Activities
- Experiment with Friction: Test the car on different surfaces (carpet, tile, wood). How does friction affect its speed?
- Modify the Design: Use different materials for wheels, axles, or the frame. Which changes make the car go farther or faster?
- Explore Weight: Add or reduce weight using screws or bolts. What happens to the car’s movement?
- Measure Distance: Create a track with a finish line. Measure how far and fast your car travels.
- Investigate Elasticity: Try different types or sizes of rubber bands. Does a thicker or thinner band store more energy?
👉 Learn more about Force and Motion here.
Connecting to Newton’s Laws of Motion
This project is an excellent way to introduce Newton’s Laws of Motion:
- First Law (Inertia): The car stays at rest until the rubber band is released.
- Second Law (Force and Acceleration): The tighter the rubber band, the greater the force applied to the wheels.
- Third Law (Action-Reaction): As the rubber band unwinds, it pushes against the skewer, propelling the car forward.
👉 Learn more about how Newton’s Laws of Motion apply to a rubber band car!
Think Like an Engineer
Building a rubber band car is a great example of the engineering design process. Students can brainstorm ideas, build a prototype, test their vehicle, and make improvements based on the results.
Try changing:
- Wheel size
- Vehicle weight
- Frame length
- Rubber band size
- Surface type
How do these changes affect distance and speed?
👉 Learn more about the Engineering Design Process for Kids.
Continue the Engineering Challenge
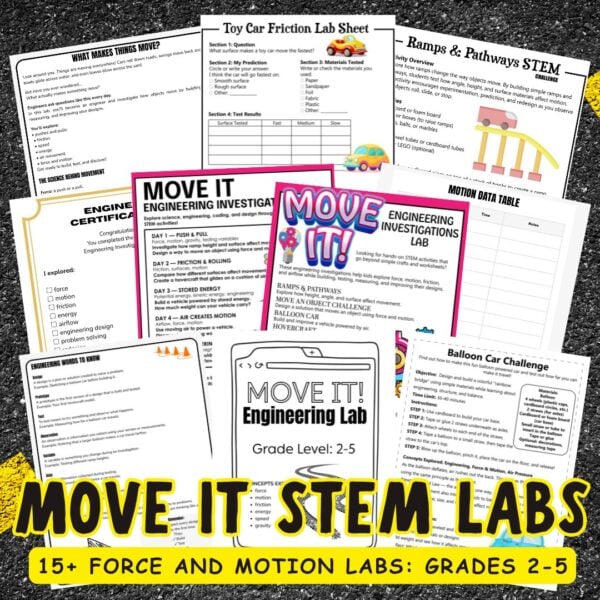
If you enjoyed building this rubber band car, explore more force and motion engineering activities, including balloon cars, hovercrafts, water wheels, marble roller coasters, and engineering design challenges.
The Move It! The Engineering Investigations Lab includes printable notebook pages, investigation planners, STEM challenges, and a complete 5-day force-and-motion unit.
👉 Grab the Move It! STEM labs here
Related Force and Motion Activities
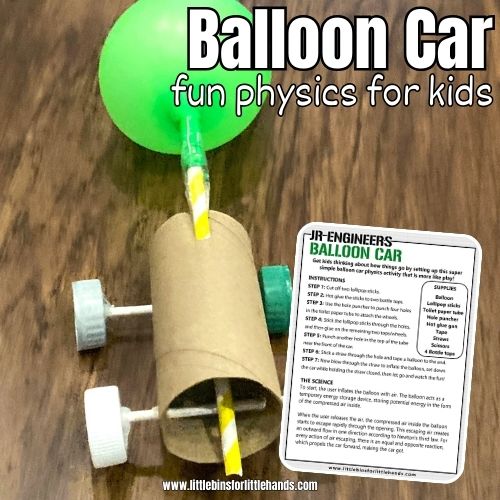
- Balloon Powered Car
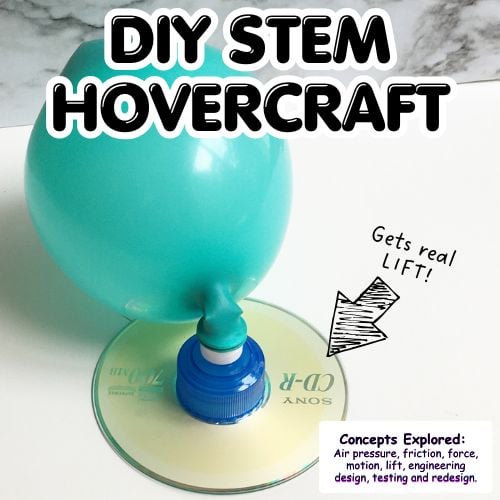
- Hovercraft
- Wind Powered Car
- Water Wheel
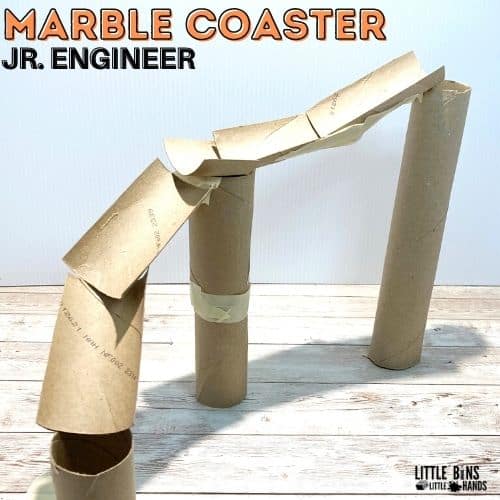
- Marble Roller Coaster
- Push and Pull Ramp Experiment

Rubber Band Car FAQ
How does a rubber band car move?
A rubber band car moves by converting stored elastic potential energy into kinetic energy. As the rubber band unwinds, it turns the axle and pushes the car forward.
What science concepts does a rubber band car demonstrate?
This project explores potential energy, kinetic energy, force and motion, friction, momentum, and engineering design.
What age is appropriate for a rubber band car project?
This activity works well for grades 2–6 with adult assistance for cutting and hot gluing.
How can I make my rubber band car go farther?
Try changing the wheel size, reducing friction, adjusting the vehicle weight, or testing different rubber bands to improve performance.
Can a rubber band car be used as a science fair project?
Yes. Students can test one variable at a time, such as wheel size, weight, surface type, or rubber band strength, and compare the results.
What is the engineering design process?
The engineering design process involves asking questions, planning solutions, building prototypes, testing designs, and making improvements based on results.
More STEM Resources
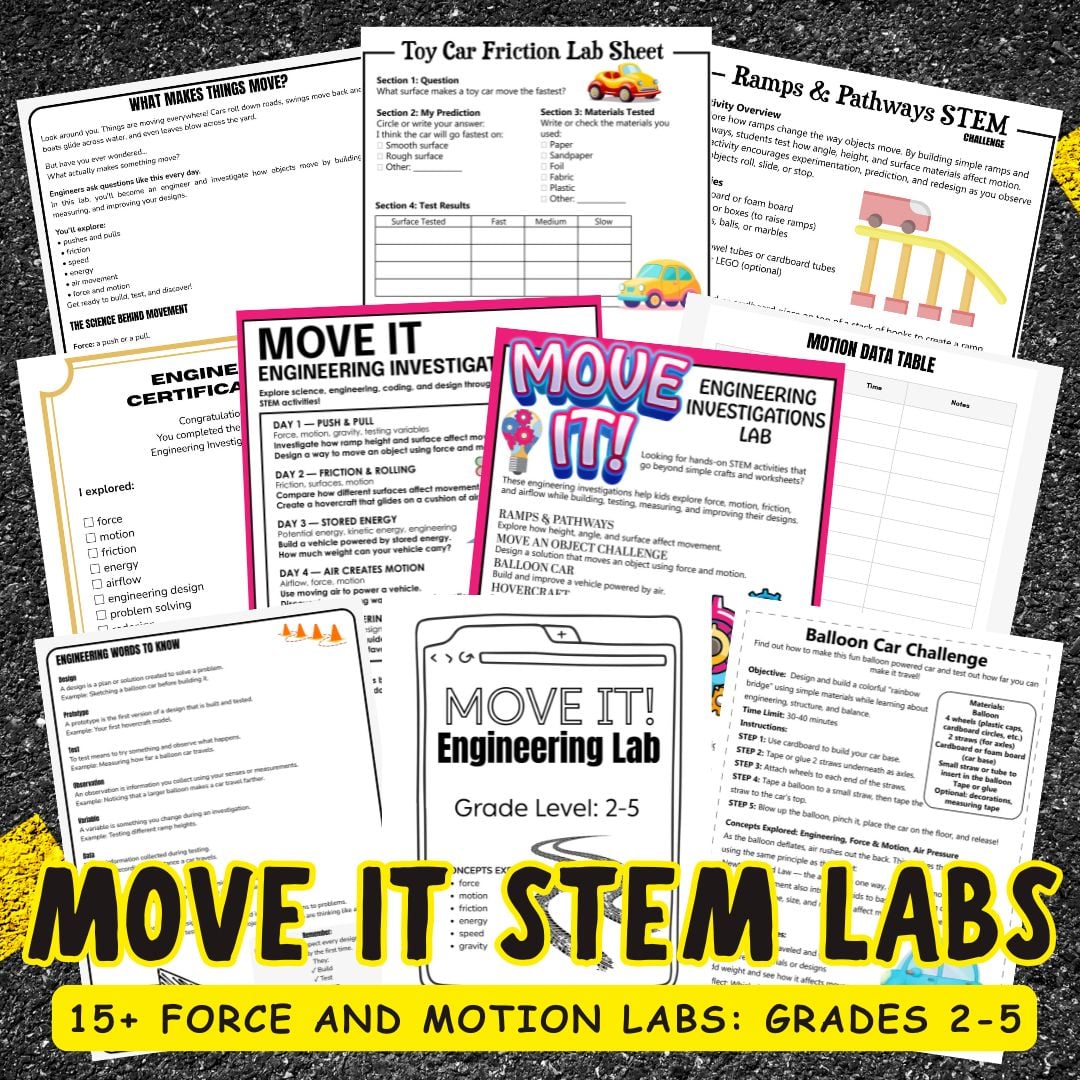
Move It! Engineering Investigations Lab
Help kids explore force, motion, friction, airflow, and energy through hands-on engineering challenges that encourage them to build, test, measure, and improve designs.
✔ Engineering investigations that go beyond worksheets
✔ 5-day STEM plan included
✔ Engineering notebook and planning pages
✔ Build, test, redesign, and improve challenges
✔ Grades 2–5
👉 Get the Complete Lab


