

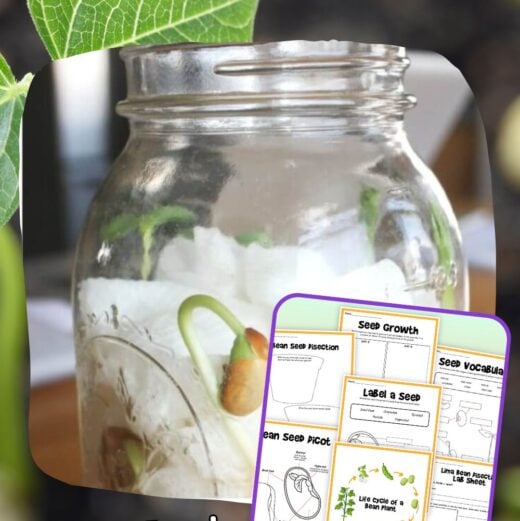
Our seed germination experiment allows kids to see up close how a seed grows. This easy seed germination experiment for kids uses a simple jar setup so you can observe each stage of growth step by step.
Perfect for spring science lessons, this hands-on activity helps kids explore how seeds grow, what conditions they need, and how roots and shoots develop over time.
👉 Explore more seed science activities here
Seed Germination Experiment for Kids
Field: Life Science (Botany)
Grades: Kindergarten–4th Grade
Concepts Explored: Germination process; plant life cycle; basic needs of plants (water, air, temperature); root and shoot development; observation and recording data.
Supplies Needed
- Paper towels or cotton wool
- Water
- Seeds (bean seeds work best)
- Large clear jar
Which Seeds Work Best?
The best seeds for this germination experiment are:
- Lima beans (large and easy to observe)
- Kidney beans
- Black beans
- Pinto beans
- Navy beans
- Mung beans (fast-growing and great for quick results)
💡 Tip: Soak seeds in water for up to 24 hours before starting. This softens the outer shell and can help seeds sprout faster.
How To Set Up Your Seed Germination Experiment
STEP 1: Fill the jar with paper towels.
Fold and gently press them into place so they line the sides of the jar.
STEP 2: Add water.
Dampen the paper towels so they are moist but not dripping. Too much water can cause seeds to rot.
STEP 3: Add the seeds.
Place seeds between the paper towel and the side of the jar so they stay visible.
STEP 4: Place the jar in a safe spot.
Set it somewhere you can easily check each day.
STEP 5: Observe daily.
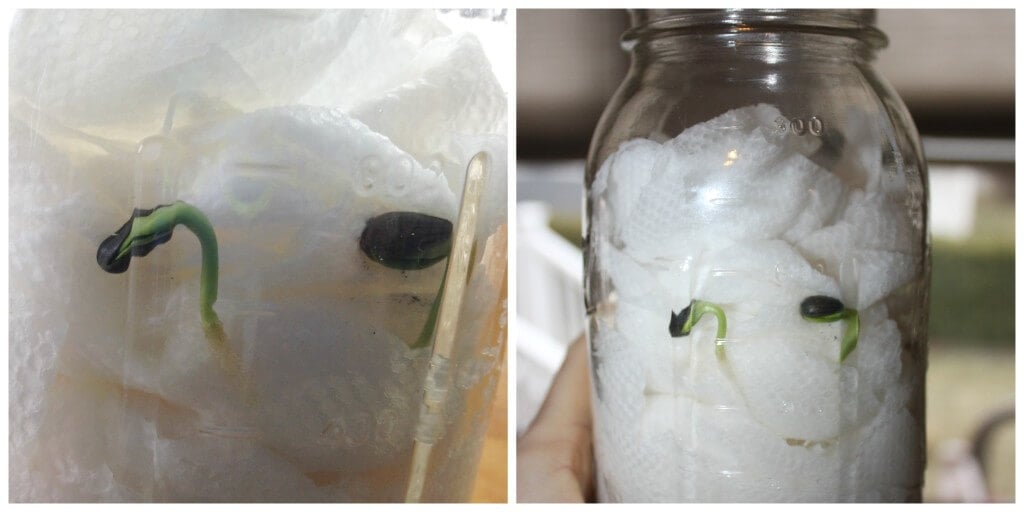
Watch for changes as the seed begins to swell, crack open, and grow.
👉 Try growing seeds in a bag or explore a fun eggshell planting activity for another way to observe germination.
What Is Seed Germination?
Seed germination is the process by which a seed begins to grow into a new plant. Seeds need the right conditions—water, oxygen, and temperature—to start growing.
When a seed absorbs water, it activates the living part inside. This causes the seed coat to soften and break open, allowing roots and shoots to begin forming.
Different seeds have different needs. Some grow best in warmth, while others need cooler temperatures or specific light conditions.
👉 Want to test what conditions seeds need to grow? Try this plant growth experiment here
Stages of Seed Germination
Watch closely as your seeds grow through these stages:
1. Water Absorption
The seed takes in water and swells. This softens the outer shell and begins the germination process.
2. Root Growth
The first root (called the radicle) pushes downward. This helps anchor the plant and absorb water.
3. Shoot Growth
A shoot begins to grow upward toward the light. This will become the plant’s stem.
4. Leaf Development
The first leaves appear and begin photosynthesis, allowing the plant to make its own food.
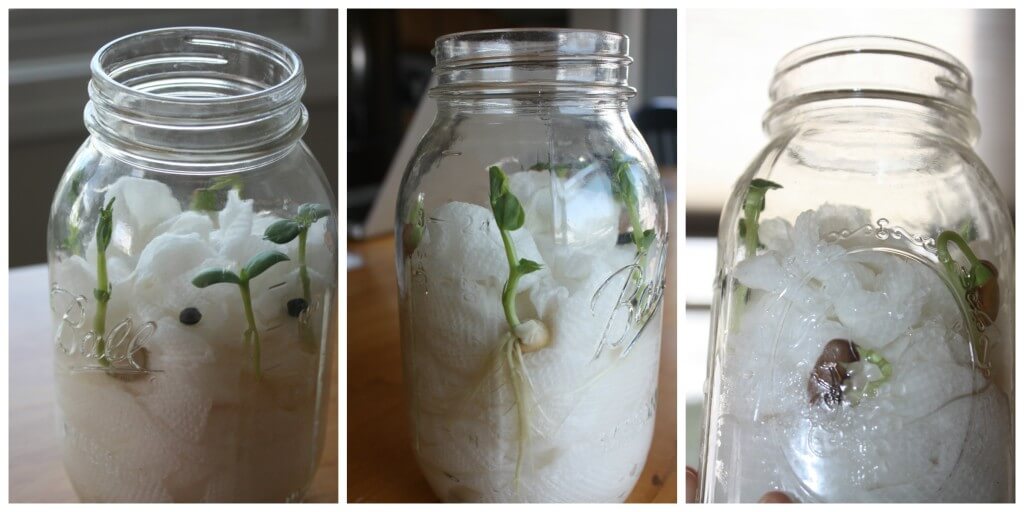
👉 Watching these stages in a jar makes the process easy to see step by step.
Why This Activity Matters
This simple seed experiment helps kids understand how plants grow from the very beginning. It connects directly to broader scientific concepts such as plant life cycles, ecosystems, and how living things depend on their environment.
By observing changes over time, kids practice important science skills like noticing patterns, recording data, and asking questions.
👉 This activity is a great starting point for deeper plant investigations and spring science lessons.
Extension Activities
Take your experiment further with these ideas:
- Replant the seedling: Transfer sprouts into soil once leaves appear and continue observing growth
- Test variables: Change light or water conditions to see how germination is affected
- Compare seeds: Try different types of seeds and track which sprout fastest
- Measure growth: Use a ruler to record daily root and stem length
👉 Explore how soil affects plant growth with this soil investigation activity
Make It a Science Project
Turn this activity into a simple science fair project by asking questions like:
- Do seeds need light to germinate?
- Does more water help seeds grow faster?
- Do different seeds grow at the same rate?
Older kids can record data and compare results, while younger kids can draw what they observe each day.
👉 Learn more about testing variables and setting up experiments here with the scientific method for kids.
Get Your Free Printable
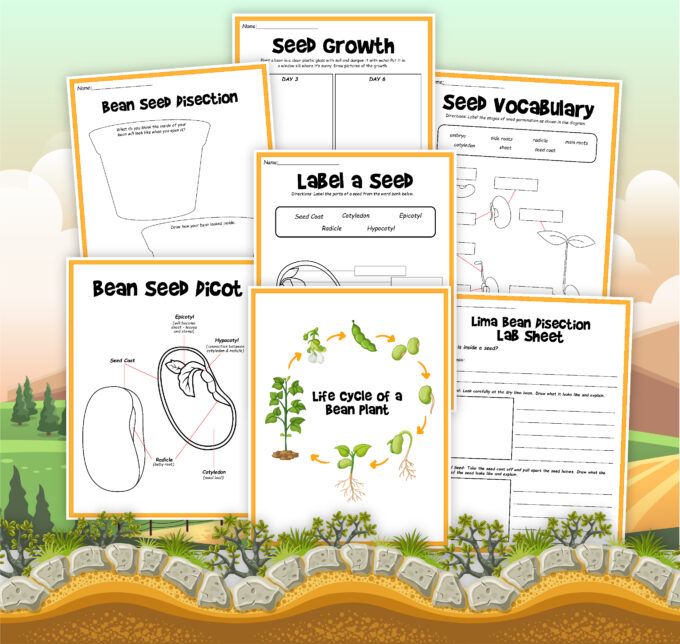
👉 Extend the learning with a free bean life-cycle mini-pack.
More Spring Science Activities
Looking for more hands-on plant and spring science ideas?
- Plant growth experiments
- Parts of a plant activities
- Leaf experiments
- Flower Unit Lesson Plan (Science + Art)
👉 Explore all of our spring science activities here
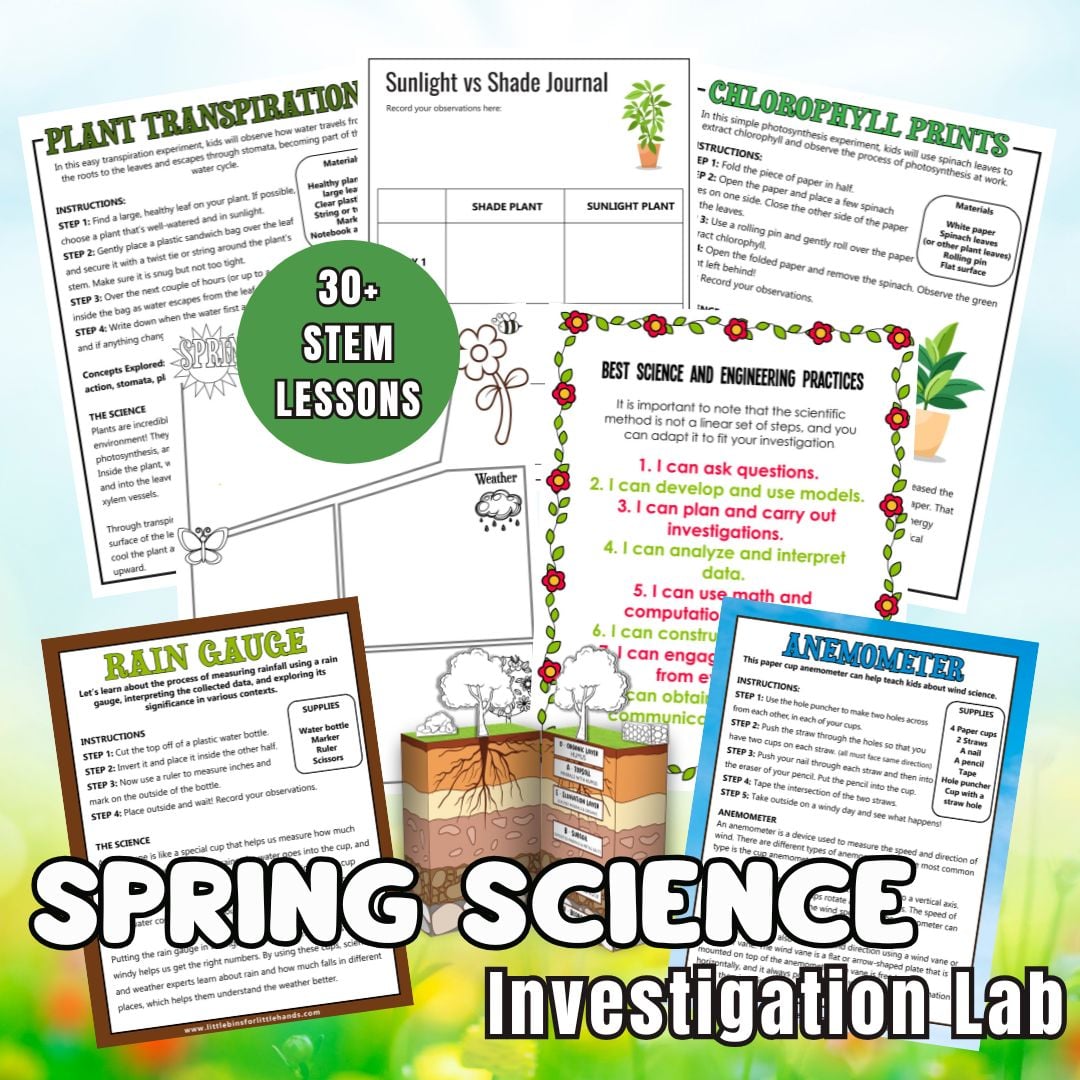
If you’re looking for a ready-to-use collection of investigations, explore our Spring STEM Project Pack, which includes 30 hands-on science and engineering activities covering plants, weather, earth science, life cycles, and STEM challenges.





super cool!!!
We are getting ready to start this project today with our preschool class. One thing i have not been able to find is, how much water/how wet do the paper towels need to be?’
What a great learning activity. I am featuring this with a link on my blog.
Where did you get your seeds? Did you buy them fresh and pick the seed out off the pods or take it out of the shell?
I’m interested in doing this but I don’t want to buy the wrong ones.
Simple seed packets from the grocery store!
hello! I’m going to try this with my kindergarten class. Did you use dried green beans infrom a bag (like at the supermarket)? Or fresh ones?
Just double checking no soil, just paper towels. This is our spring break project. I can’t wait.
Right no soil!
What kind of beans did you use? Pinto? I’m wanting to start this activity here soon with my little in-home daycare. 🙂
We used green beans, sunflowers, and green peas!
Do you cover the jar? Do they need to be near a sunny window? Are you supposed to water them? Thanks!
Hi! I did not cover the jar. They were on a table in front of window that did get sunlight at some point during the day. We did not water daily. I added a tiny bit here and there but not much at all. We actually went away for a week and came back to them being so tall which you can see in the picture above. Thats a week with no water what so ever!
This looks like so much fun! Can’t wait to try with my 4 and 2 year old son and daughter. We’re always looking for affordable, educational and fun activities. This is perfect. Happy to have stumbled onto this site!
Wonderful! Thank you!
What kind of pea seeds did you use?
Good question. I don’t remember the band or name but it was a common package from the store.
U just use dried peas you get in a box steep them over night then plant them absolutely excellent outcome 4 kids and grown ups alike lol
Interesting! Share a picture!
My girlie is very curious about planting and asks tons of questions about the seeds and what happens with them in the soil. This is a great way to show her clearly enough the whole process of the seed’s growing. Thank you for this idea!
Wonderful learning activity! Thanks for linking up at the Thoughtful Spot Weekly Blog Hop!
We’ve just done the same 🙂 Put the beans in the jar instead plastic bags 🙂 Mr Frog is so excited observing the bean growing!
We just started our beans in a jar last week. Looking forward to seeing what happens this week.
This is what we should have done – instead we tried plastic bags to grow the seeds in, and they got foggy with condensation so it was hard to see the root! Aw, well. Lesson learned. Next time – grow them in a jar! lol!
that was so cool