Water science is awesome! This water density experiment with sugar uses only a few kitchen ingredients but produces an amazing science experiment for kids! In this experiment, kids will explore the density of liquids, solutions and solubility, and color mixing.

Rainbow Density Experiment
Recommended Age: Grades 3 to 8. For younger students, provide pre-measured sugar and focus on simple mixing and layering. For older students, involve them in precise measurements, calculations, and hypothesis testing about which color layer will be densest or least dense.
Supplies:
- 4 to 6 Glasses or cups
- warm water and 1 cup measuring cup
- sugar and measuring teaspoon
- food coloring
- spoon and baster
- test tubes
How To Make A Rainbow In A Jar
STEP 1: Set out the glasses. Measure 1 cup of water into each glass.
💡 This is a great time to explain the importance of all the glasses having the same amount of water! You can read more about the scientific method for kids.
STEP 2: Add a few drops of food coloring to each glass of water. You could have your child mix the colors or help them with mixing the colors! See how to mix colors here.
NOTE: From experience, we have found that 4 colors are the easiest to work with!
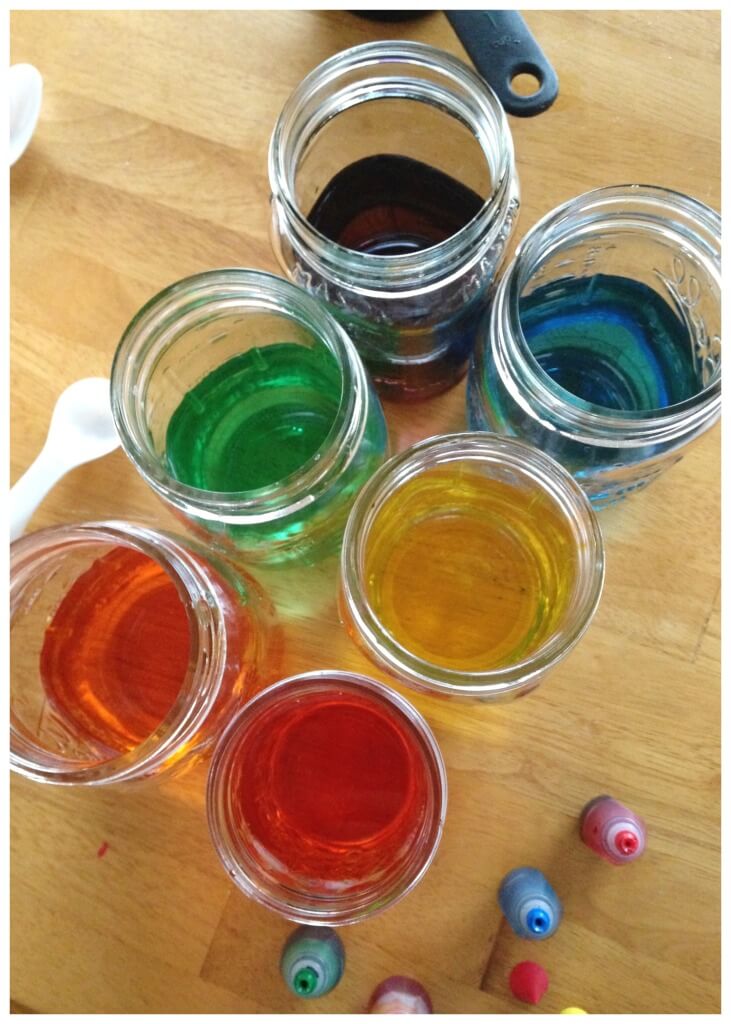
STEP 3. Measure and add a different amount of sugar to each glass of colored water.
- RED COLOR – 2 TBSP
- YELLOW COLOR – 4 TBSP
- GREEN COLOR – 6 TBSP
- BLUE COLOR – 8 TBSP
STEP 4. Stir until as much of the sugar is dissolved as possible. This creates a sugar solution with various concentrations.
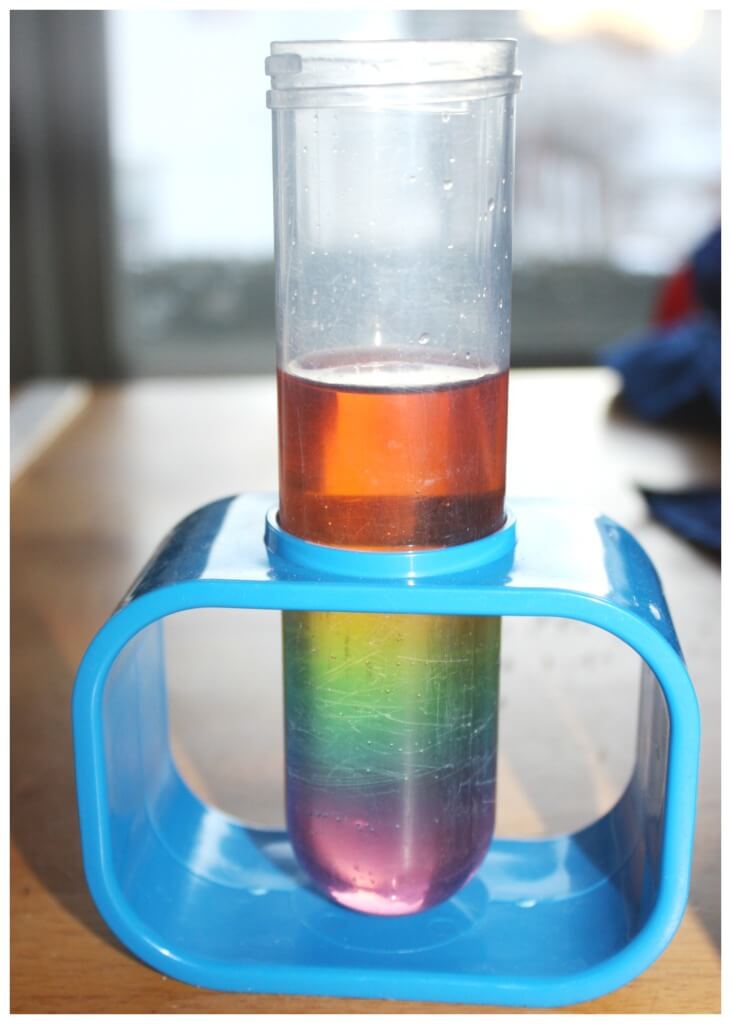
STEP 5. Use your baster or pipette to add a layer of sugar solution to a create a colorful rainbow in a jar.
Tip: Have your child try two colors for an easier version!
We used a test tube from our favorite science kit! This time we found starting with the densest water {purple} worked the best.
- Use the baster’s measuring marks to ensure you get the same amount of each color. Add the purple to the tube.
- Next, add the blue, but add the blue very, very slowly. Slowly release the water along the jar’s side or glass.
- Continue to do the same thing, working your way back through the colors. Slow and steady. We practiced a few times before we got a full rainbow.
You can experiment with different methods and challenge your kids to come up with a plan of action to make a rainbow in a jar.

We kept our artificial rainbow around for a couple of days. It’s so pretty in the light!
How Does It Work?
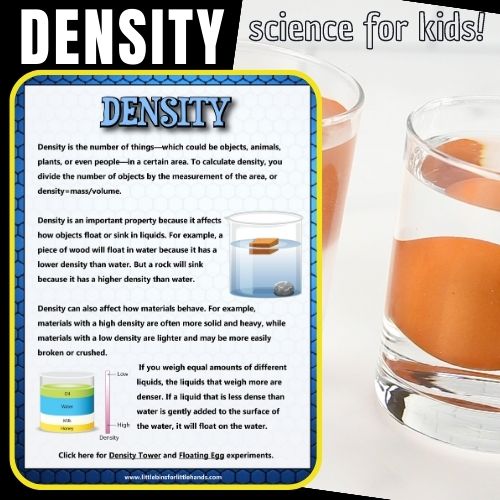
Density is all about the compactness of stuff in space. For this experiment, the more sugar in each glass of water, the greater the density of the water. Same space, more stuff in it!
The denser the substance, the more likely it will sink. This is how our density rainbow experiment works! Learn more about what is density!
Increasing the amount of sugar in the solution but keeping the water constant creates solutions with increasing densities. The more sugar you mix into the same amount of water, the higher the density of the mixture. So, density explains why the colored sugar solutions stack on top of each other inside the baster.
How To Apply The Scientific Method
This rainbow water density experiment is a fantastic opportunity to use the scientific method and record your experiment using the free mini worksheet pack below.
- Start with a question to guide the experiment, such as: “How does the amount of sugar in water affect its ability to layer without mixing?” Asking questions is the first step to diving deeper into science with kids and making connections!
- Make an educated guess about what will happen, and make sure the hypothesis connects the independent variable (sugar concentration) and the dependent variable (layering of the colors).
- Identify the variables and controls, use consistent measurements and label the solutions to keep the setup clear.
- Carefully layer the solutions in a jar using a pipette or spoon to minimize mixing. Observe and document the results as you add each layer.
- Record observations about the layering: Did the colors stay distinct or mix? Compare the results to the hypothesis.
- Discuss any unexpected results and what might have caused them, such as improper layering technique or incorrect measurements.
💡 You can read about using the scientific method here, and find more information on the independent and dependent variables, and developing a hypothesis.
Set Up A Water Density Science Fair Project
You can also easily turn your water density experiment into a fantastic presentation along with your hypothesis. Check out the resources below to get started.
Free Printable Science Experiment Worksheets!
More Fun Density Experiments to Try
Explore more density experiments, including…
- Try a density tower with different types of liquids.
- Make a homemade lava lamp with oil and water.
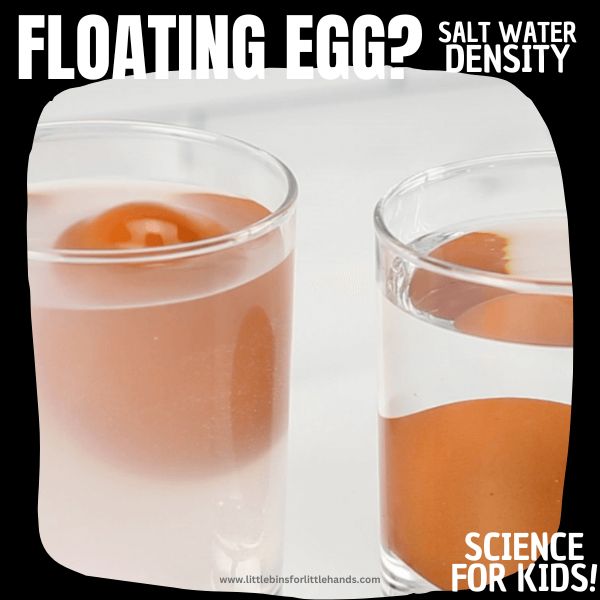
- Explore how salt changes the density of water.
- Explore how temperature affects density of water.
- Investigate whether objects sink or float in different liquids.


Helpful Science Resources
Here are a few resources that will help you introduce science more effectively to your kids or students and feel confident presenting materials. You’ll find helpful free printables throughout.


What a super clever and pretty science experiment!
Hello! I tried this experiment with my students today with little success 🙁
The purple and blue separated perfectly, but when green was introduced, it all mixed together from there on.
Any thoughts? I’m so disappointed!! Your’s is PERFECT!!!
i love this website..<3
Thank you. I’ll give this a try at home – and if I am successful I’m sure my students can do it too. 🙂
Hope you have good luck! It might take a bit of practice, but it was fun to experiment.
Practice! We had a few with only a few colors too. You have to go very slowly.
it didnt work yours is perfict
It is a tougher project and you have to be quite slow and patient!
Hello, Iam a science teacher too. Thanks for sharing this experiment with us. But there is a point that ı cannot understand.
To make in a baster, squeeze baster and put in red water. Release a little of the pressure to suck up some water. Keeping it squeezed, transfer to orange, release a little more to suck up some water.
I cant understand these sentences because my english level 🙁 Should I make the test tube oily before pouring the colors? In addition Should I use syringe to take the colored waters in order to pour them? if you can explain i will be really grateful
I found this worked well when I added 4 drops of food colouring per glass rather than 2 drop per glass which I tried first. Try adding milk after, the result is really interesting!
Ours did not work at all. Huge flop even though we followed the directions explicitly. Very frustrating. Super messy. Unsuccessful.
The key is to make sure your sugar ratios are all different so they layers separate and you do need to be slow and patient adding in the layers.
We put a cup of sugar in the purple, half a cup in the blue, quarter cup for green, two tablespoons for yellow, one for orange and none for red. Slowly dribbling each color down the side of the test tube was key to avoid mixing layers.
what grade is this experiment for?
You can use it with a mix of ages but I think it’s best for early elementary age kids. You can add our free science journal page to it as well.
So I tried to do the experiment and I found that if you actually add the different amounts of sugar to Gatorade colors it works for better results.
Nice Blog. very easy process to do this experiment.kids also try this at home.
We tried this experiment with 6 colors, a turkey baster and a large glass cylinder. Epic fail. Brown sugar water was our result.
We found your instructions, tried again and has great success! We used 4 colors, a pipette and shot glasses and it worked beautifully! Adding the subsequent layers VERY slowly was key. The turkey baster had a tendency to dump too much water at a time. The pipette was easier to control. Thank you!
It is a bit more challenging than most of our activities. Starting with just 2 or 3 colors might help!